
Even though a lot of open source projects encourage folks to look at the code and modify it, they don’t just let anyone add anything back to the original project. Projects usually have one or several people with direct commit access, who don’t need permission to do commits. This doesn’t mean you can’t contribute to the project; you’ll just need to get your own copy of the code, make changes there, and then send them back to the original project for review.
Contributing to an open source project can be a lot of fun, and Github makes that process pretty easy. Still, there are a few steps to keep in mind to make sure your workflow is sound and your contributions have better chances of getting accepted. To follow along, you’ll need an account on Github, and you’ll need to have git installed on your machine. This post won’t go into detail about using git, but if you’re not familiar with it, check out Eric’s post on Teaching Git and the git resources we’ve collected for the Praxis Program.
For this post, I’m going to use Omeka as our example, since I’ve been sending a few pull requests their way as I’ve been developing themes for their upcoming 2.0 release. But the process I describe can easily be applied to many other projects. (In fact, Scholars’ Lab would love for anyone to fork any of our repositories and send stuff back.)
Forking
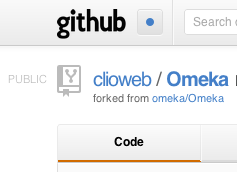
Dashboard for my fork of Omeka, indicating that it has been forked from omeka/Omeka.
Just to be clear, forking is a Github thing, not a git thing. When you fork a repo on Github, you’re essentially making a copy of a repo at a particular point in time to your own account on Github. For this example, I’ll refer to the fork of the Omeka repo on my own account. These are two separate repositories. I don’t have direct commit access on ‘omeka/Omeka’, but I do on my own, ‘clioweb/Omeka’:
-
Omeka repo - http://github.com/omeka/Omeka
-
My repo - http://github.com/clioweb/Omeka
The dashboard for you fork will indicate that it was forked from somewhere.

The fork button
Github’s own help pages include a nice run-down on how to fork a repo, but to summarize: To fork any project on Github, you’ll can just click that big “Fork” button near the top right of the project’s Github page. Github will then ask you where you want to fork it, you choose which answer, and Github will do the rest. It shouldn’t take too long to fork, but that depends on the size of the original repo.
Once you have your own fork, you can clone your own repo to your computer to start working on it. In your command line interface of choice, here’s the command to do that on your own machine:
git clone git@github.com:clioweb/Omeka.git
Now you can make changes and do commits however you like, without any fear of breaking the original repo! As I’ll explain later, though, we won’t just make commits however we like with our forked project. We’ll want to follow some conventions to make our work more productive to send patches back to the original project.
Fetching
When you fork a project, you get a copy of it at a specific moment in time. There aren’t any built-in ways of automatically getting updates from the original repo after you forked it. The developers on the original repo are (hopefully!) going to keep developing on the project, and you’ll want to get those updates regularly. You’ll need to fetch those updates through git, and to do that you’ll need to add another remote that points back to the original repo. To add this, you’ll need to be in your clone’s directory, then use the git remote command to add the original repo as a remote:
git remote add upstream https://github.com/omeka/Omeka.git
This creates a remote named upstream to our remotes list, and points to the origina Omeka repository. You could name this something other than “upstream” if you prefer.
After adding this upstream remote, you should have not one, but two remotes. When you clone your fork, that creates the first remote, origin, that points to your fork on Github and that you can push back to. The second one, upstream, points to the original repo you forked. This is a pretty good thing to keep in mind. When you clone a repo, you’re making a copy locally, but it also make sure there’s a way to send stuff back to the repo you cloned.
Now you can get any updates from the original project, merge them back into your own repository, then push those back to your fork. Making sure you’re on your local master branch, you can do either of these:
git fetch upstream
git merge upstream/master
or
git pull upstream master
The latter is just a shortcut for the former.
Now that you have your local master branch updated with changes from the original repo, we can start working our own commits!
Pushing
In git, “branches are cheap and easy.” So the best thing to do when adding a new feature or fixing a bug in a git repo is to do that work on a separate “topic” branch. That is, a branch whose changes encompass, roughly, a single idea or topic: adds a single feature, or fixes a specific bug. This allows you to work on different features/bugs simultaneously and separately. You can keep updating a specific feature after you’ve submitted a pull request for it, which is handy if in the course of discussing the pull request other developers suggest changes to it.
While you can add multiple features to a single topic branch, you might run into a situation where you don’t like that feature anymore or, more commonly, the developers on the original repo only want one of the features and not both. Similarly for bug fixes. The granularity of this depends, of course, on the nature of the feature or bug you’re addressing.
To make a branch, you’d use:
git checkout -b my-topic-branch
Here you would replace ‘my-topic-branch’ with whatever you’d want the name of your topic branch to be. You’ll want to name your topic branch something brief but descriptive, mainly to help you remember what that branch is about. For example, I recently submitted a pull request that added an options parameter to Omeka’s JavaScript queueing functions. I named that topic branch queue-js-options.
Once you make your topic branch, you can now start editing code. Any commits you make will only be on this branch, too, so you can always check out the master branch while working on a feature to do some other work if you want.
As an aside, commit messages should provide enough description for someone to understand the nature of the changes. I’ve yet to run into a commit message that was too descriptive, but I’ve seen plenty of commit messages that weren’t descriptive enough, so I try to err on the side of too much information. When I do a commit in git, I’ll usually leave off the message flag in the command so I can write the message in a separate window. The first line of the commit message should be a short summary. The rest of the commit message can be as descriptive as necessary, and if you use Markdown syntax in your message, Github will format these message nicely. For example, here’s my commit message for the queue-js-options feature:
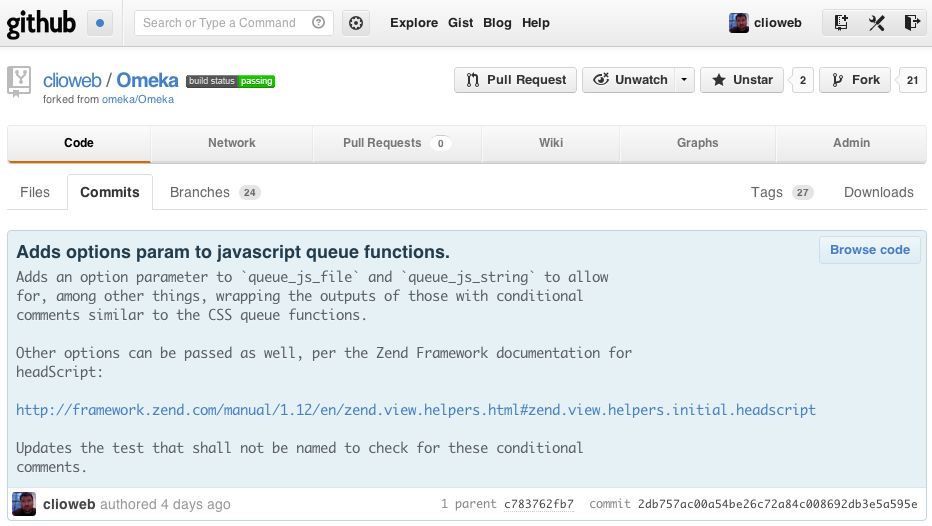
Screenshot of my queue-js-options commit message in Github
Once you have all your commits for a feature or bug fix ready, now you can push your topic branch up to your fork on Github to share it with others:
git push -u origin my-topic-branch
The -u flag will create a new branch to your fork on Github called ‘my-topic-branch’. After you do this, you continue to make changes on that branch, you can push them up to your Github fork without the -u flag.
Pulling
Now that you’ve got your topic branch on your Github fork, its time to send a pull request back to the original project. Github can automatically tell if you’ve added a topic branch to your forked repo, and will display a “Pull Request” button on your fork’s dashboard. Click that button, and Github will display a form confirming the pull request. It’ll fill out the details using your commit messages (another good reason to be descriptive in your commit messages!), but allows you to modify that text. Modifying the pull request details won’t change your commit messages. Once you submit, Github will create an issue on the original repository, with tabs to see the individual commits and the changes in the files:
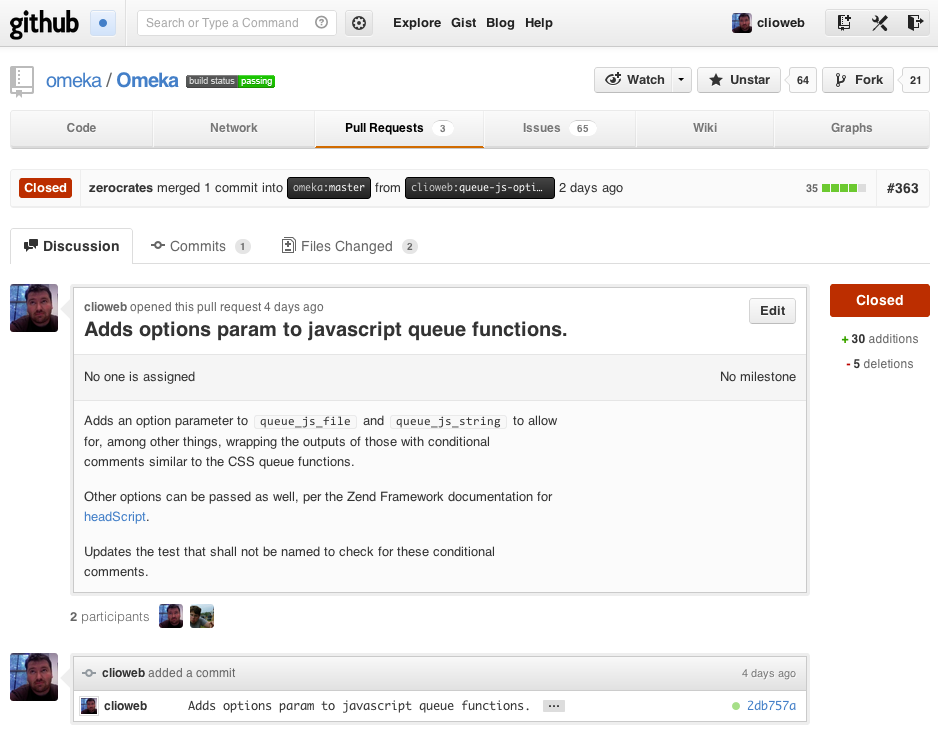
Page for my pull request to Omeka
Developers on the original repository can comment on the request, see the code attached to it, and approve or reject the request. (Check out the current pull requests on Omeka to see this in action.) If they do request changes, you can just update your topic branch locally, make your commits, and push them back up (this time, omitting the -u flag, since that topic branch now exists on Github.) In the meantime, you can go back to your local copy, create a new topic branch, and work on something else!
Summary
Here’s a quick rundown to get set up:
-
Fork the original repo
-
Clone your fork to your computer
-
Add the
upstreamremote pointing to the original repo
Here’s a quick rundown to send a feature or bugfix back to the original project:
-
Checkout the
masterbranch. -
Pull from the
upstreamremote to merge updates. -
Create a topic branch for your feature or bug fix.
-
Make your commits, with good commit messages.
-
Push your topic branch back to your fork on Github
-
Send a pull request back to the original repo.
-
Converse with developers, make updates to your topic branch if necessary, and keep pushing back to your fork.
-
Repeat for a new feature or bug fix.
Hope this helps!