
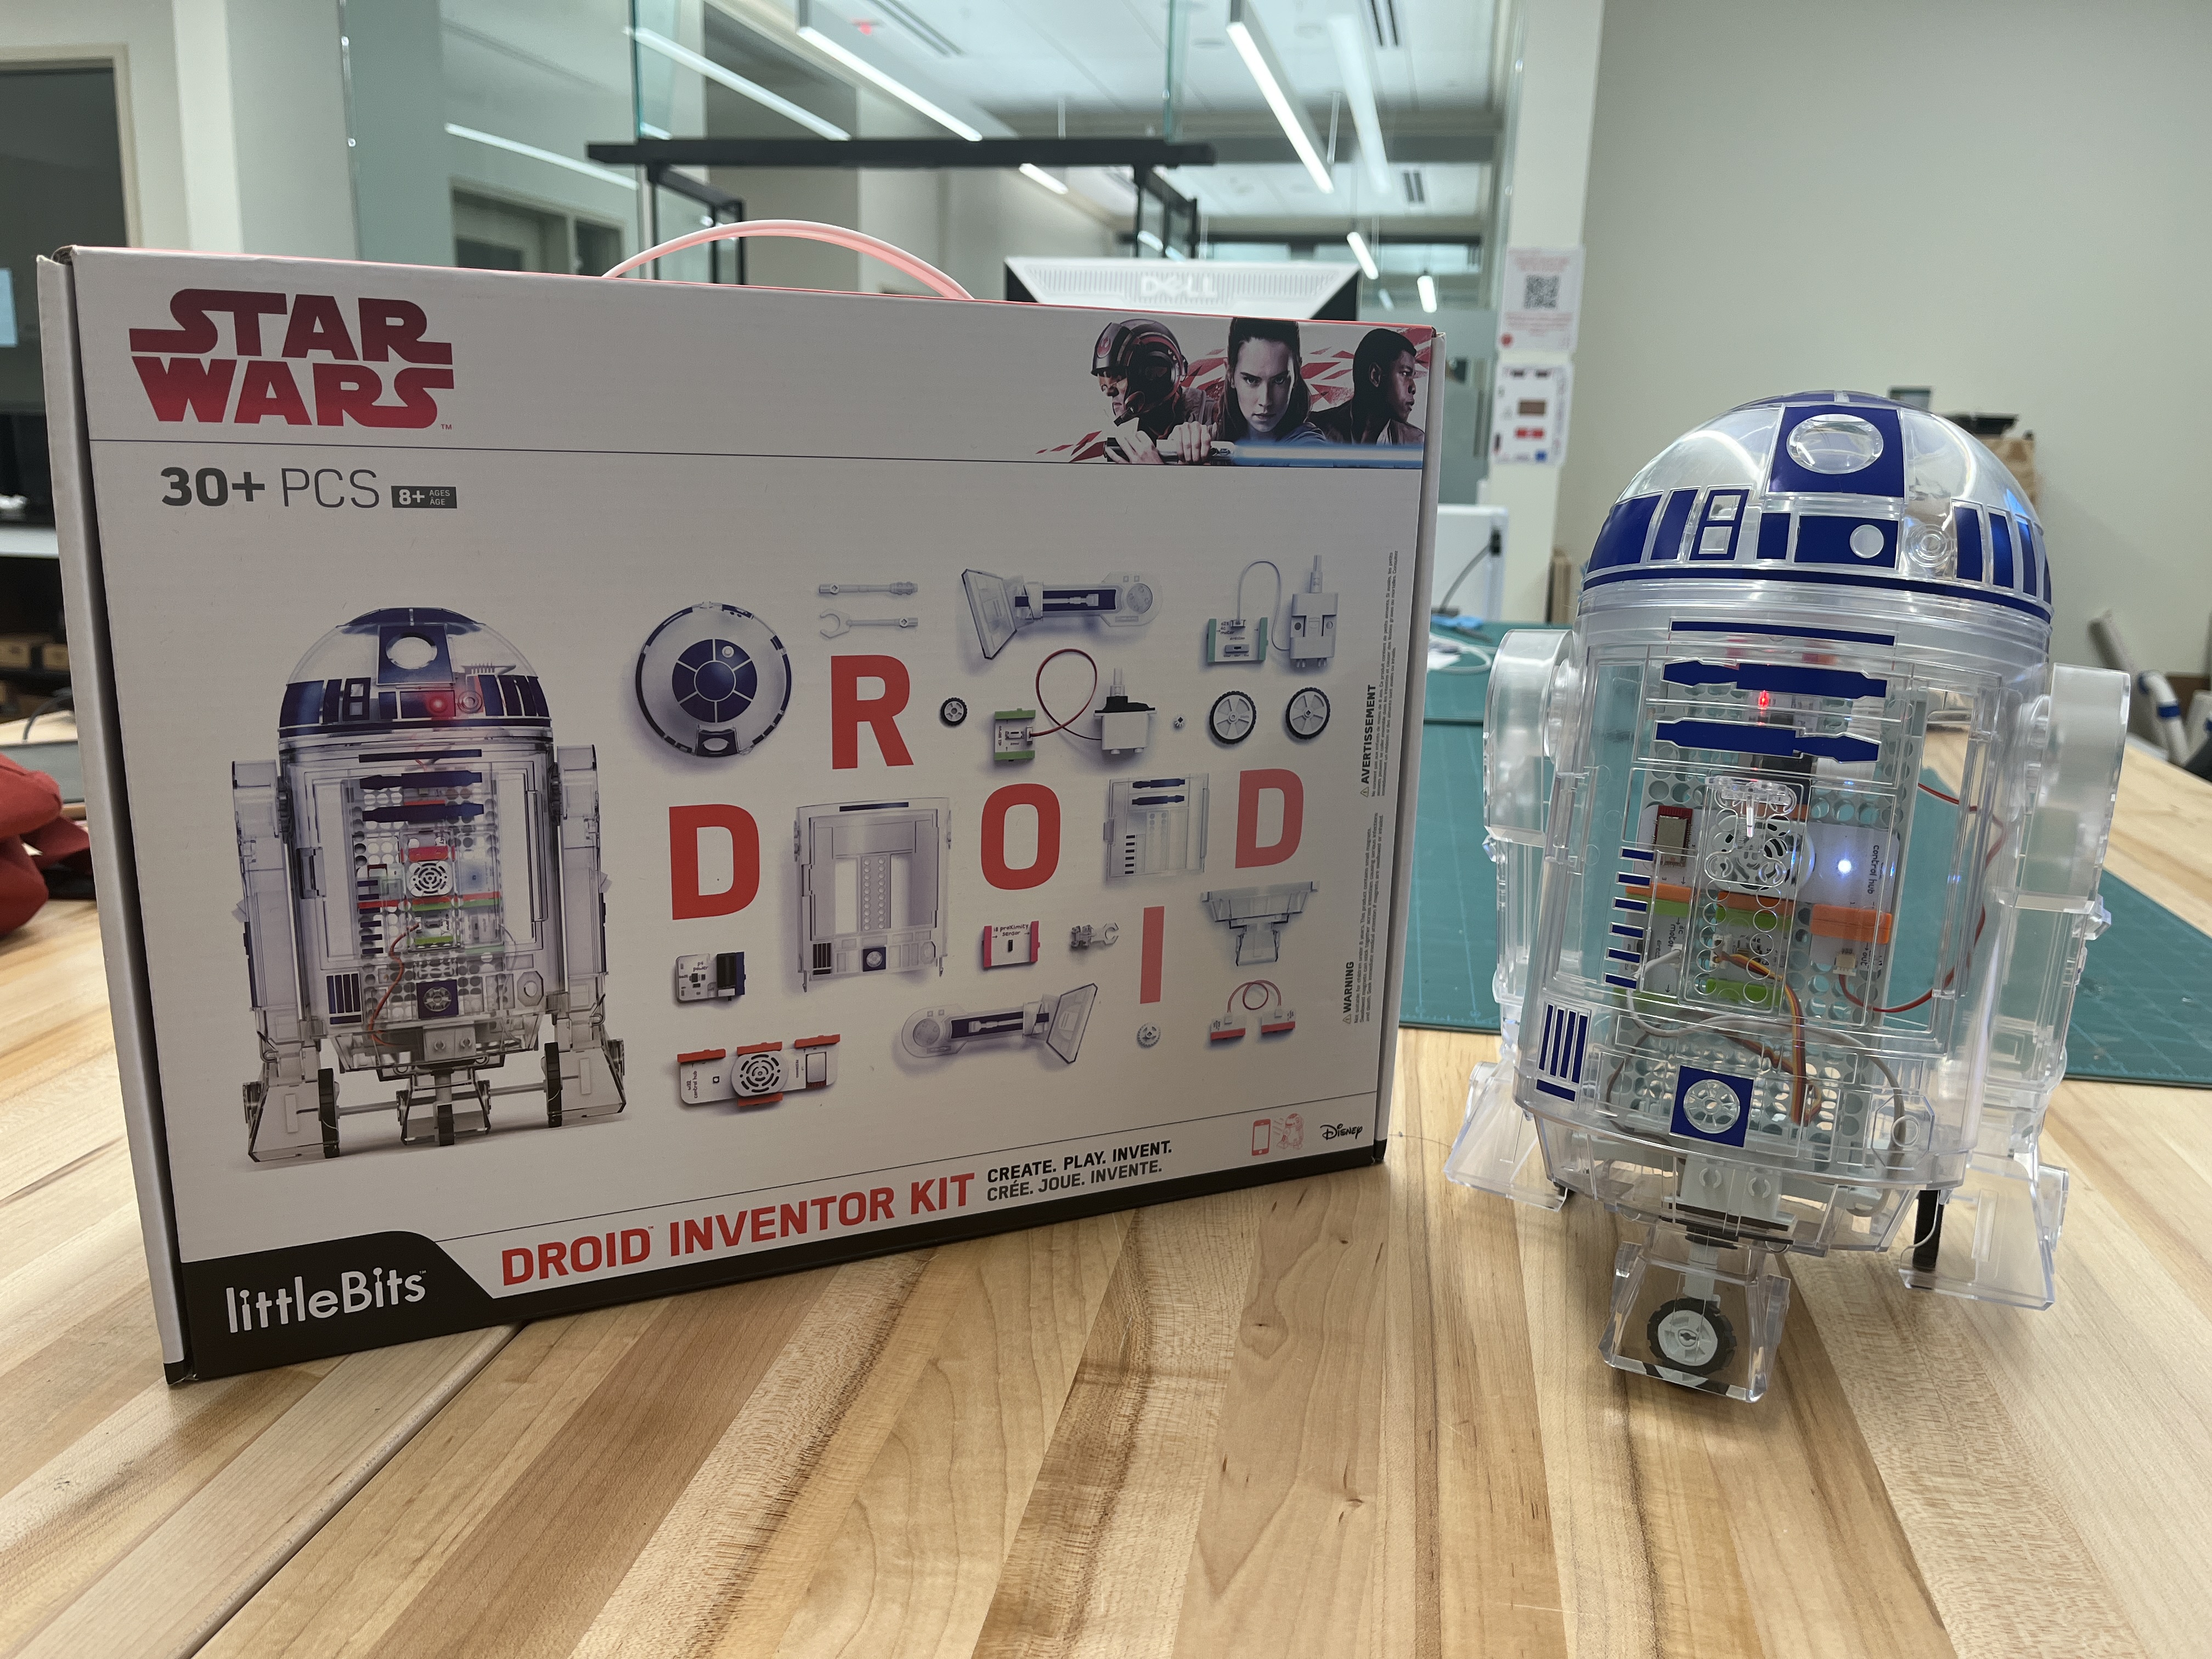
Have you ever wanted to build your own astromech droid? Now you can! This step-by-step guide on building the littleBits Star Wars Droid Inventor Kit will allow you to have your own screaming astromech droid. The box will say download the DroidInventor app for instructions to build your own droid, but this app no longer exists. With littleBits acquisition by Sphero, support for this kit no longer exists. This will provide a guide on how to build the droid and be able to drive it.
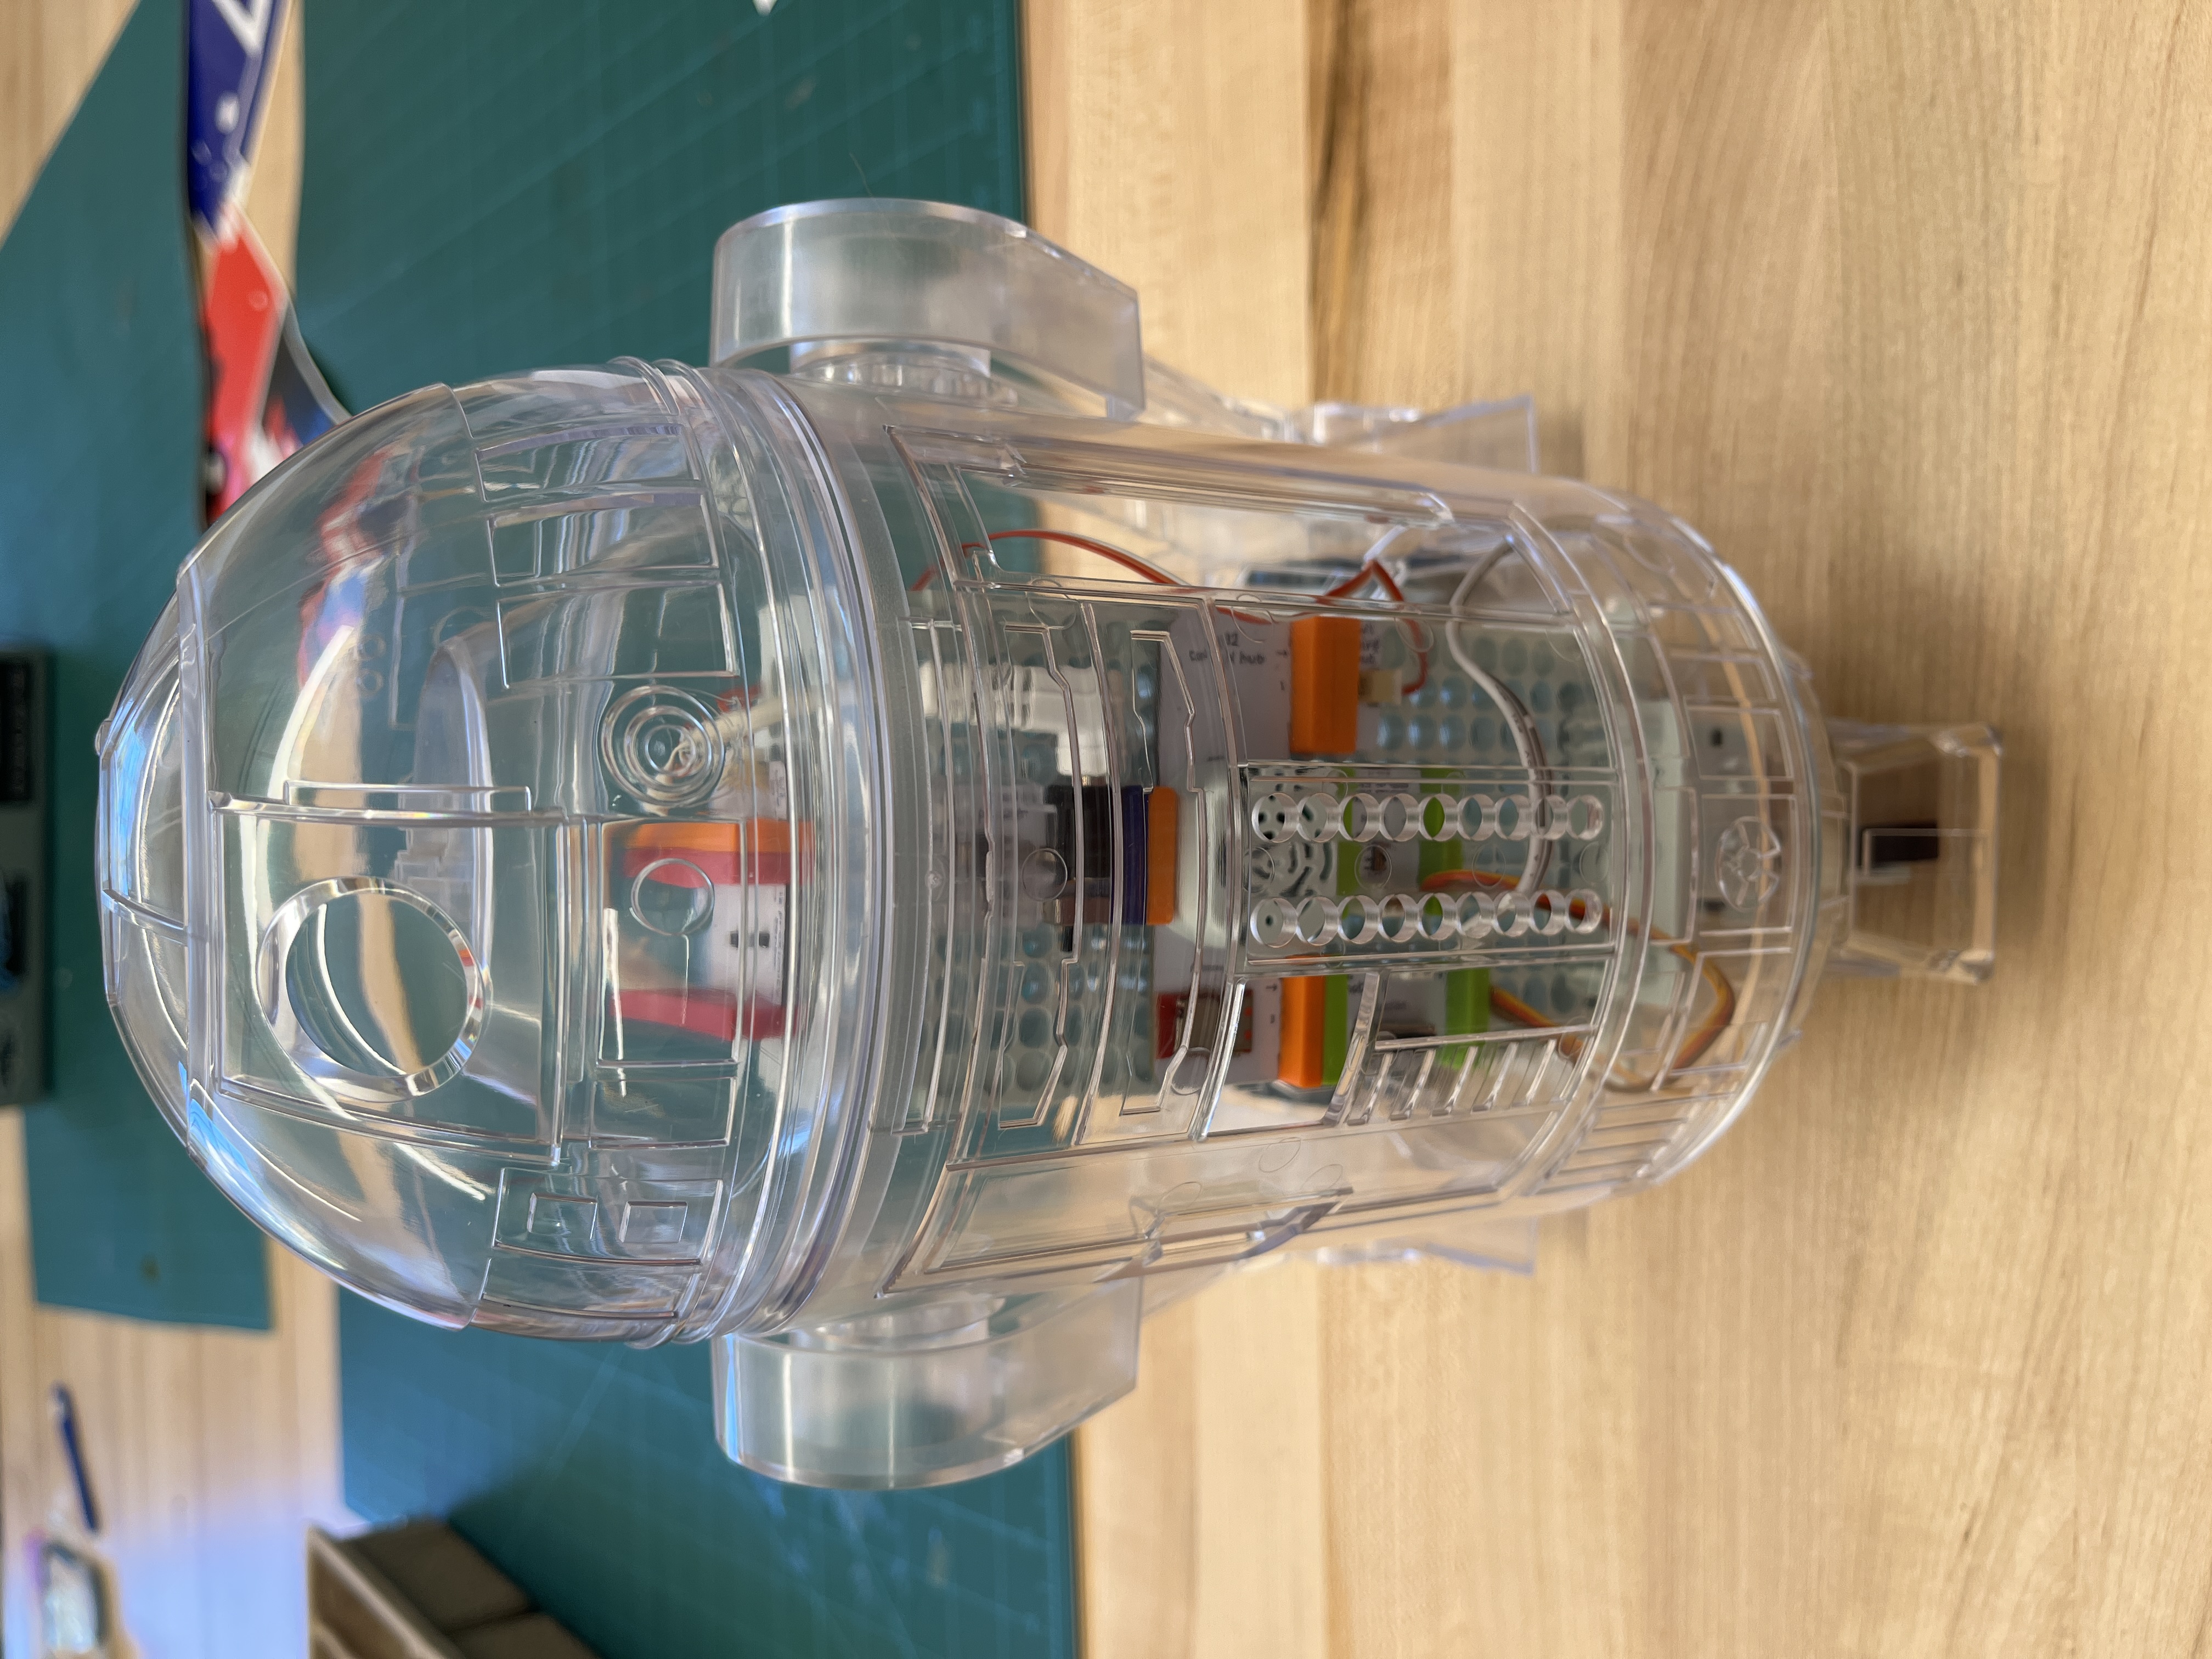
There are three main sections of the droid: the electronics, the chassis, and the frame. We will begin with the electronics.
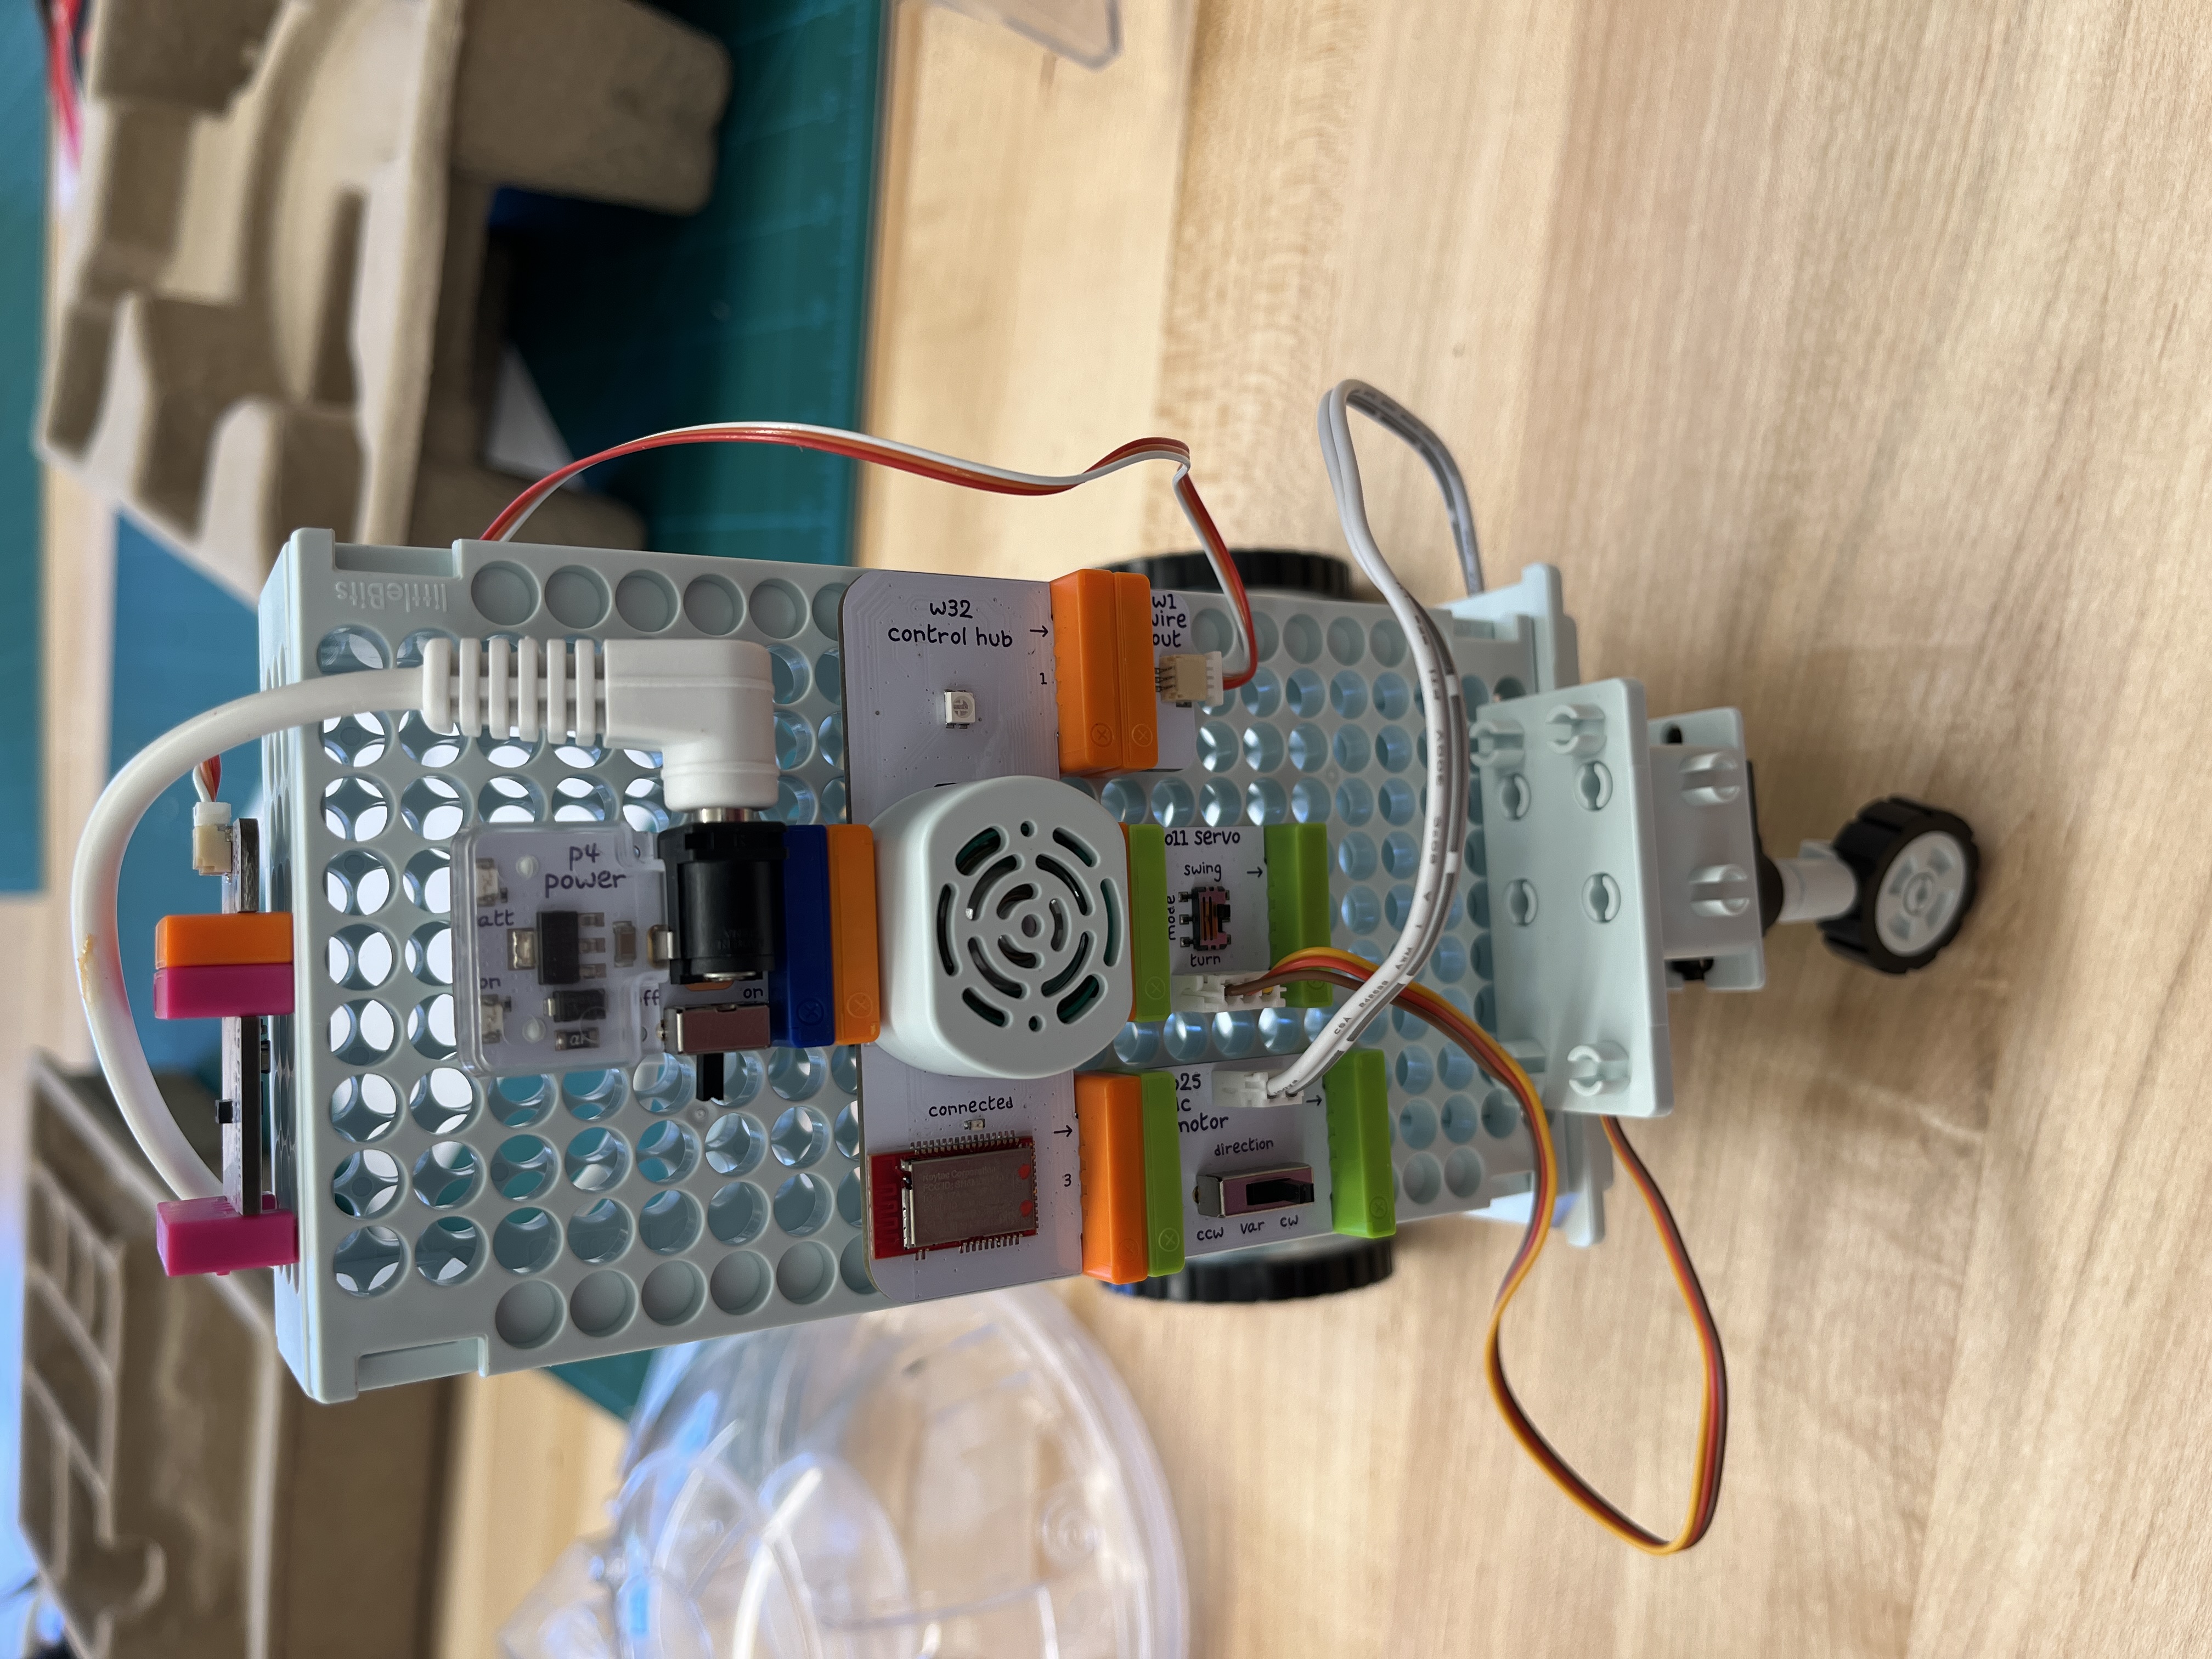
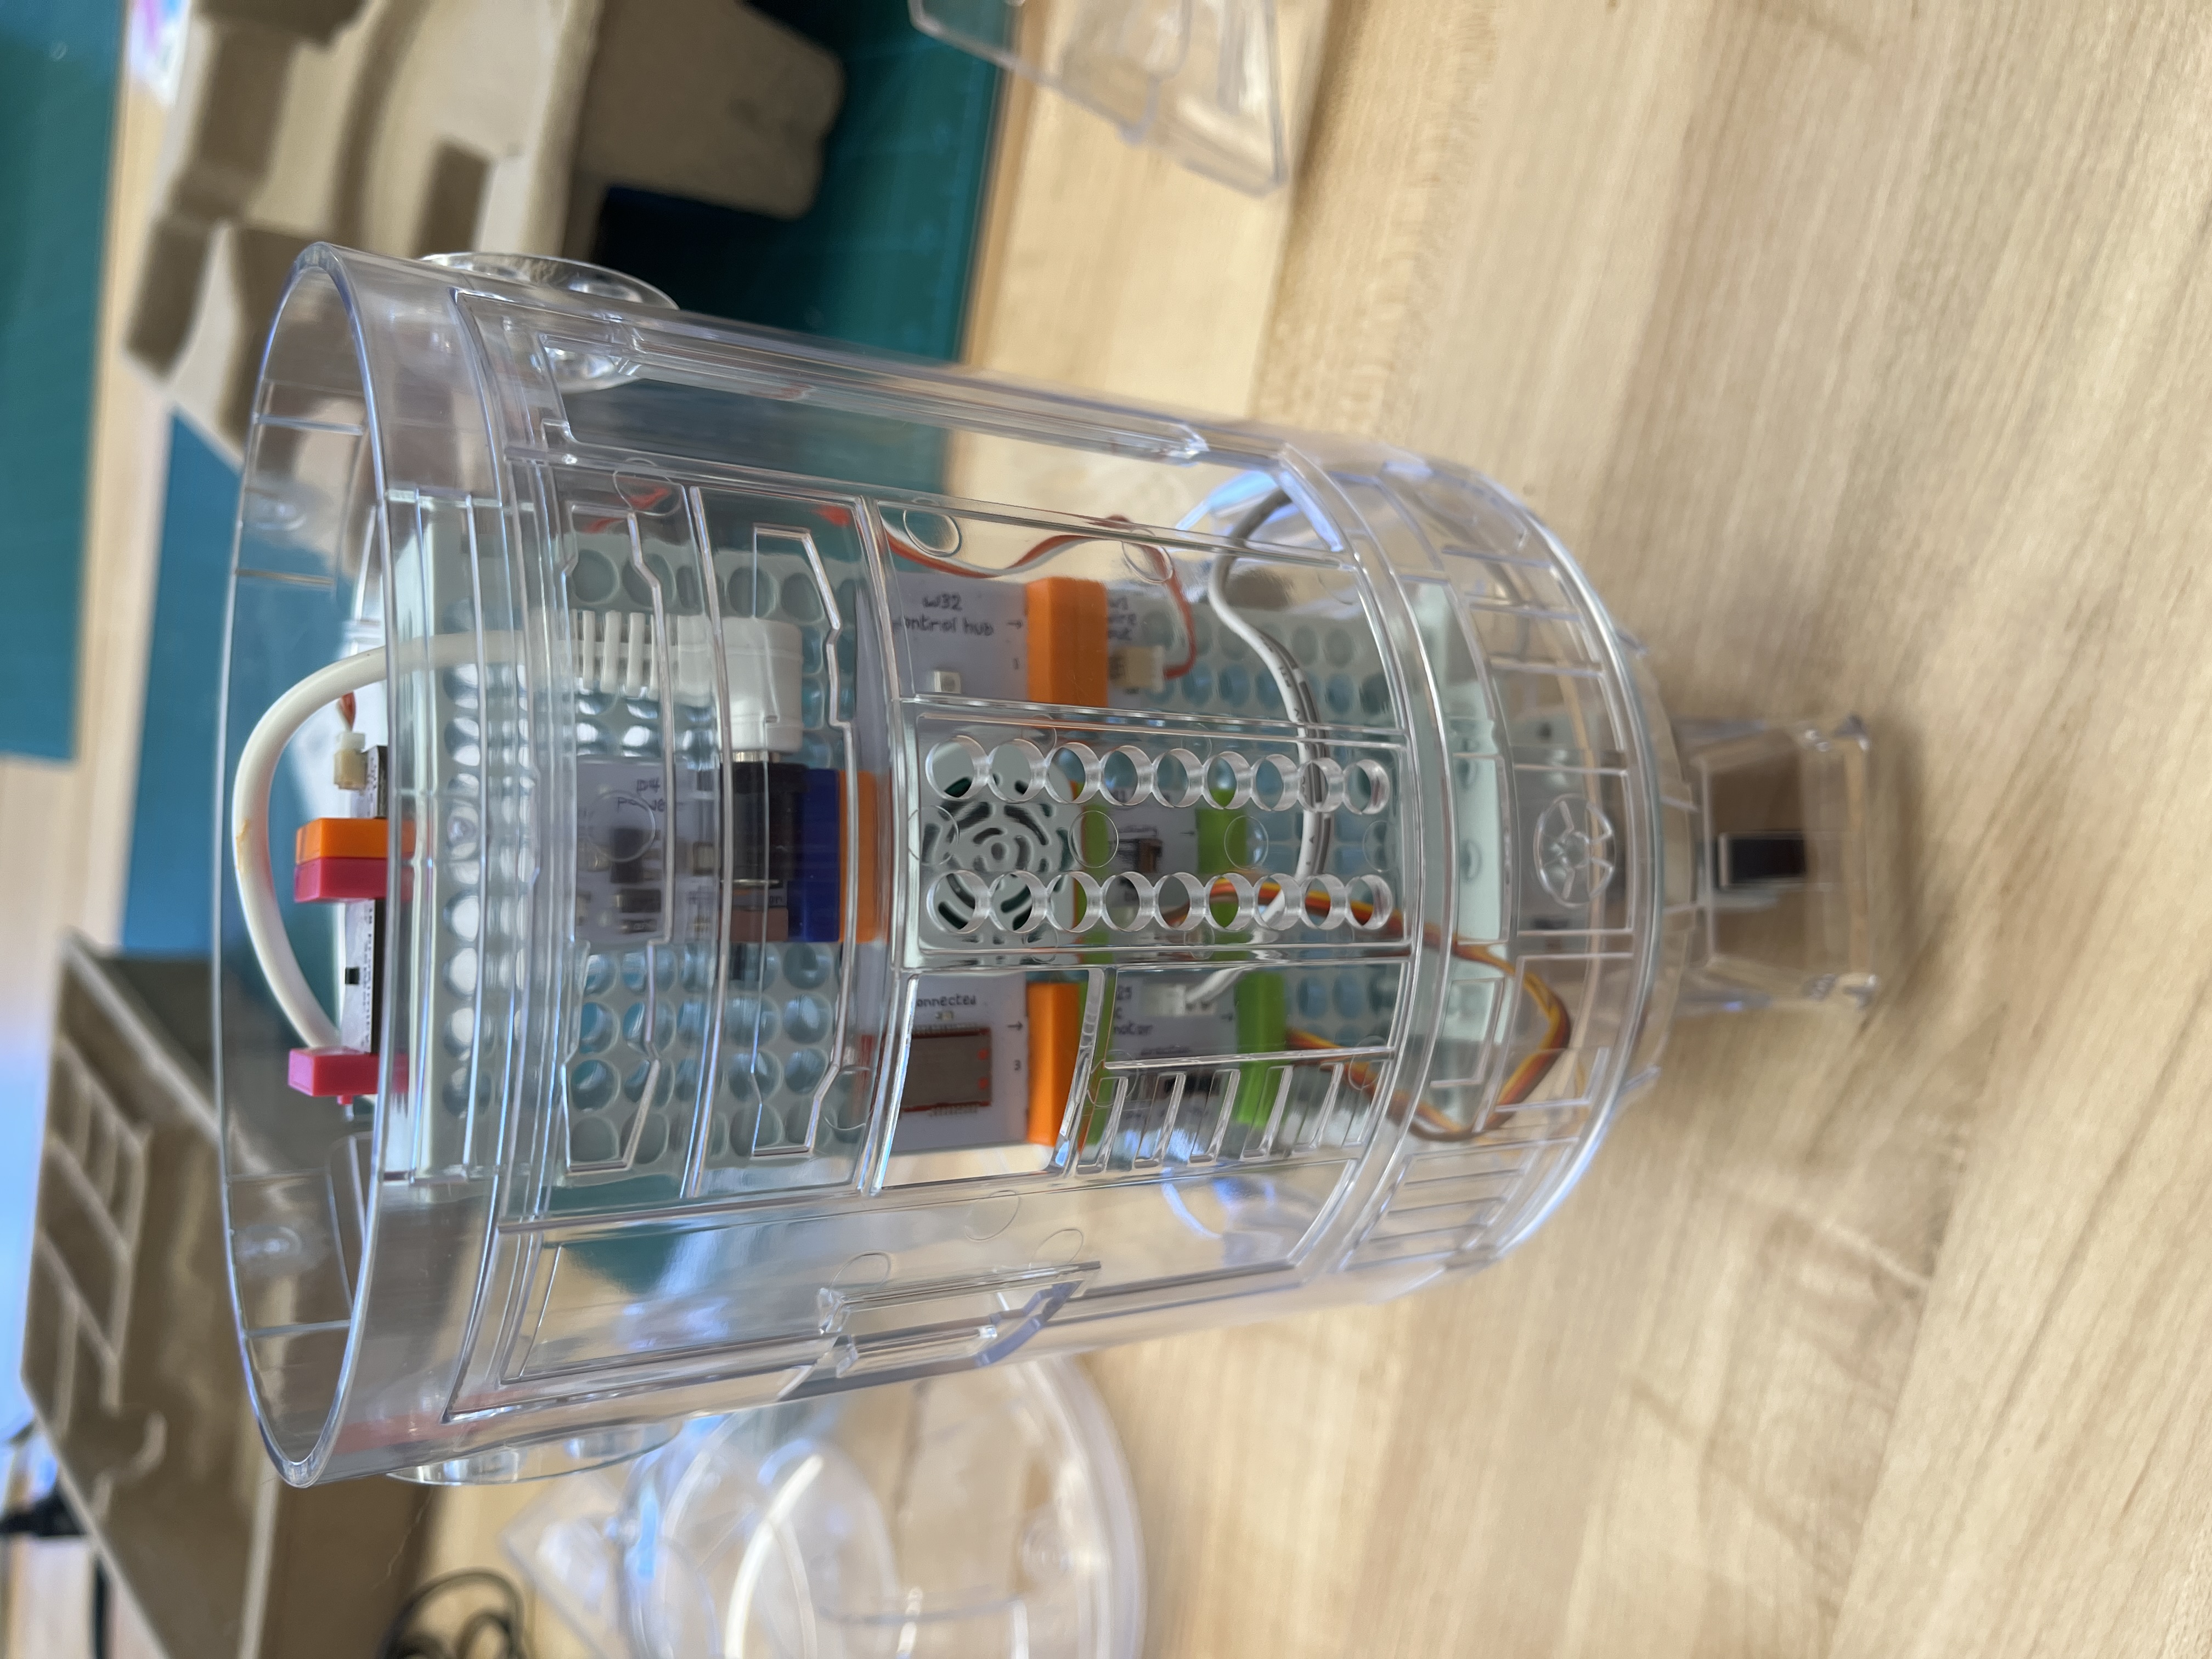
Electronics
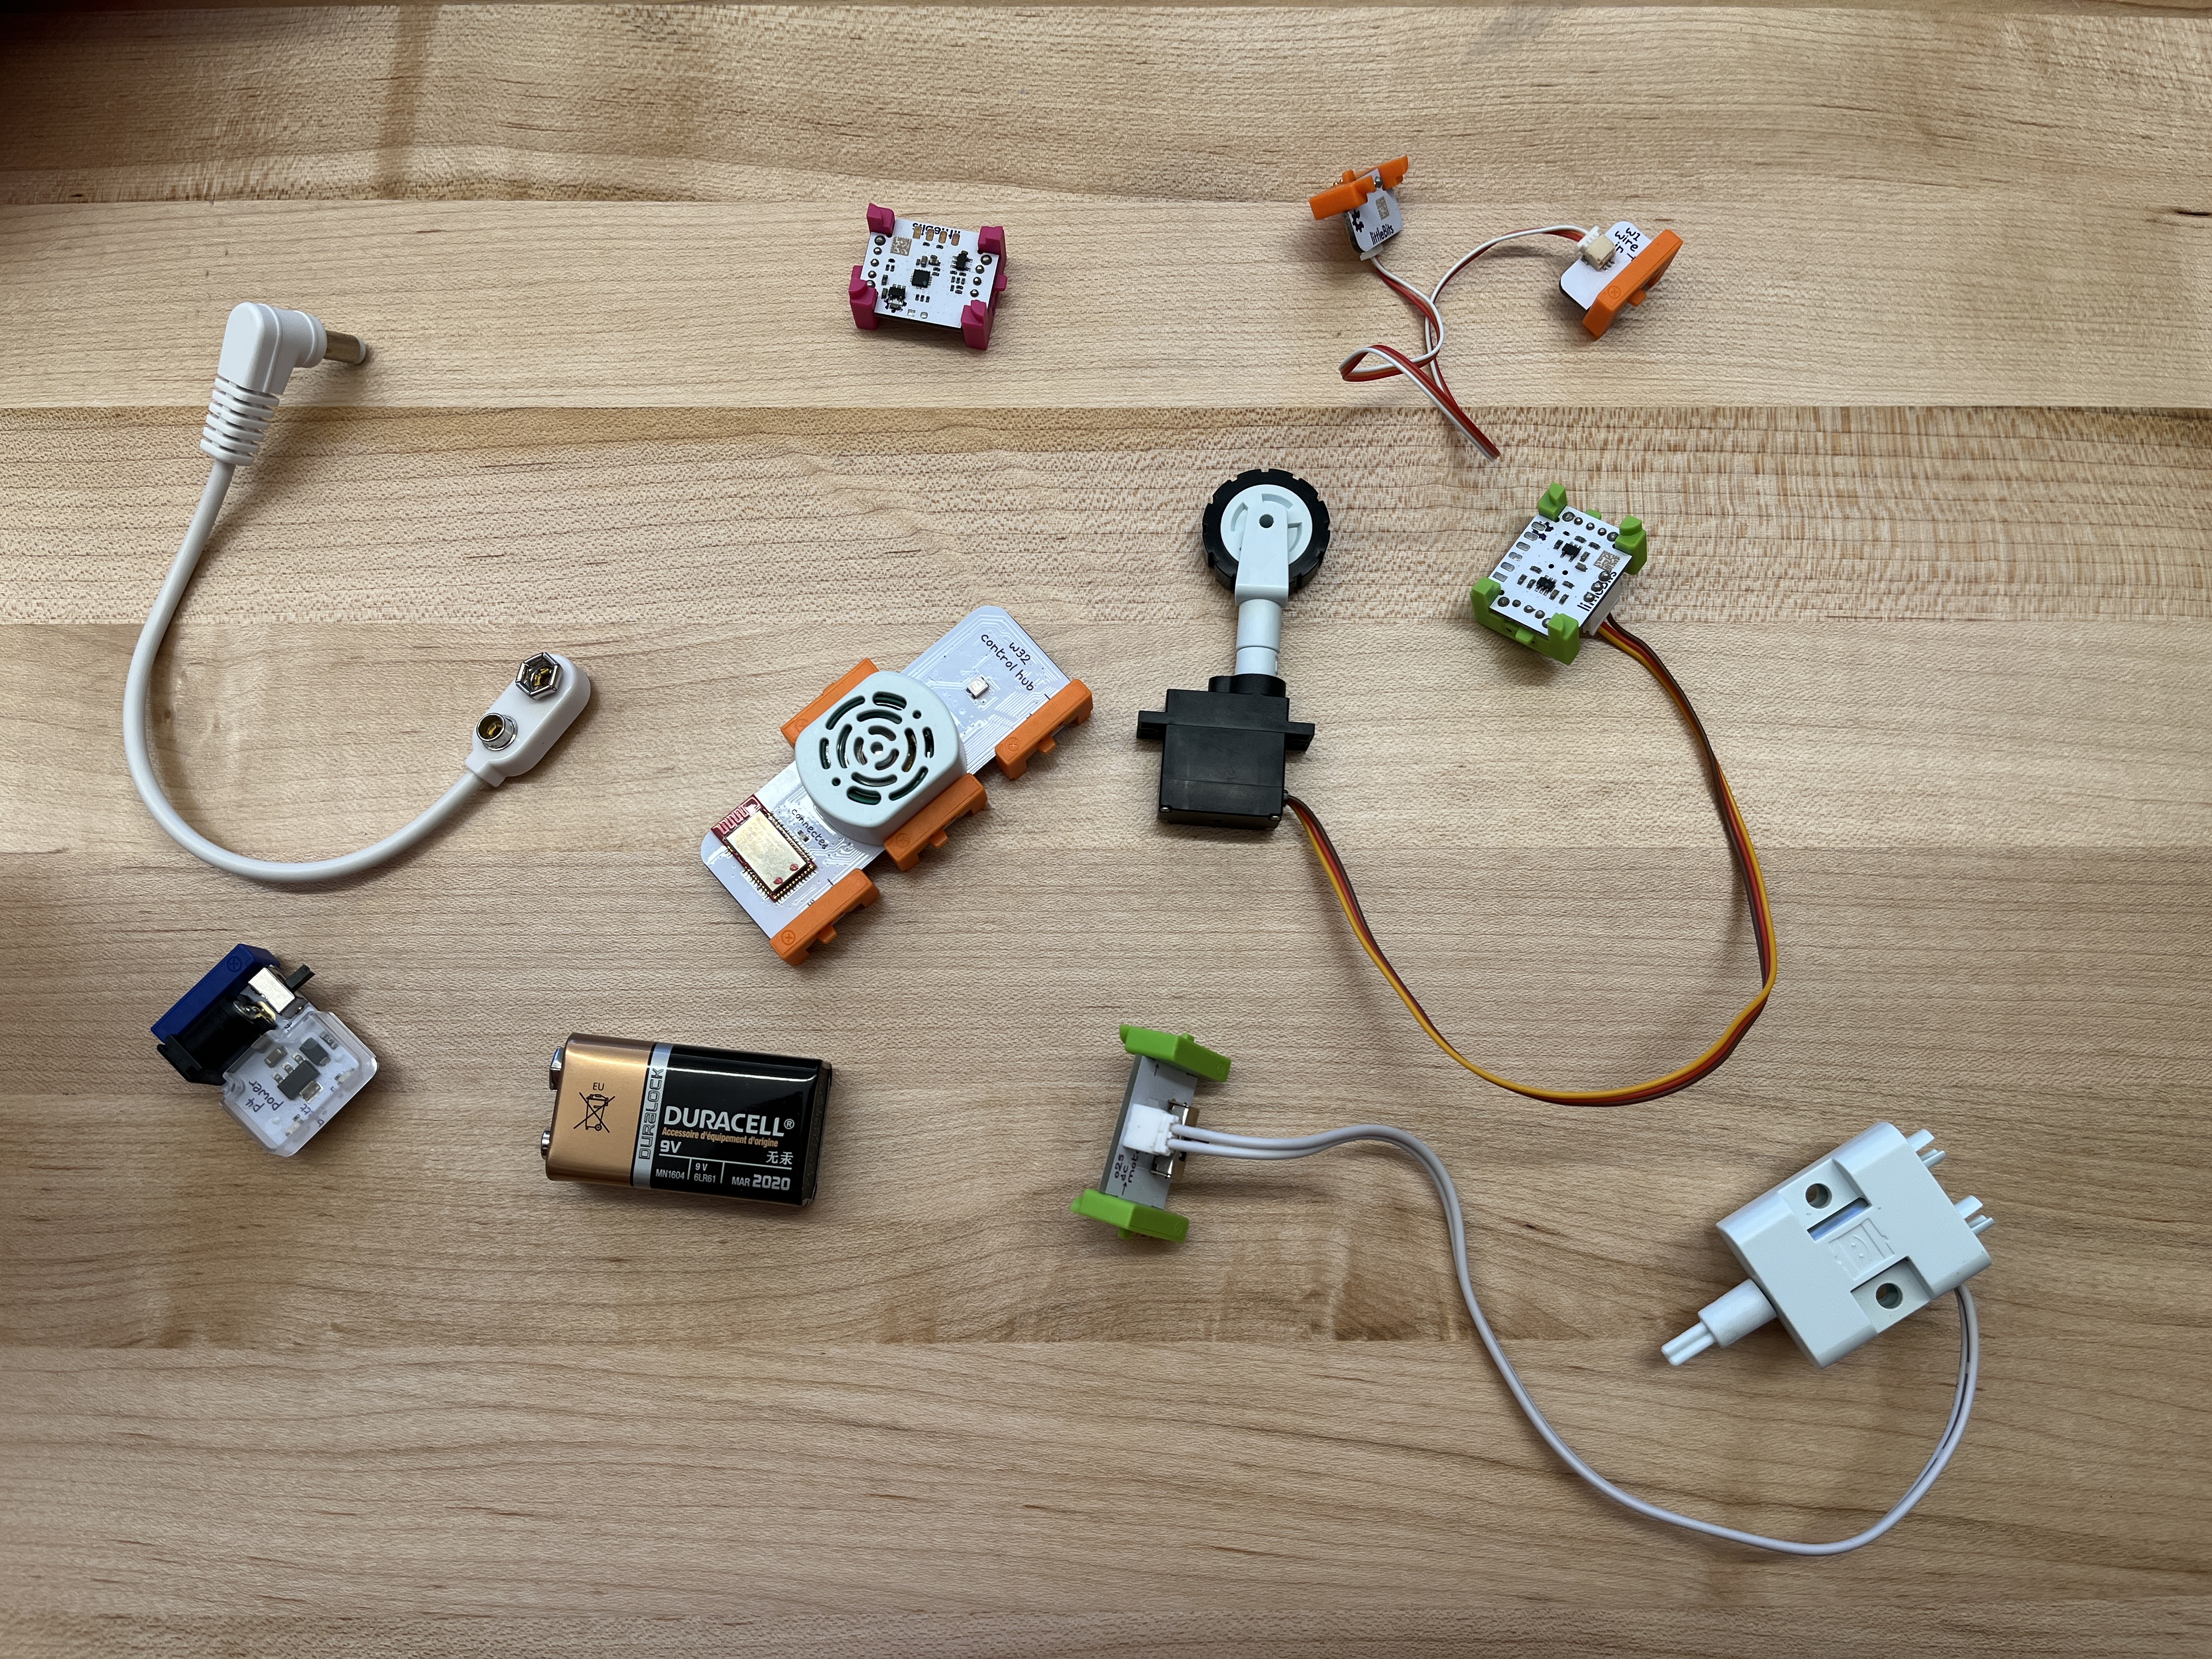
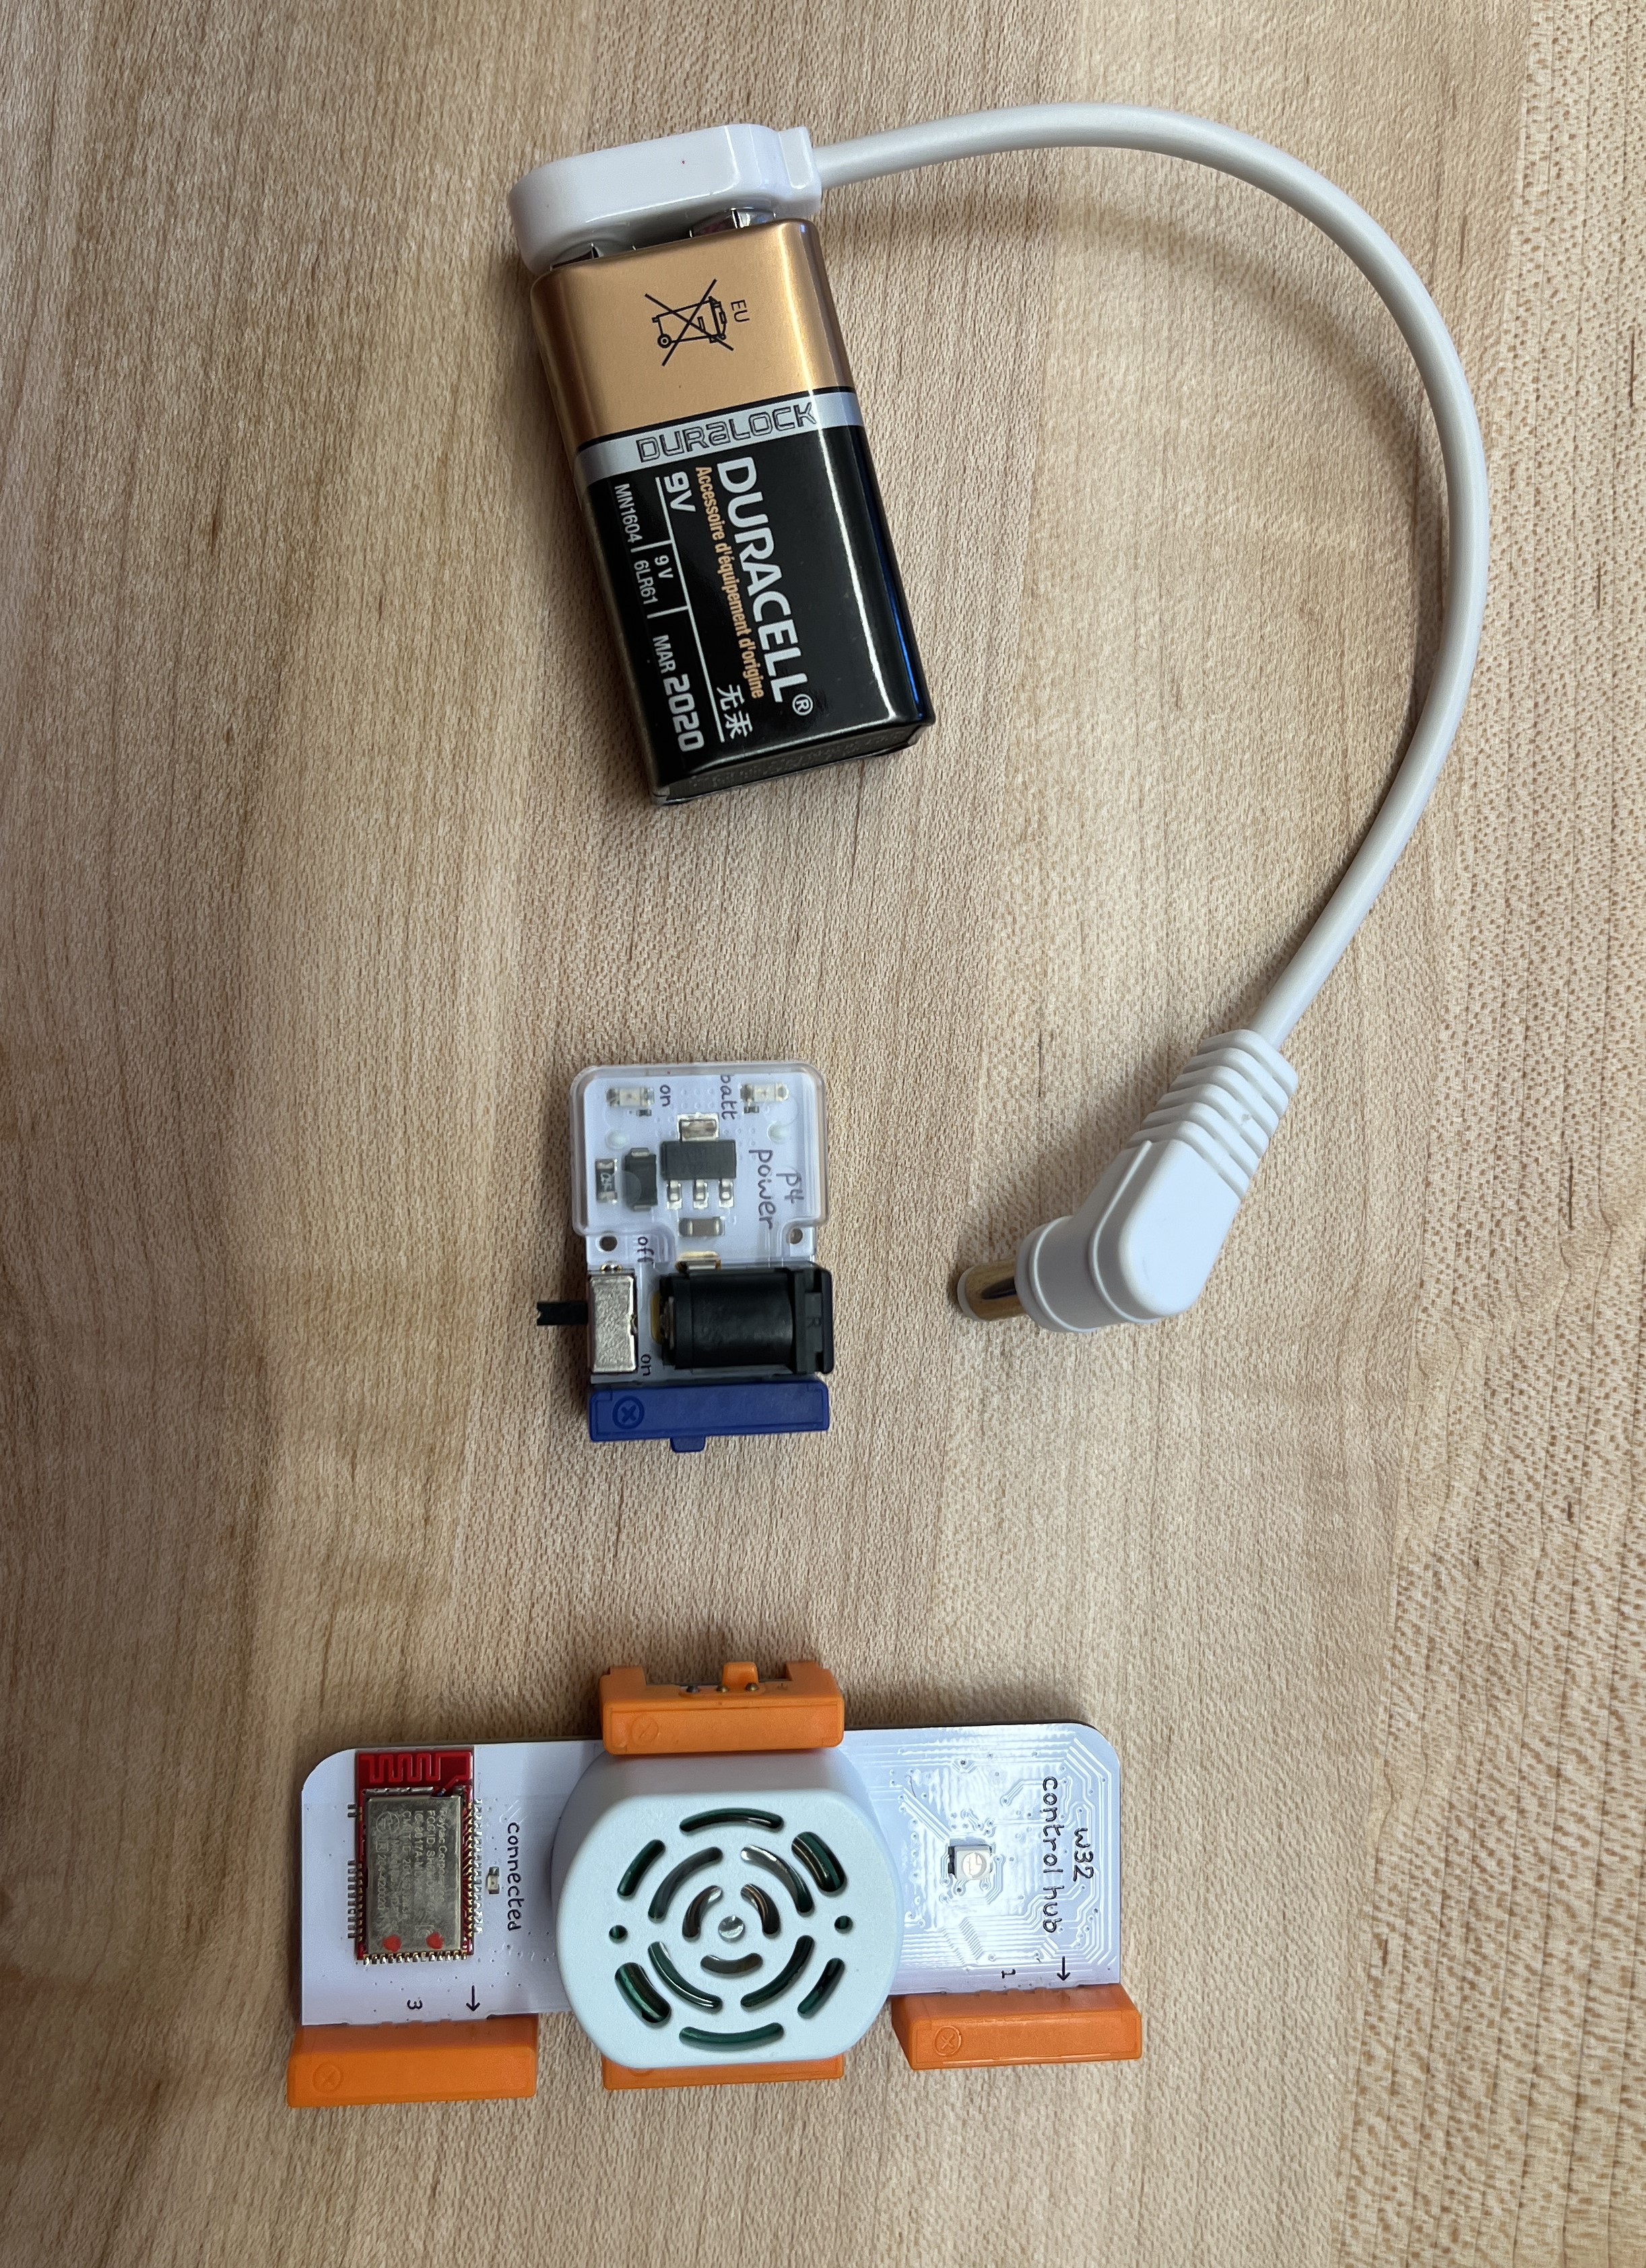
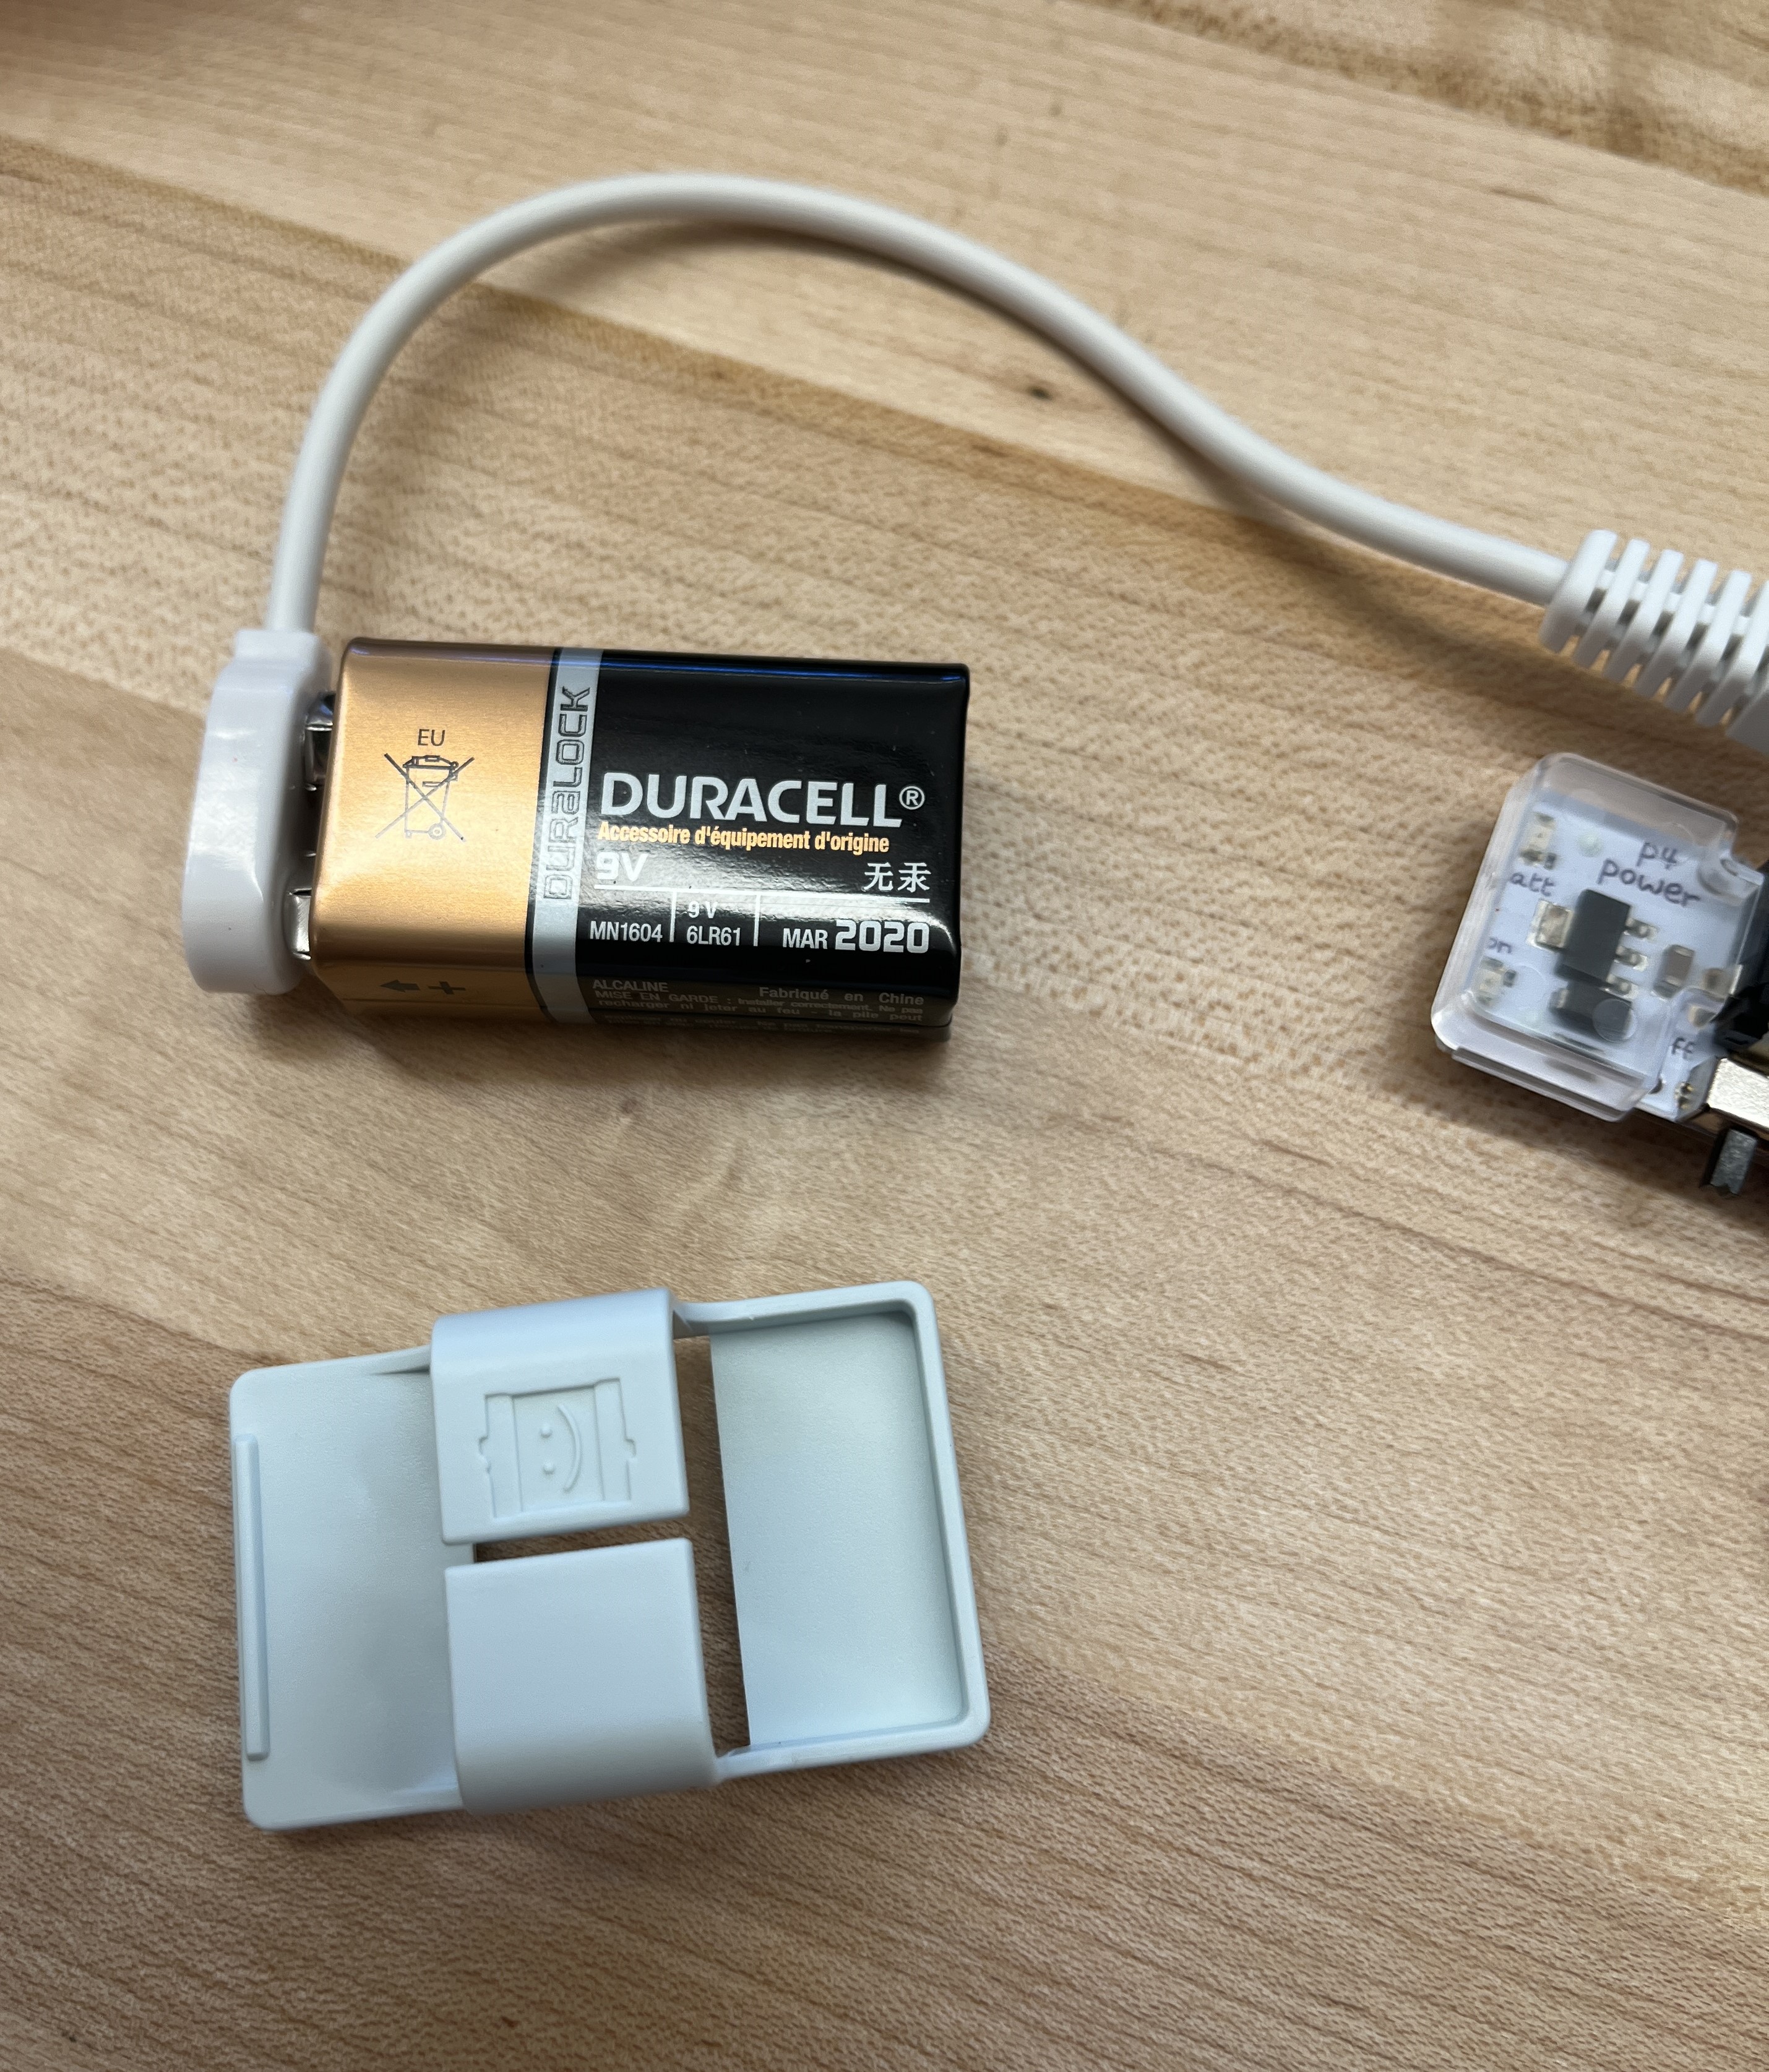
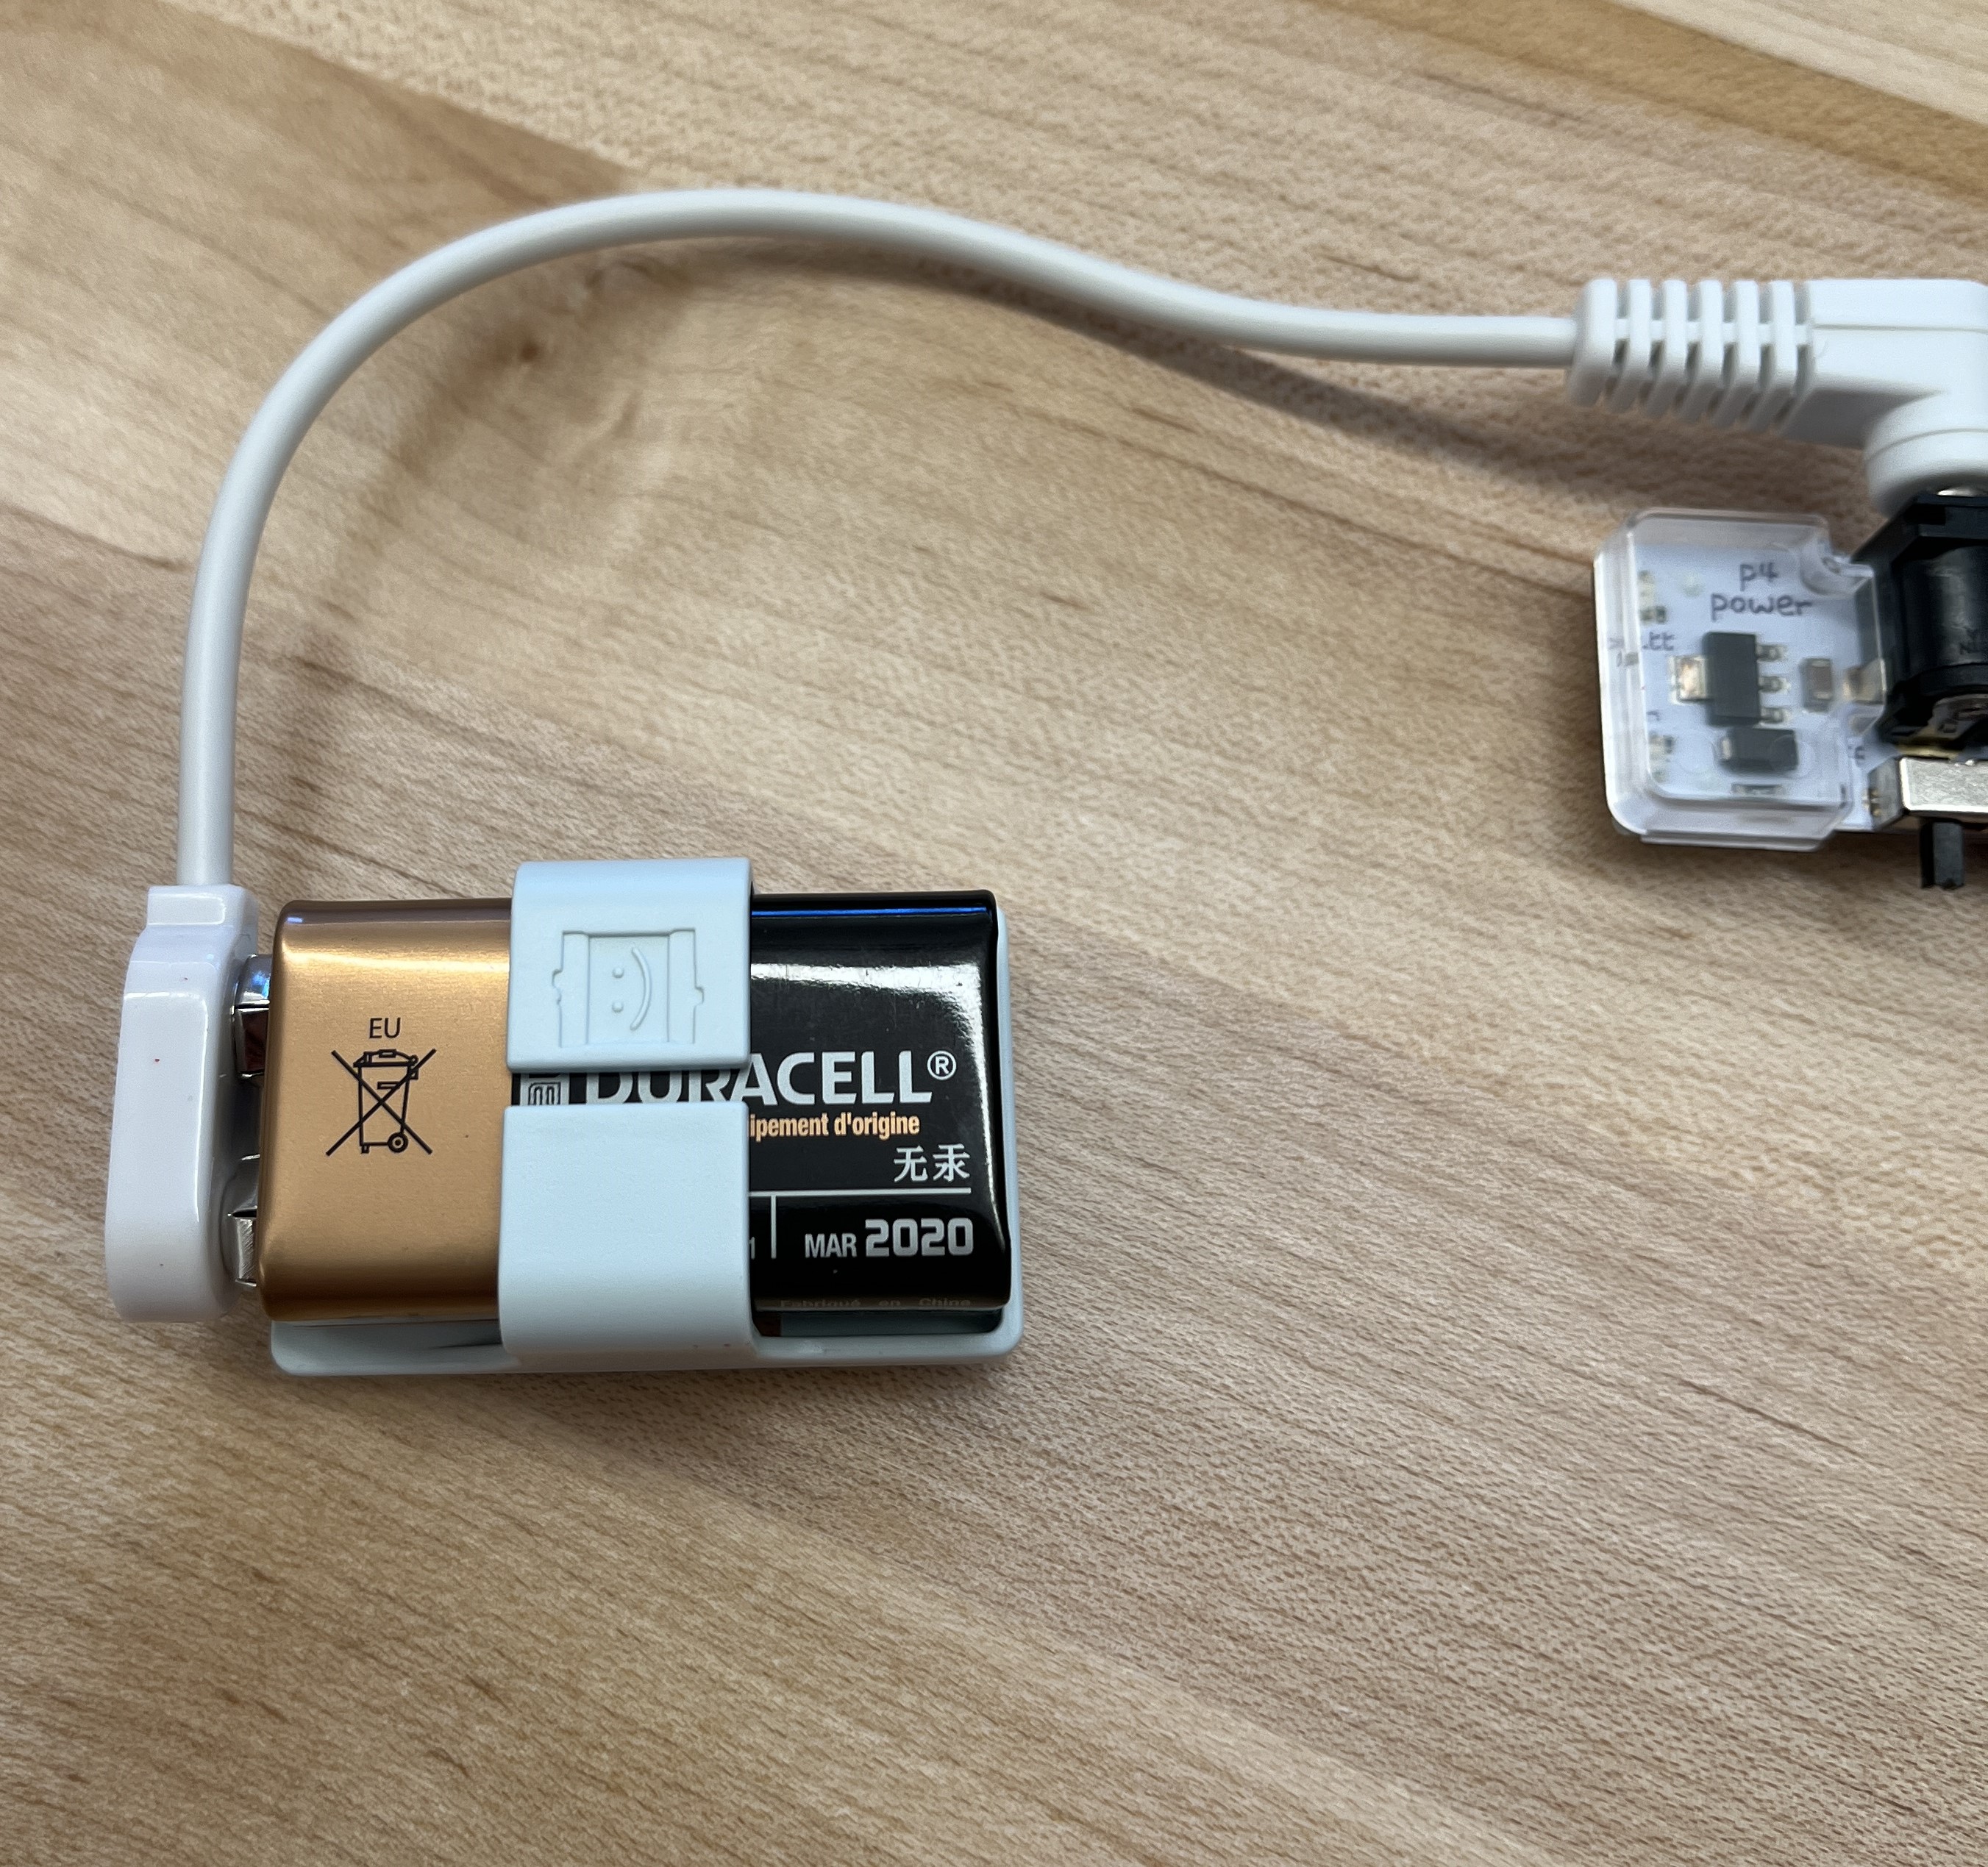
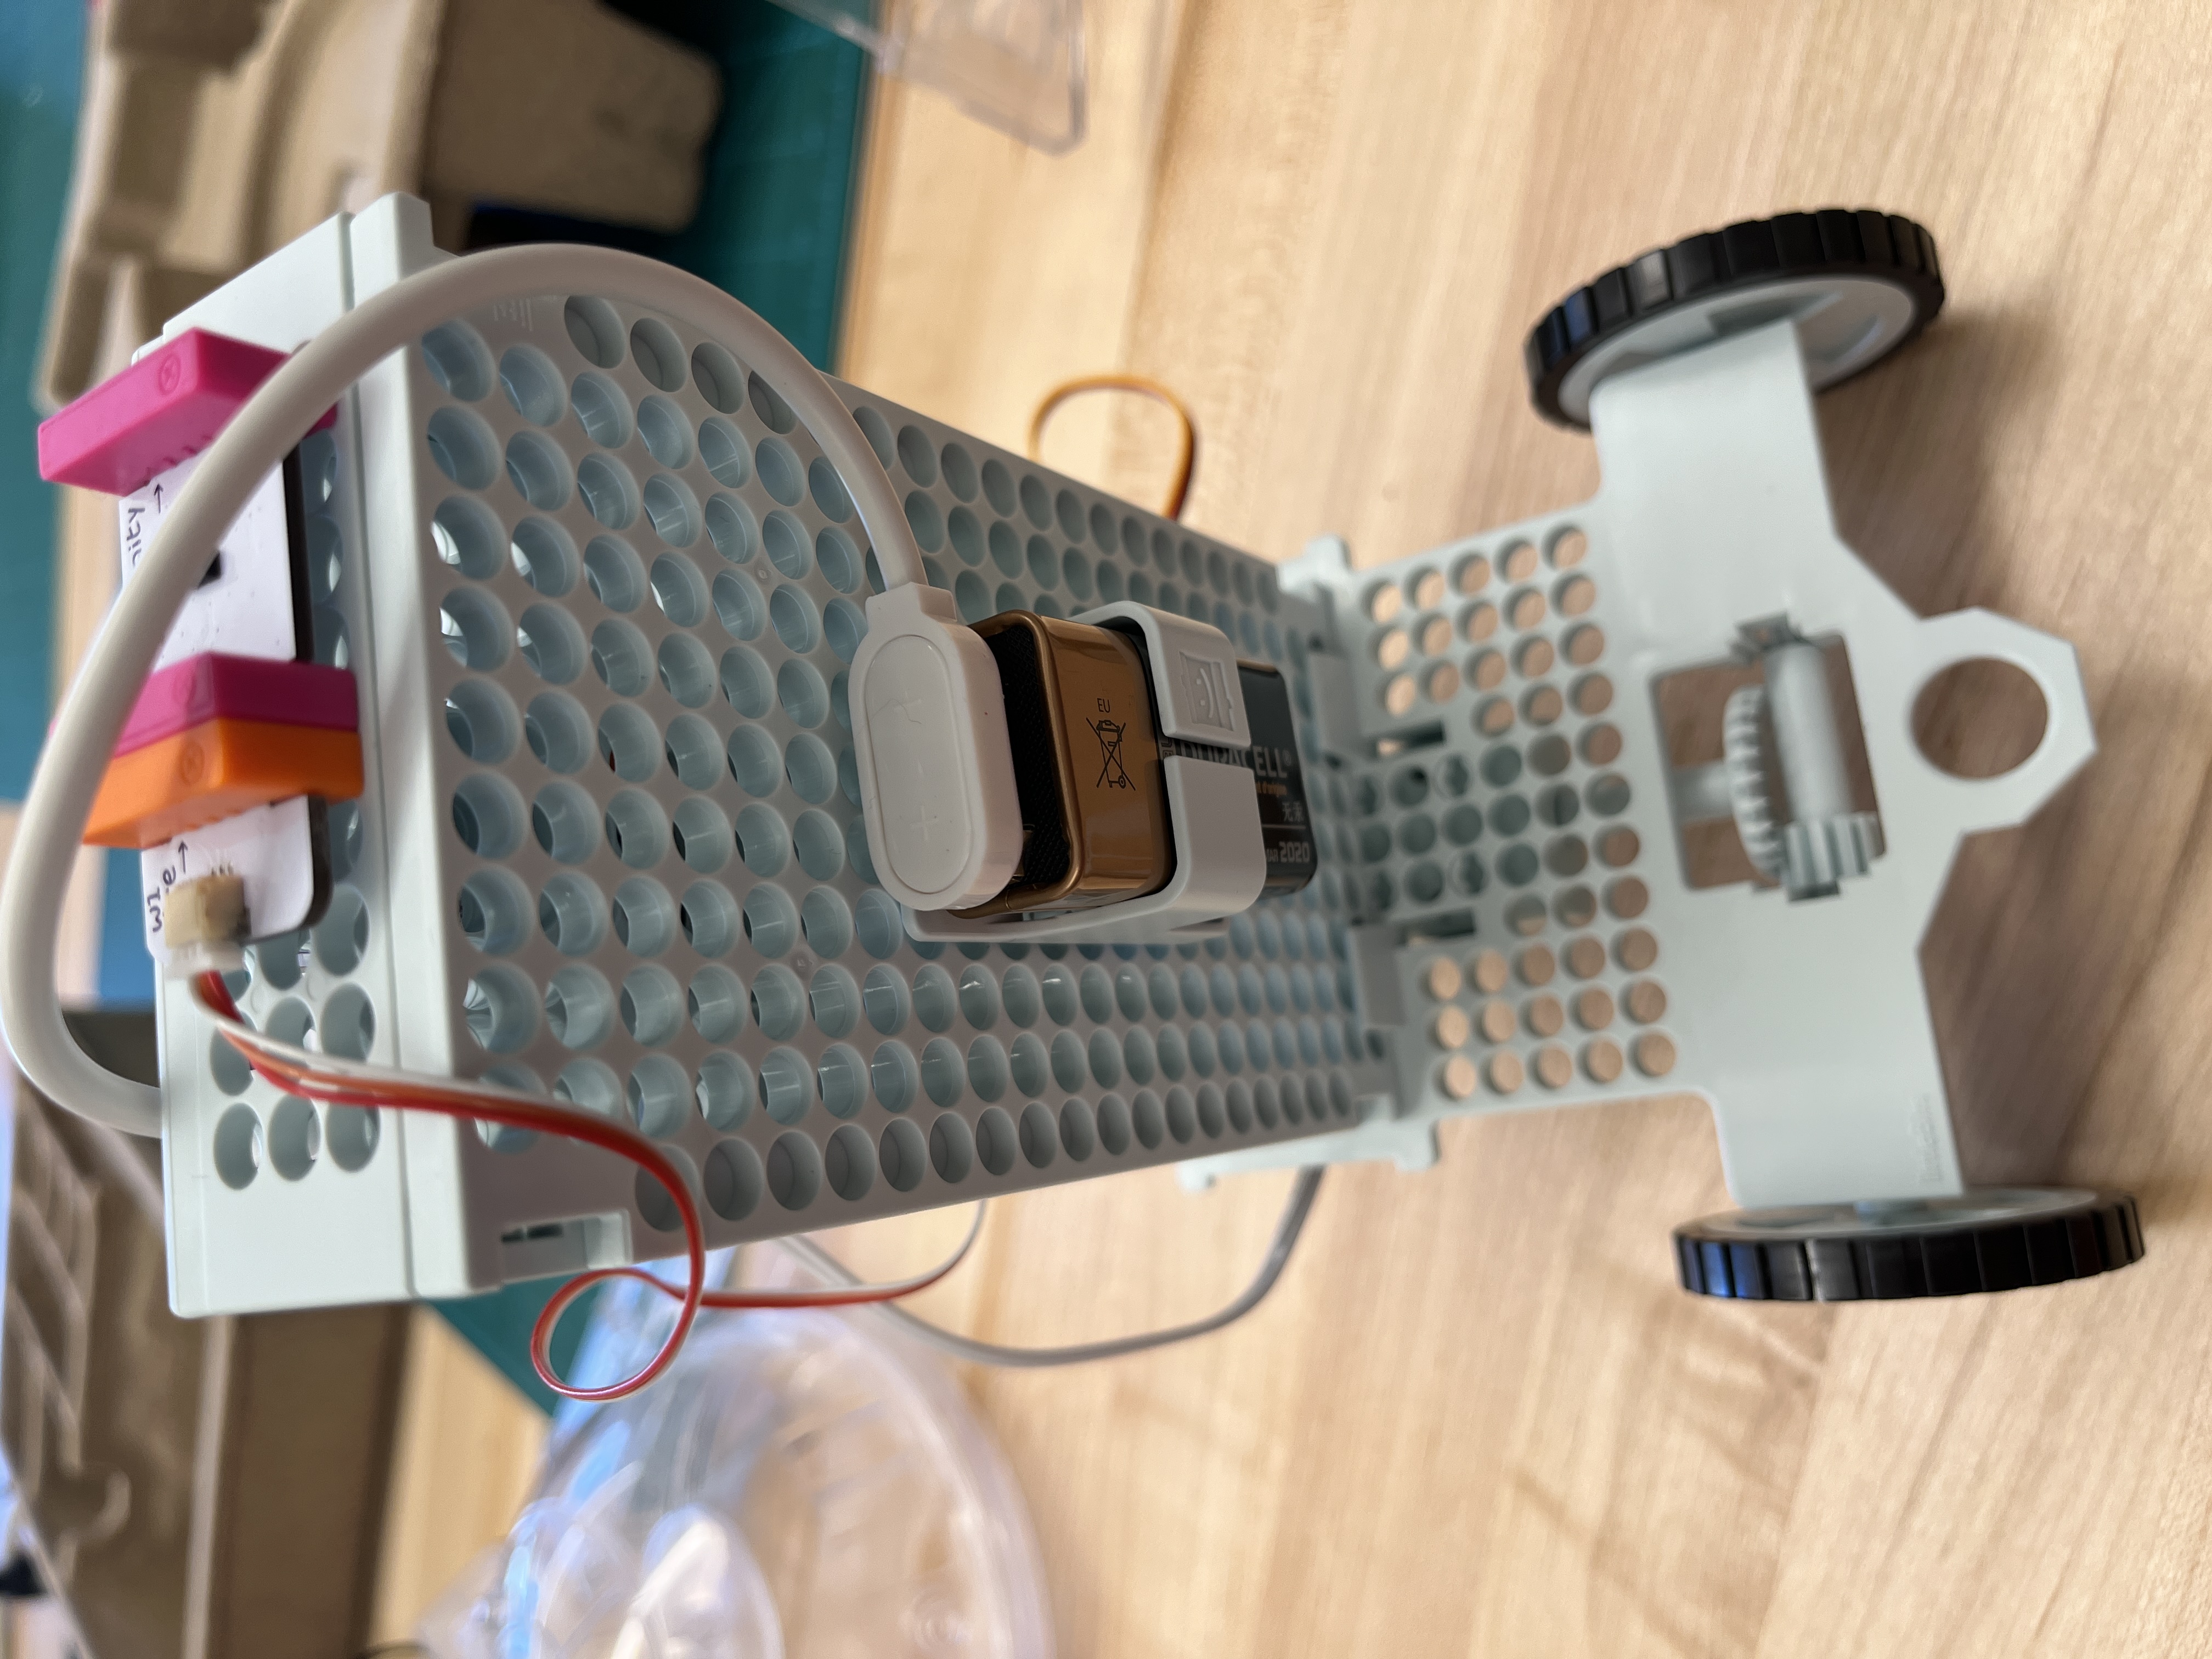
- Connect the adapter to the 9 volt battery and plug the adapter into the port on the dark blue component labeled P4 Power
-
Attach the P4 Power module to the control hub, on the side with a singular adapter
-
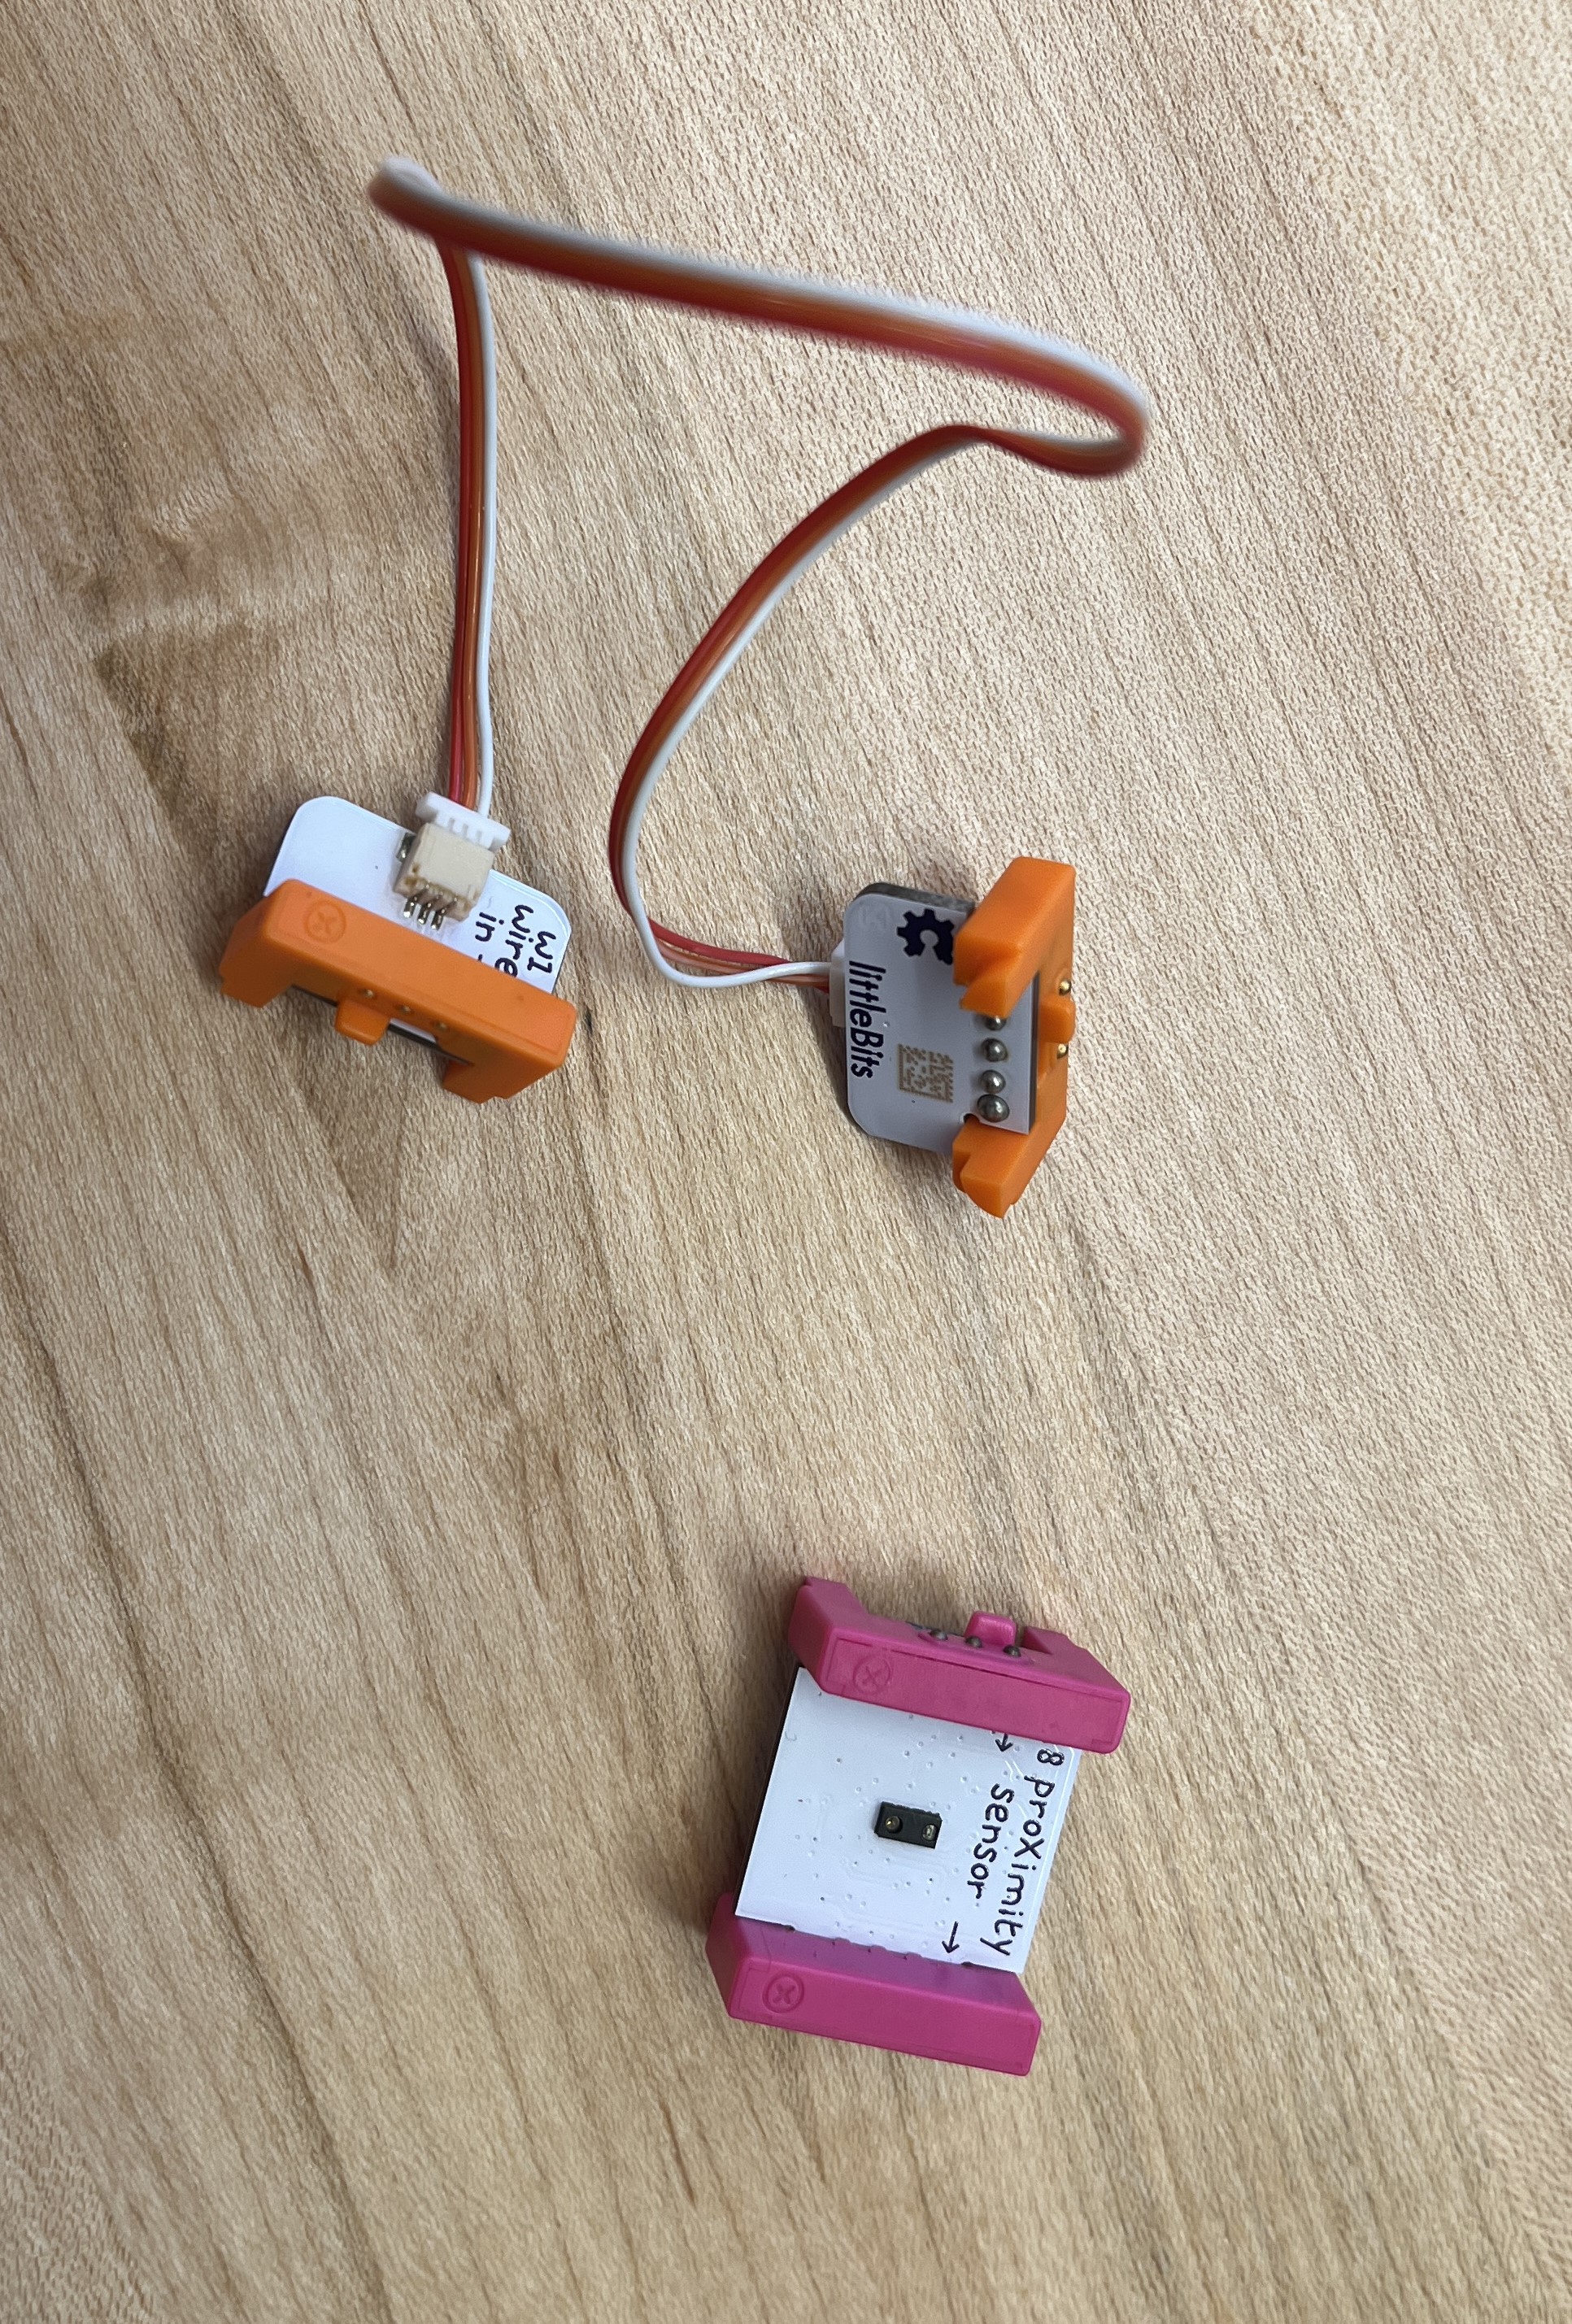
There will be a longer connector with Wire In and Wire Out labels. The W1 Wire Out connector will plug into the top port (1) on the control hub and the W1 Wire Out connector will plug into the pink component labeled Proximity Sensor
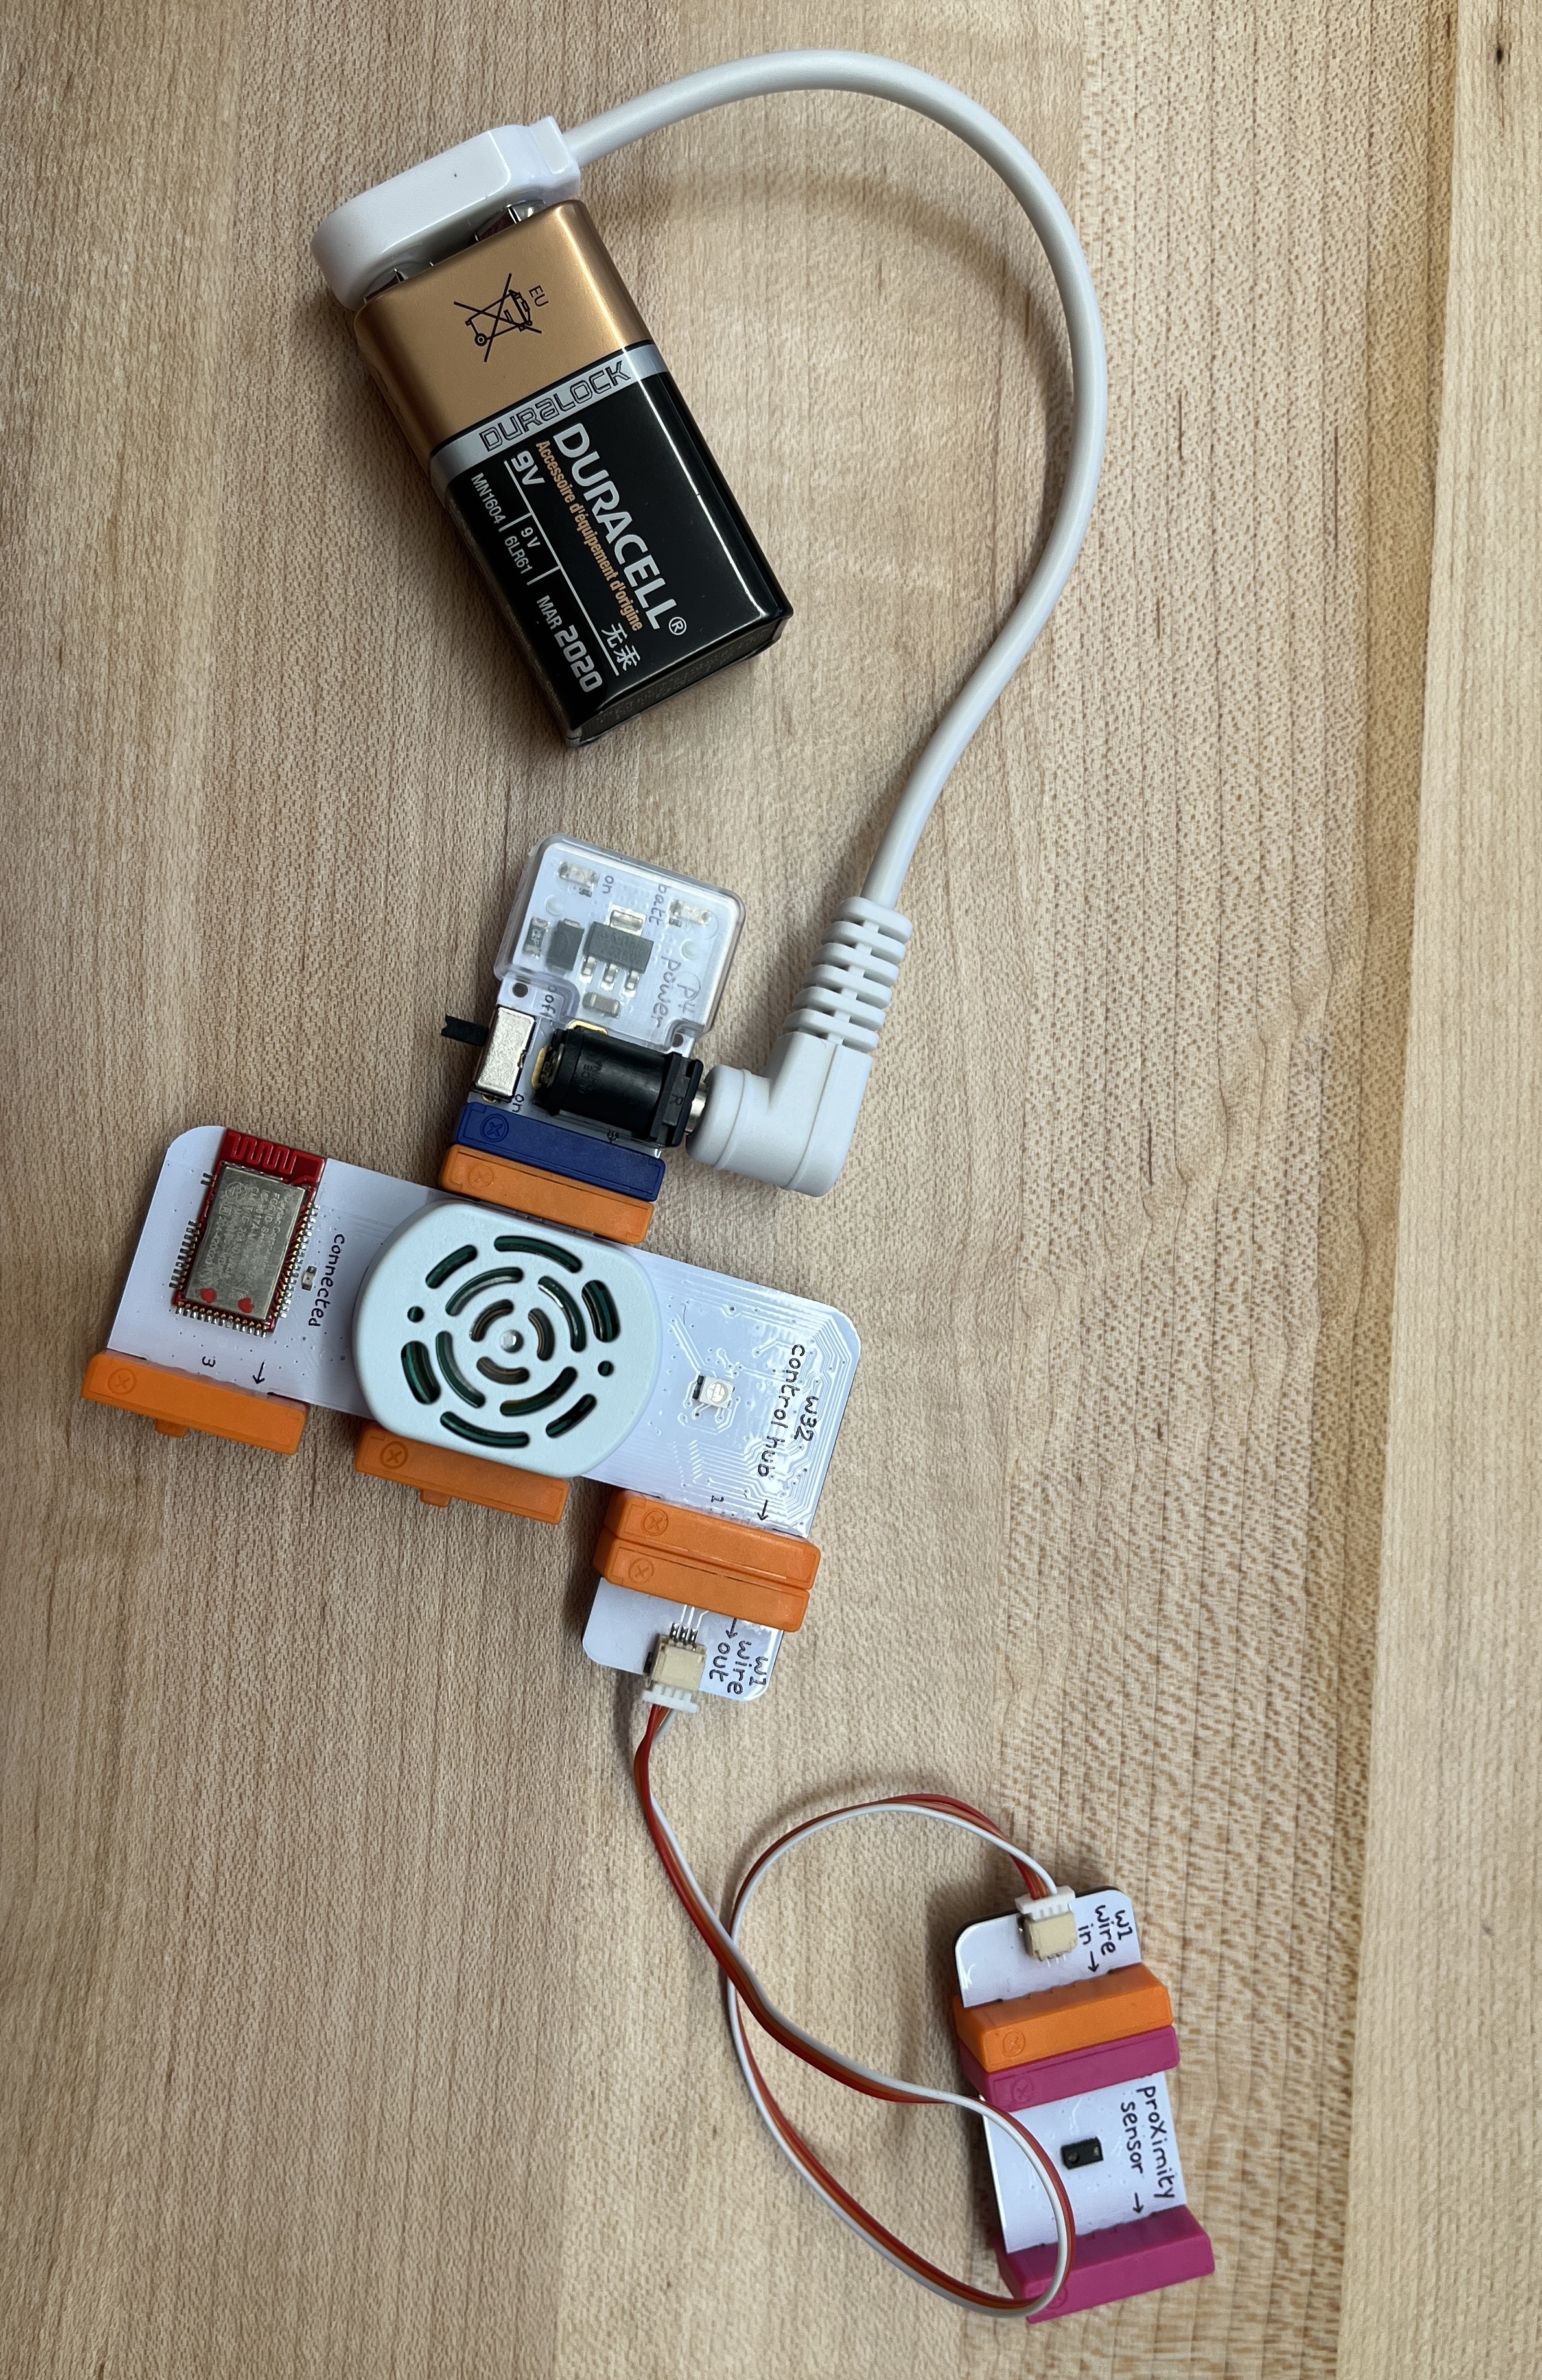
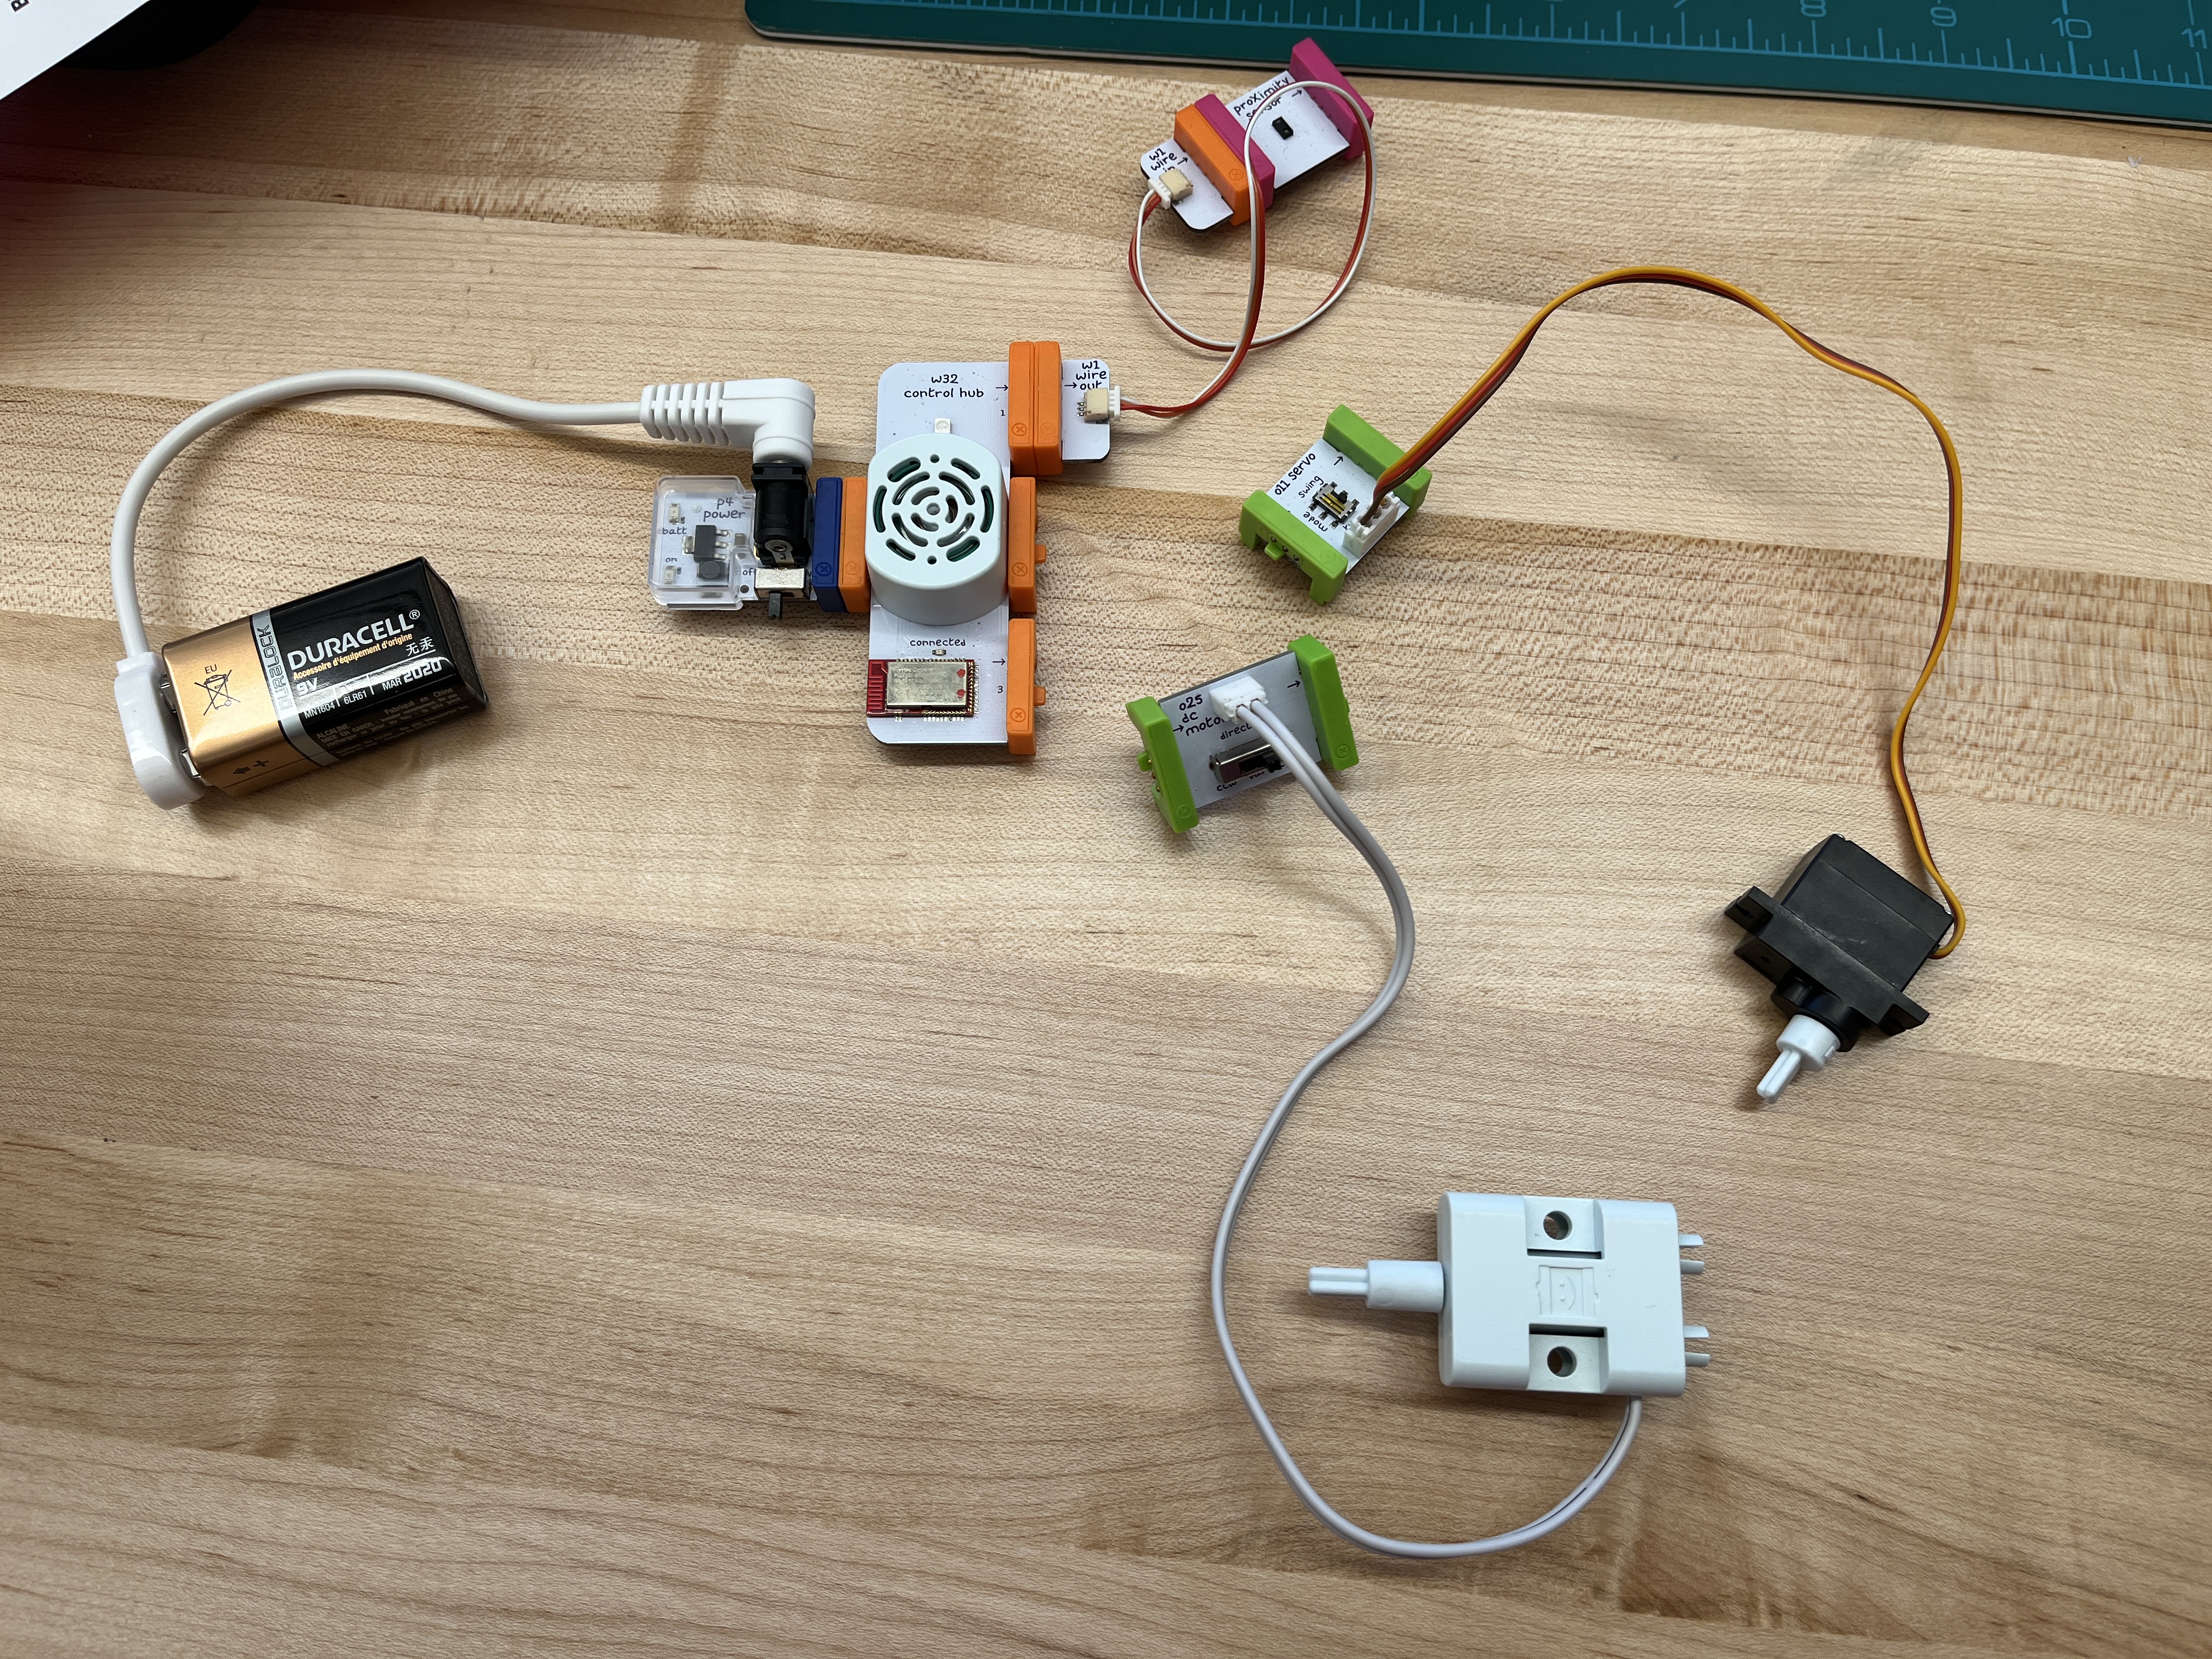
- Connect the component labeled 011 Servo to the middle connector (2) of the control hub and the component labeled 025 dc motor to the bottom connector (3) of the control hub. This setup will make mounting the electronics to the chassis easier.
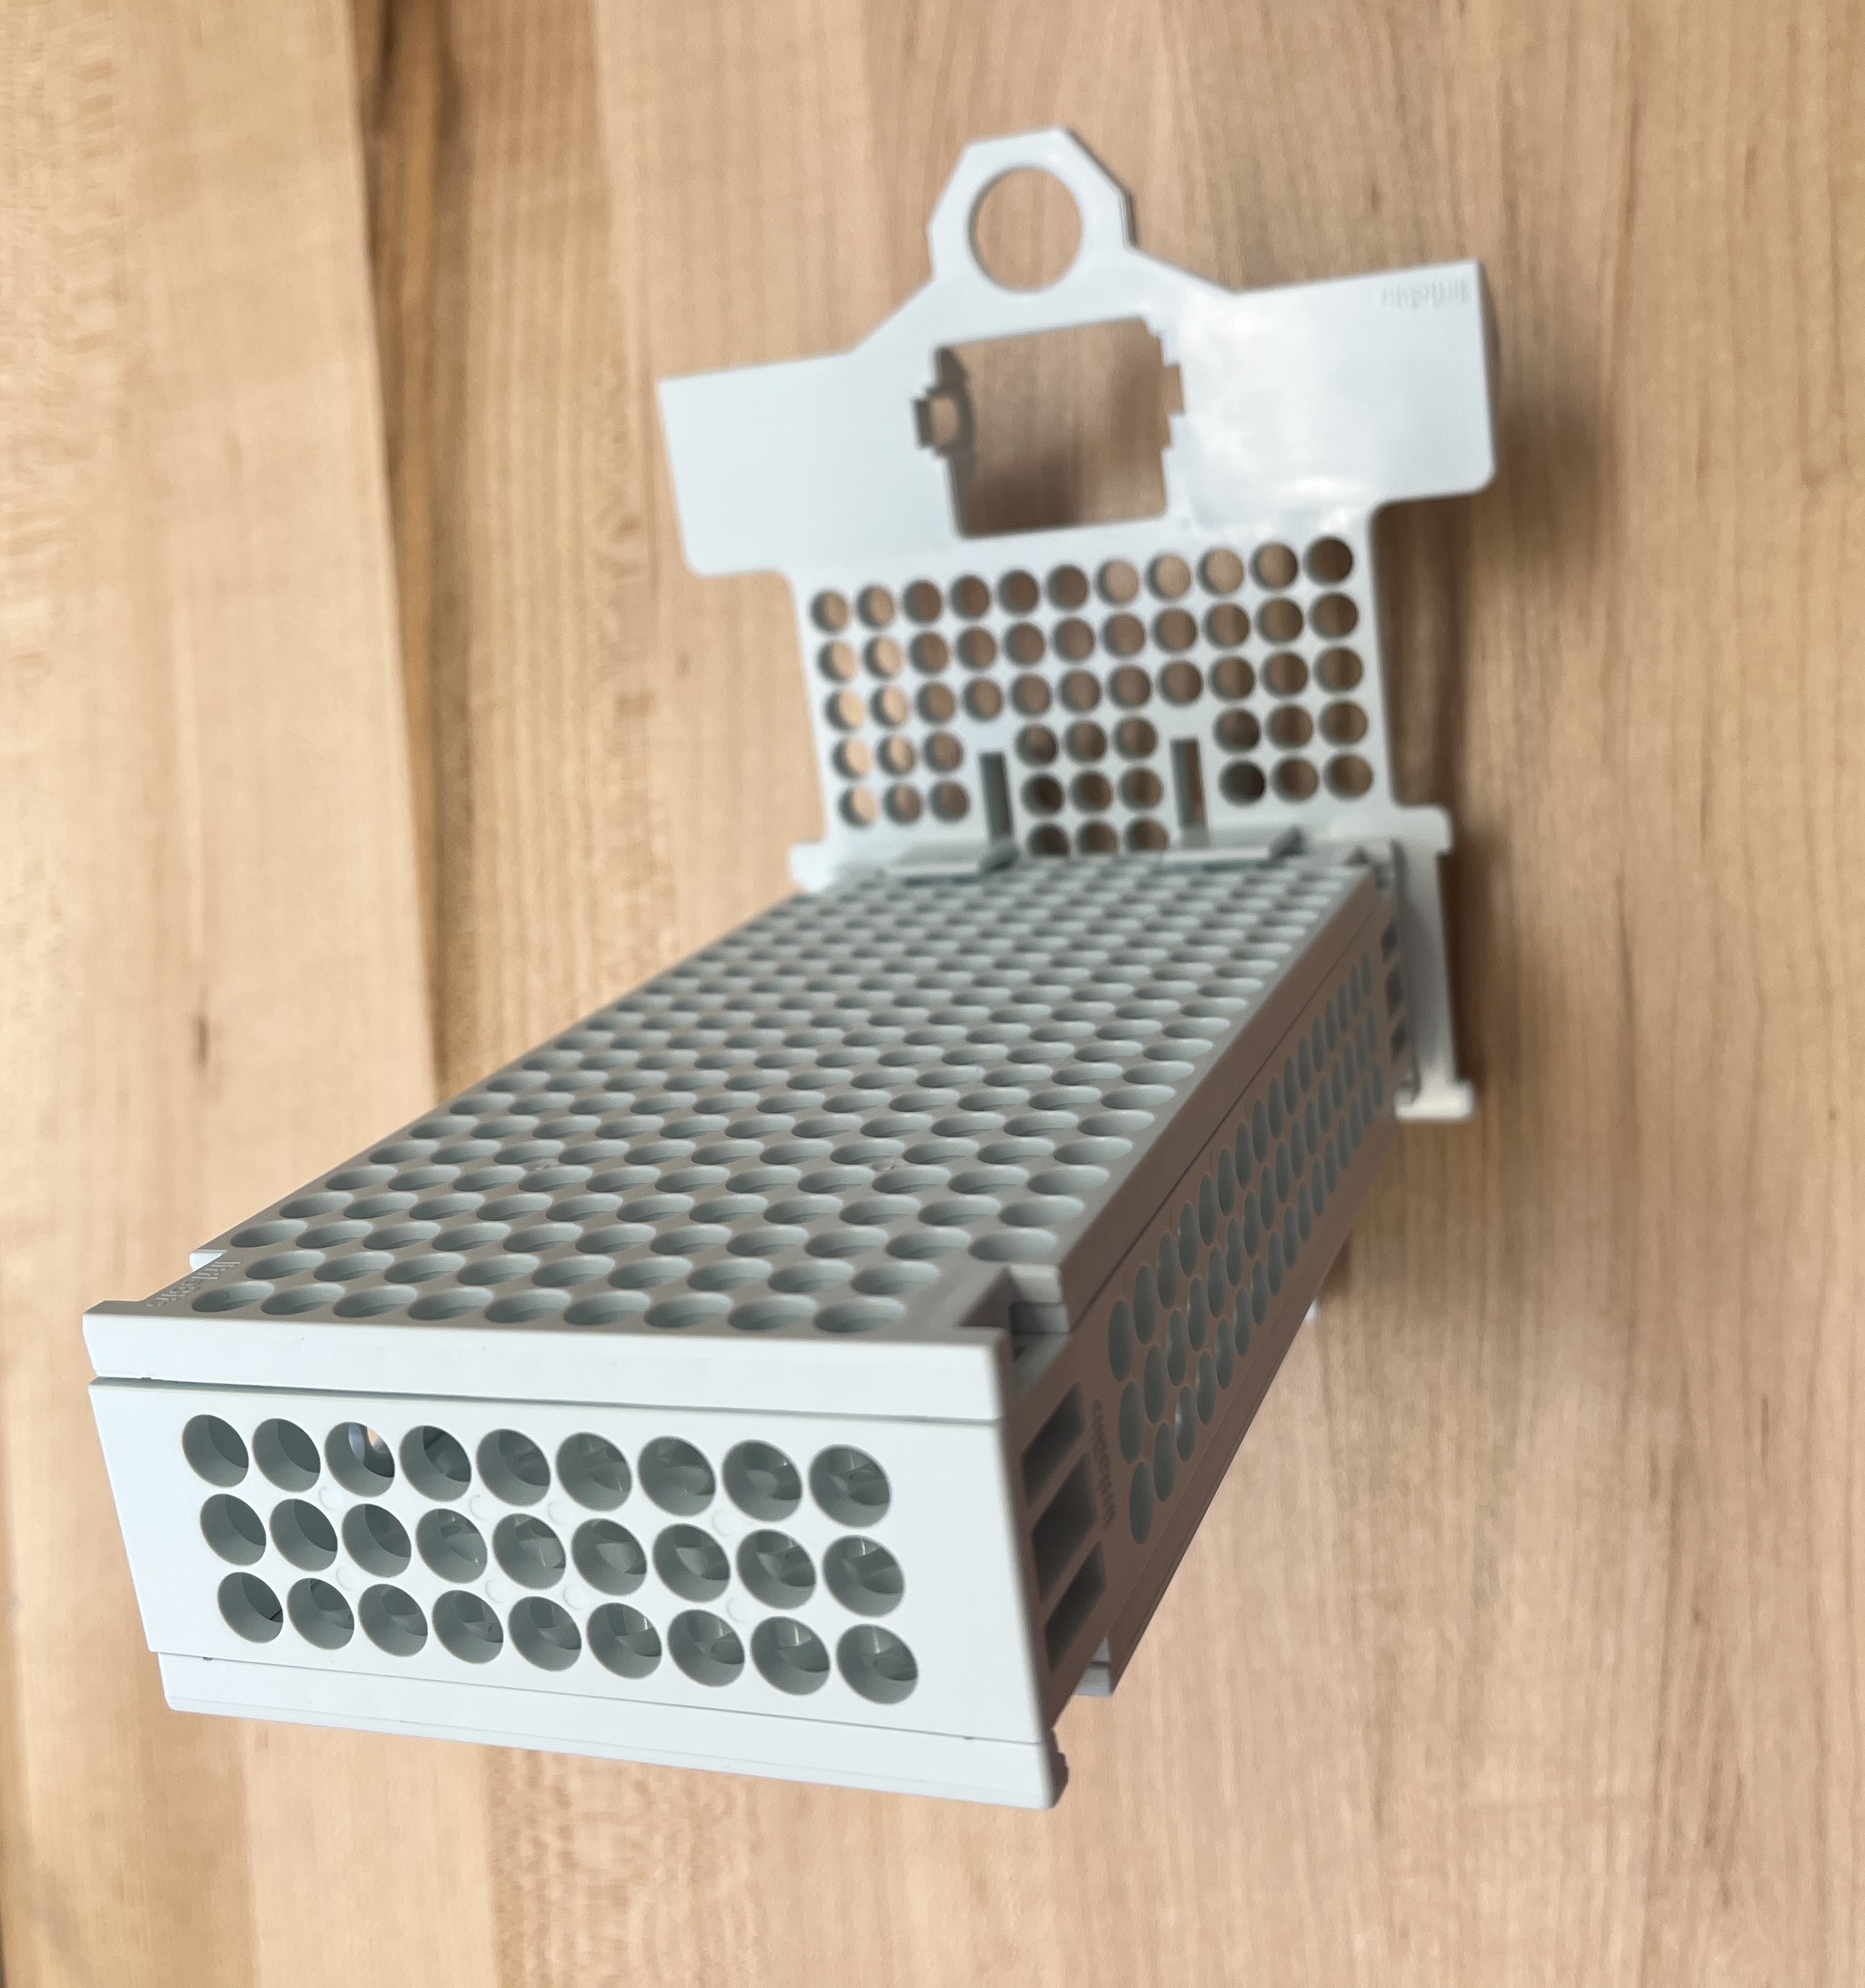
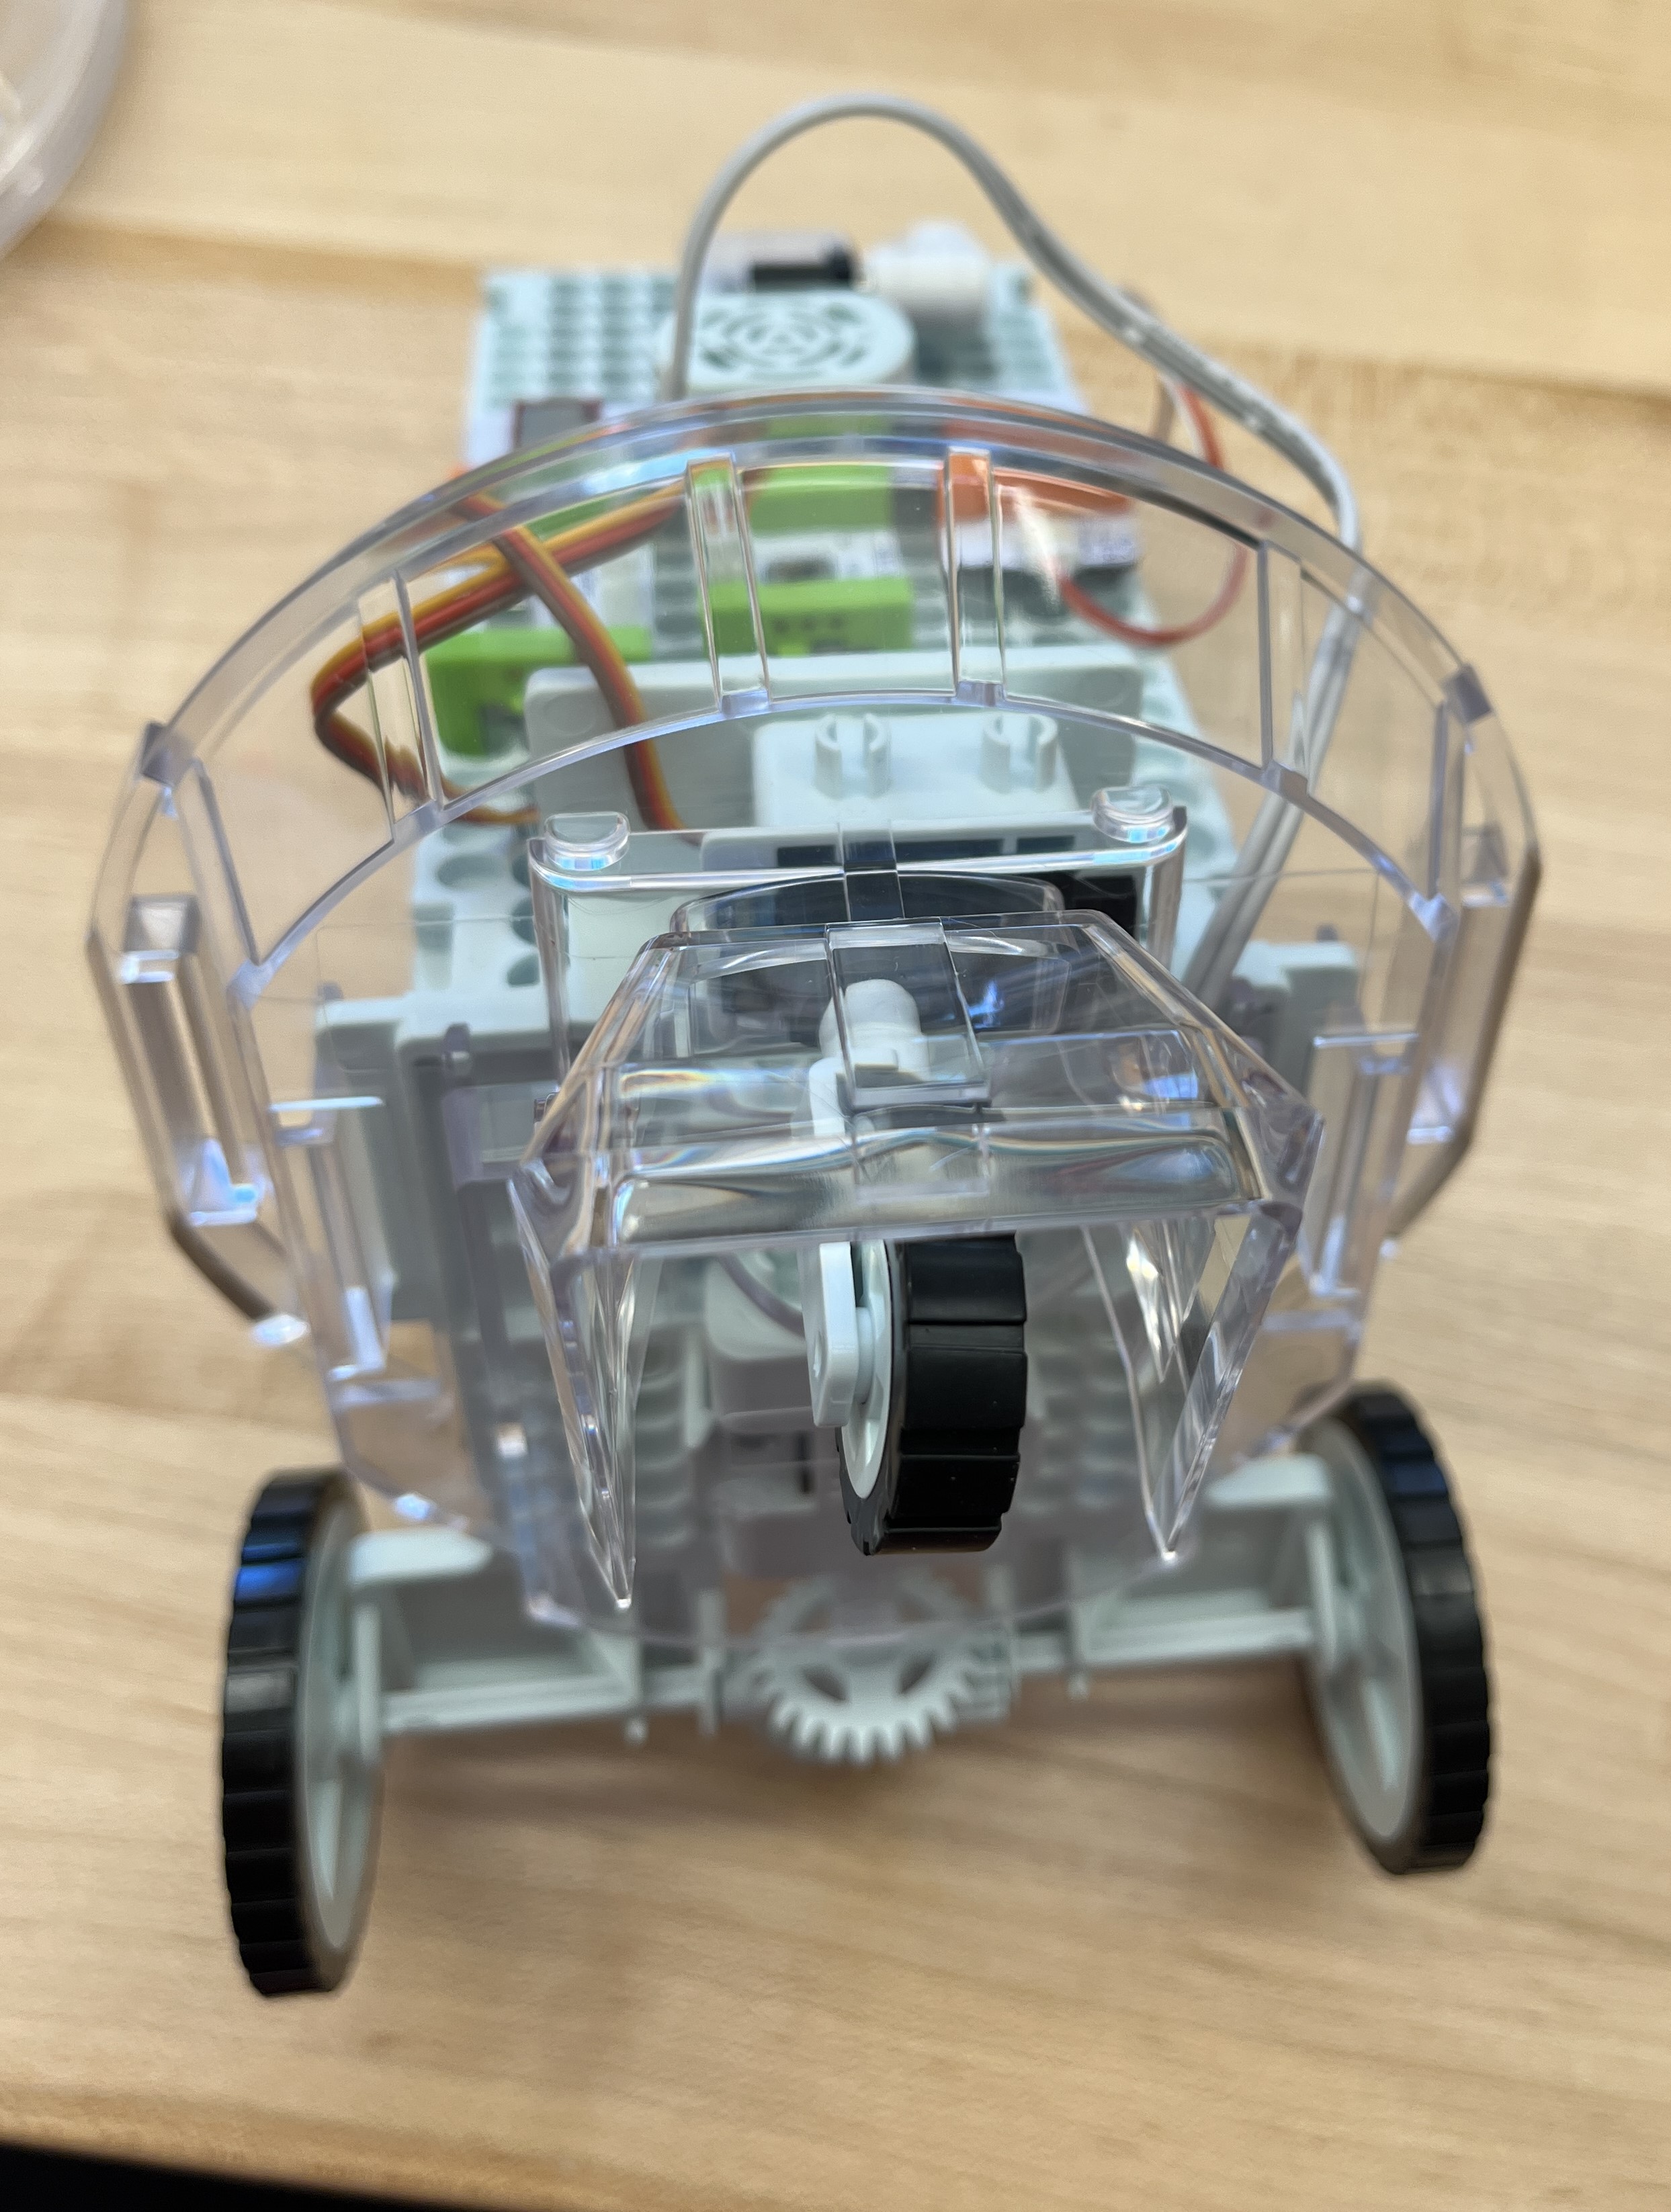
Chassis
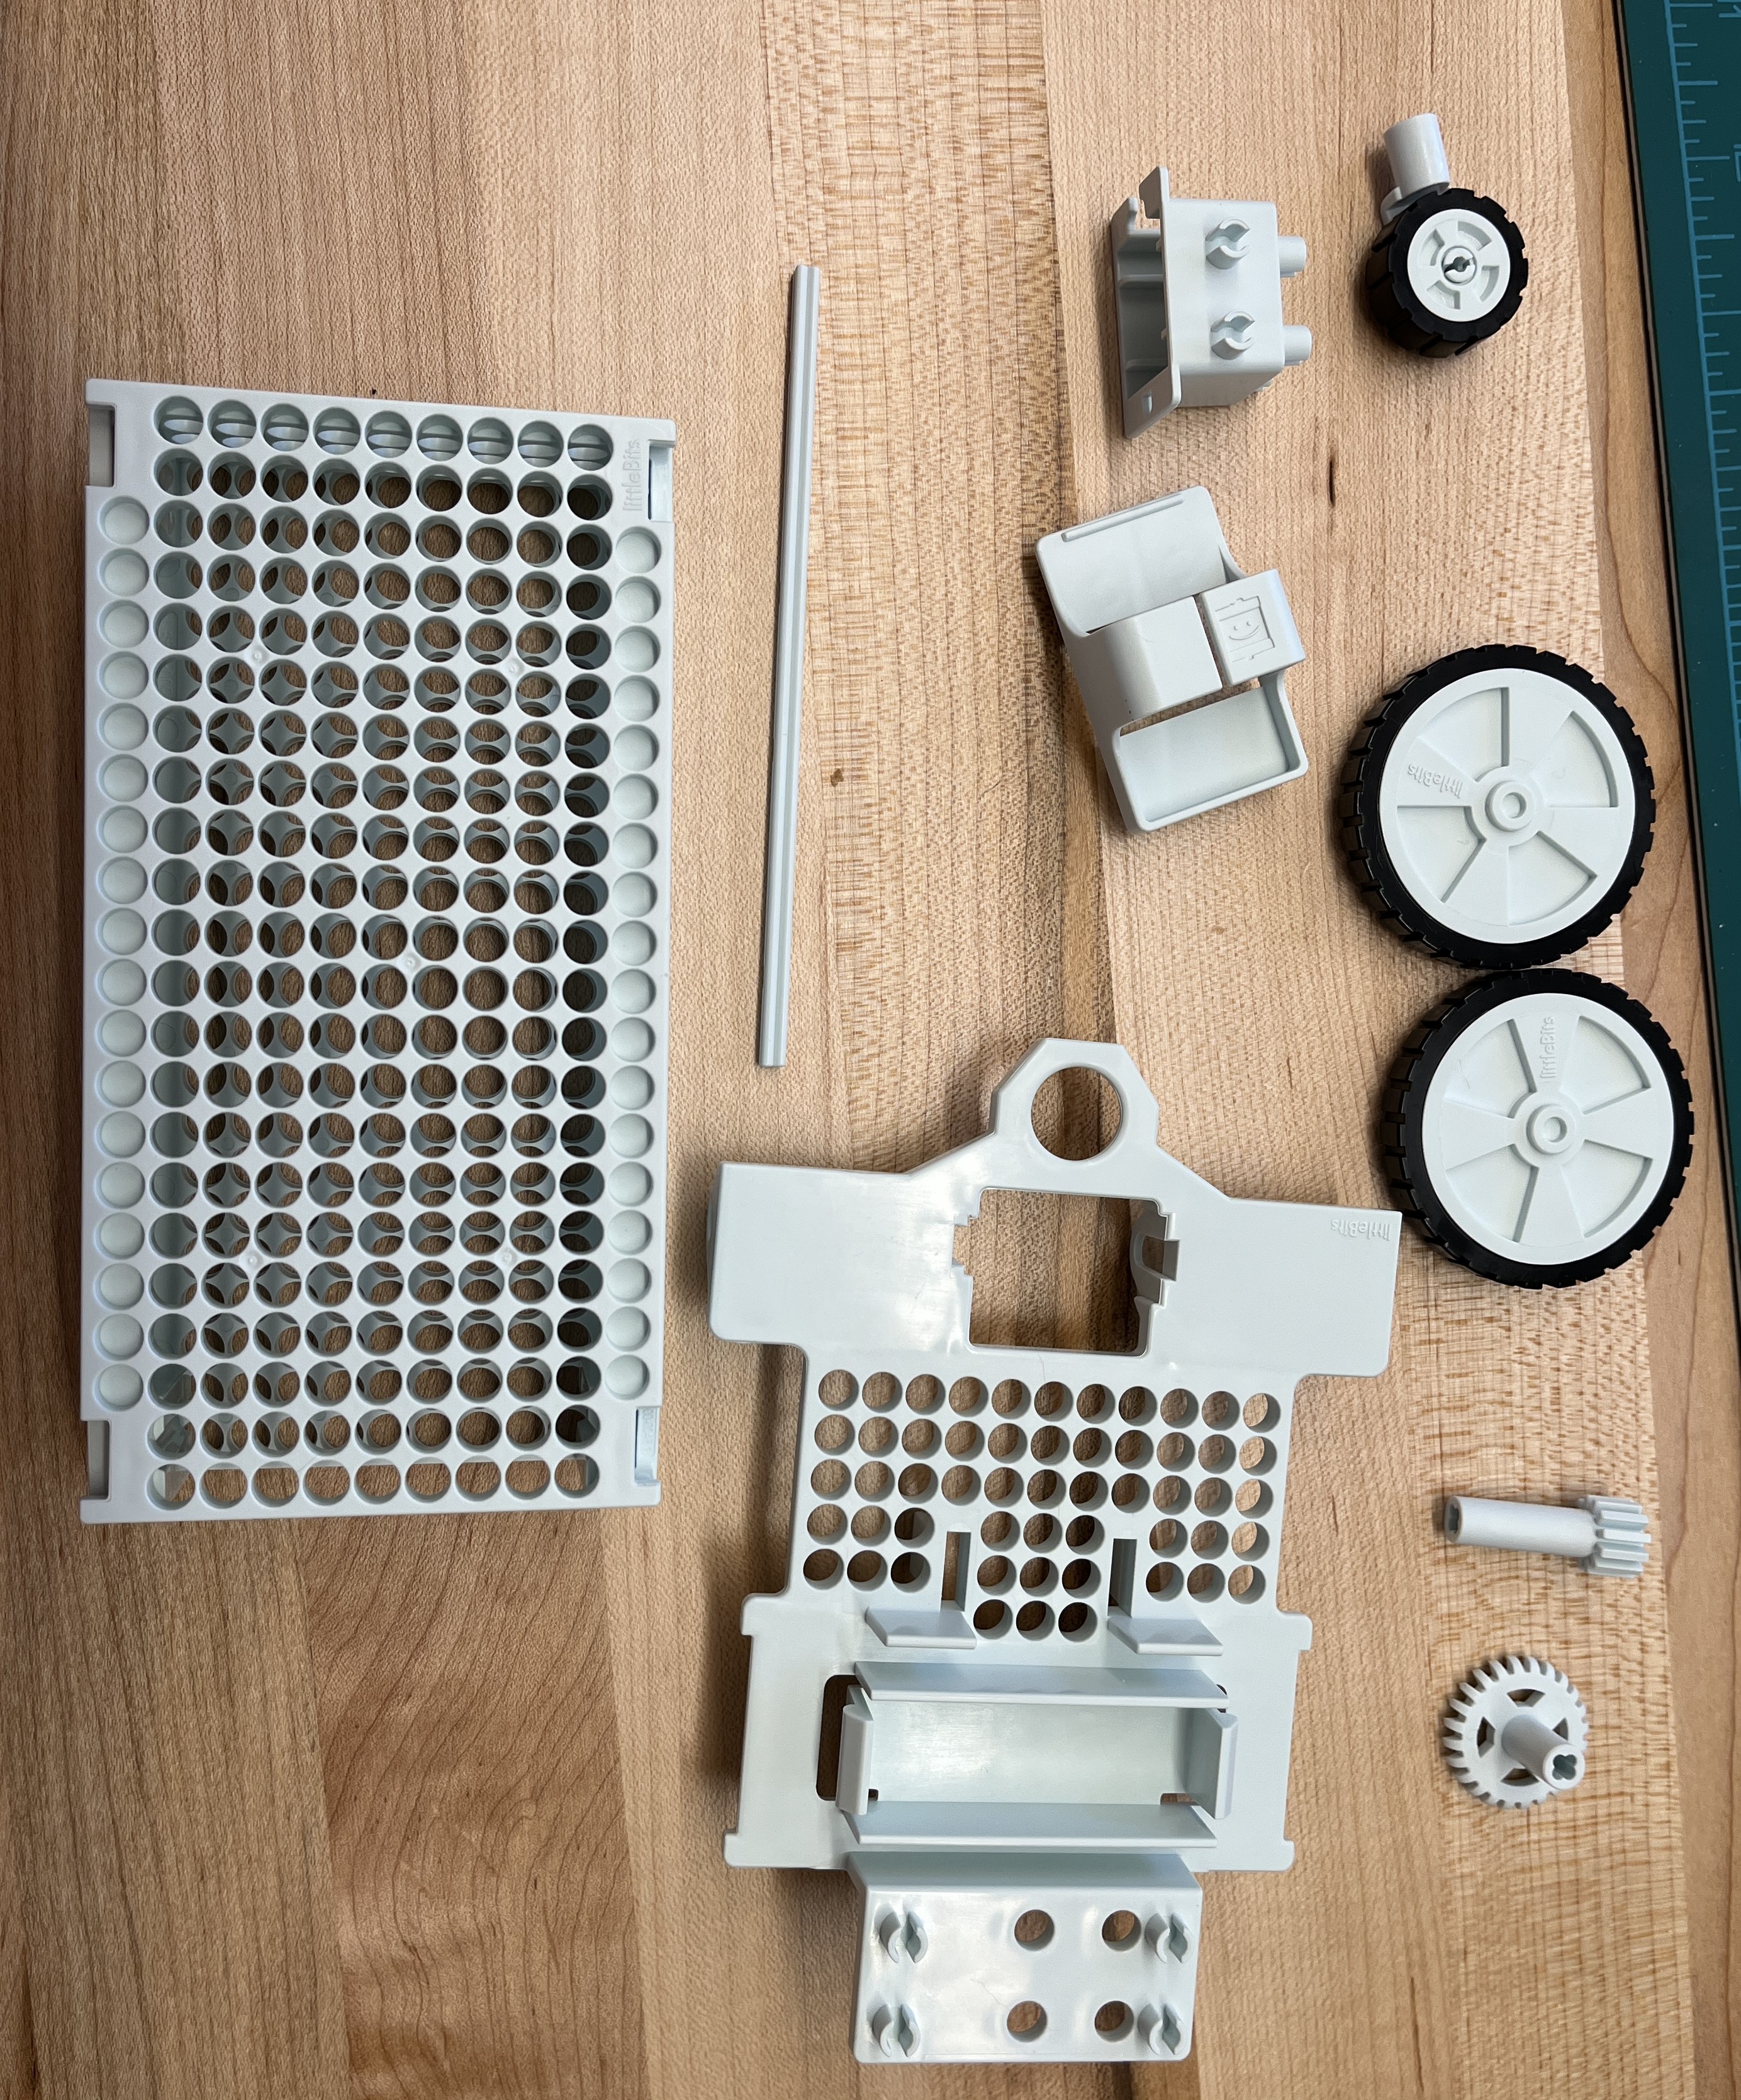
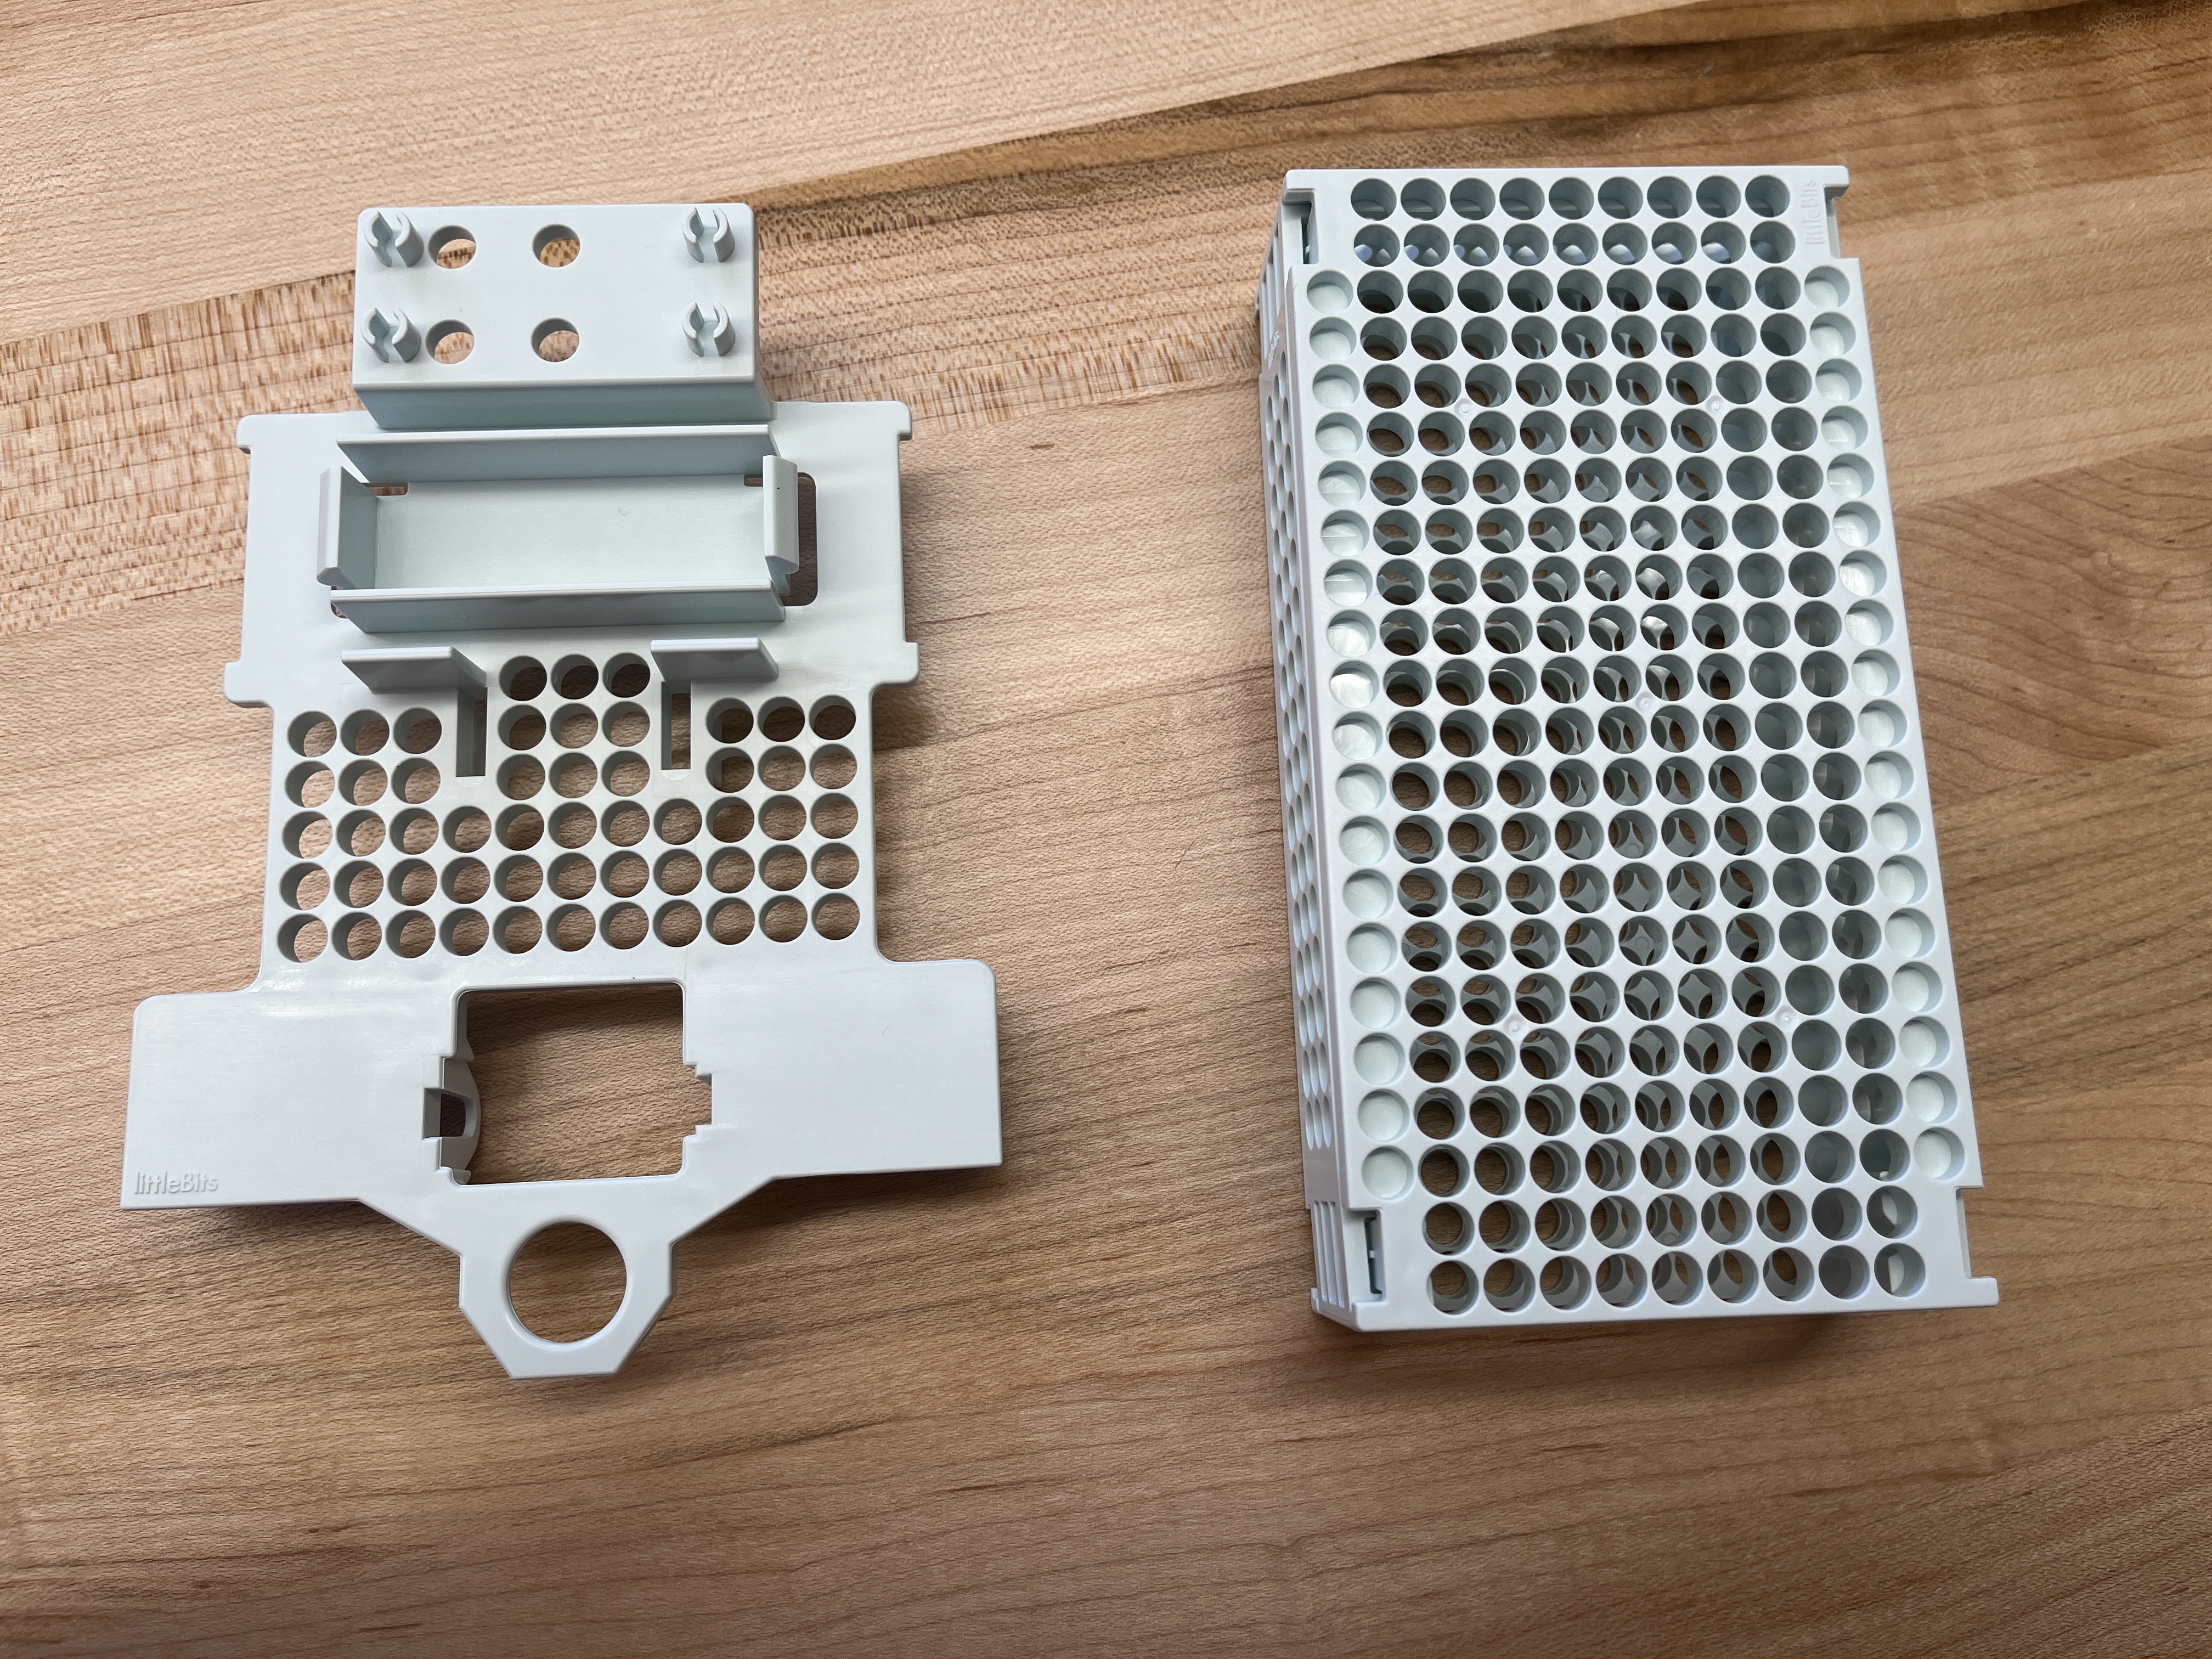
- The box like section of the chassis has a rectangular opening, this slots into the other section of the chassis
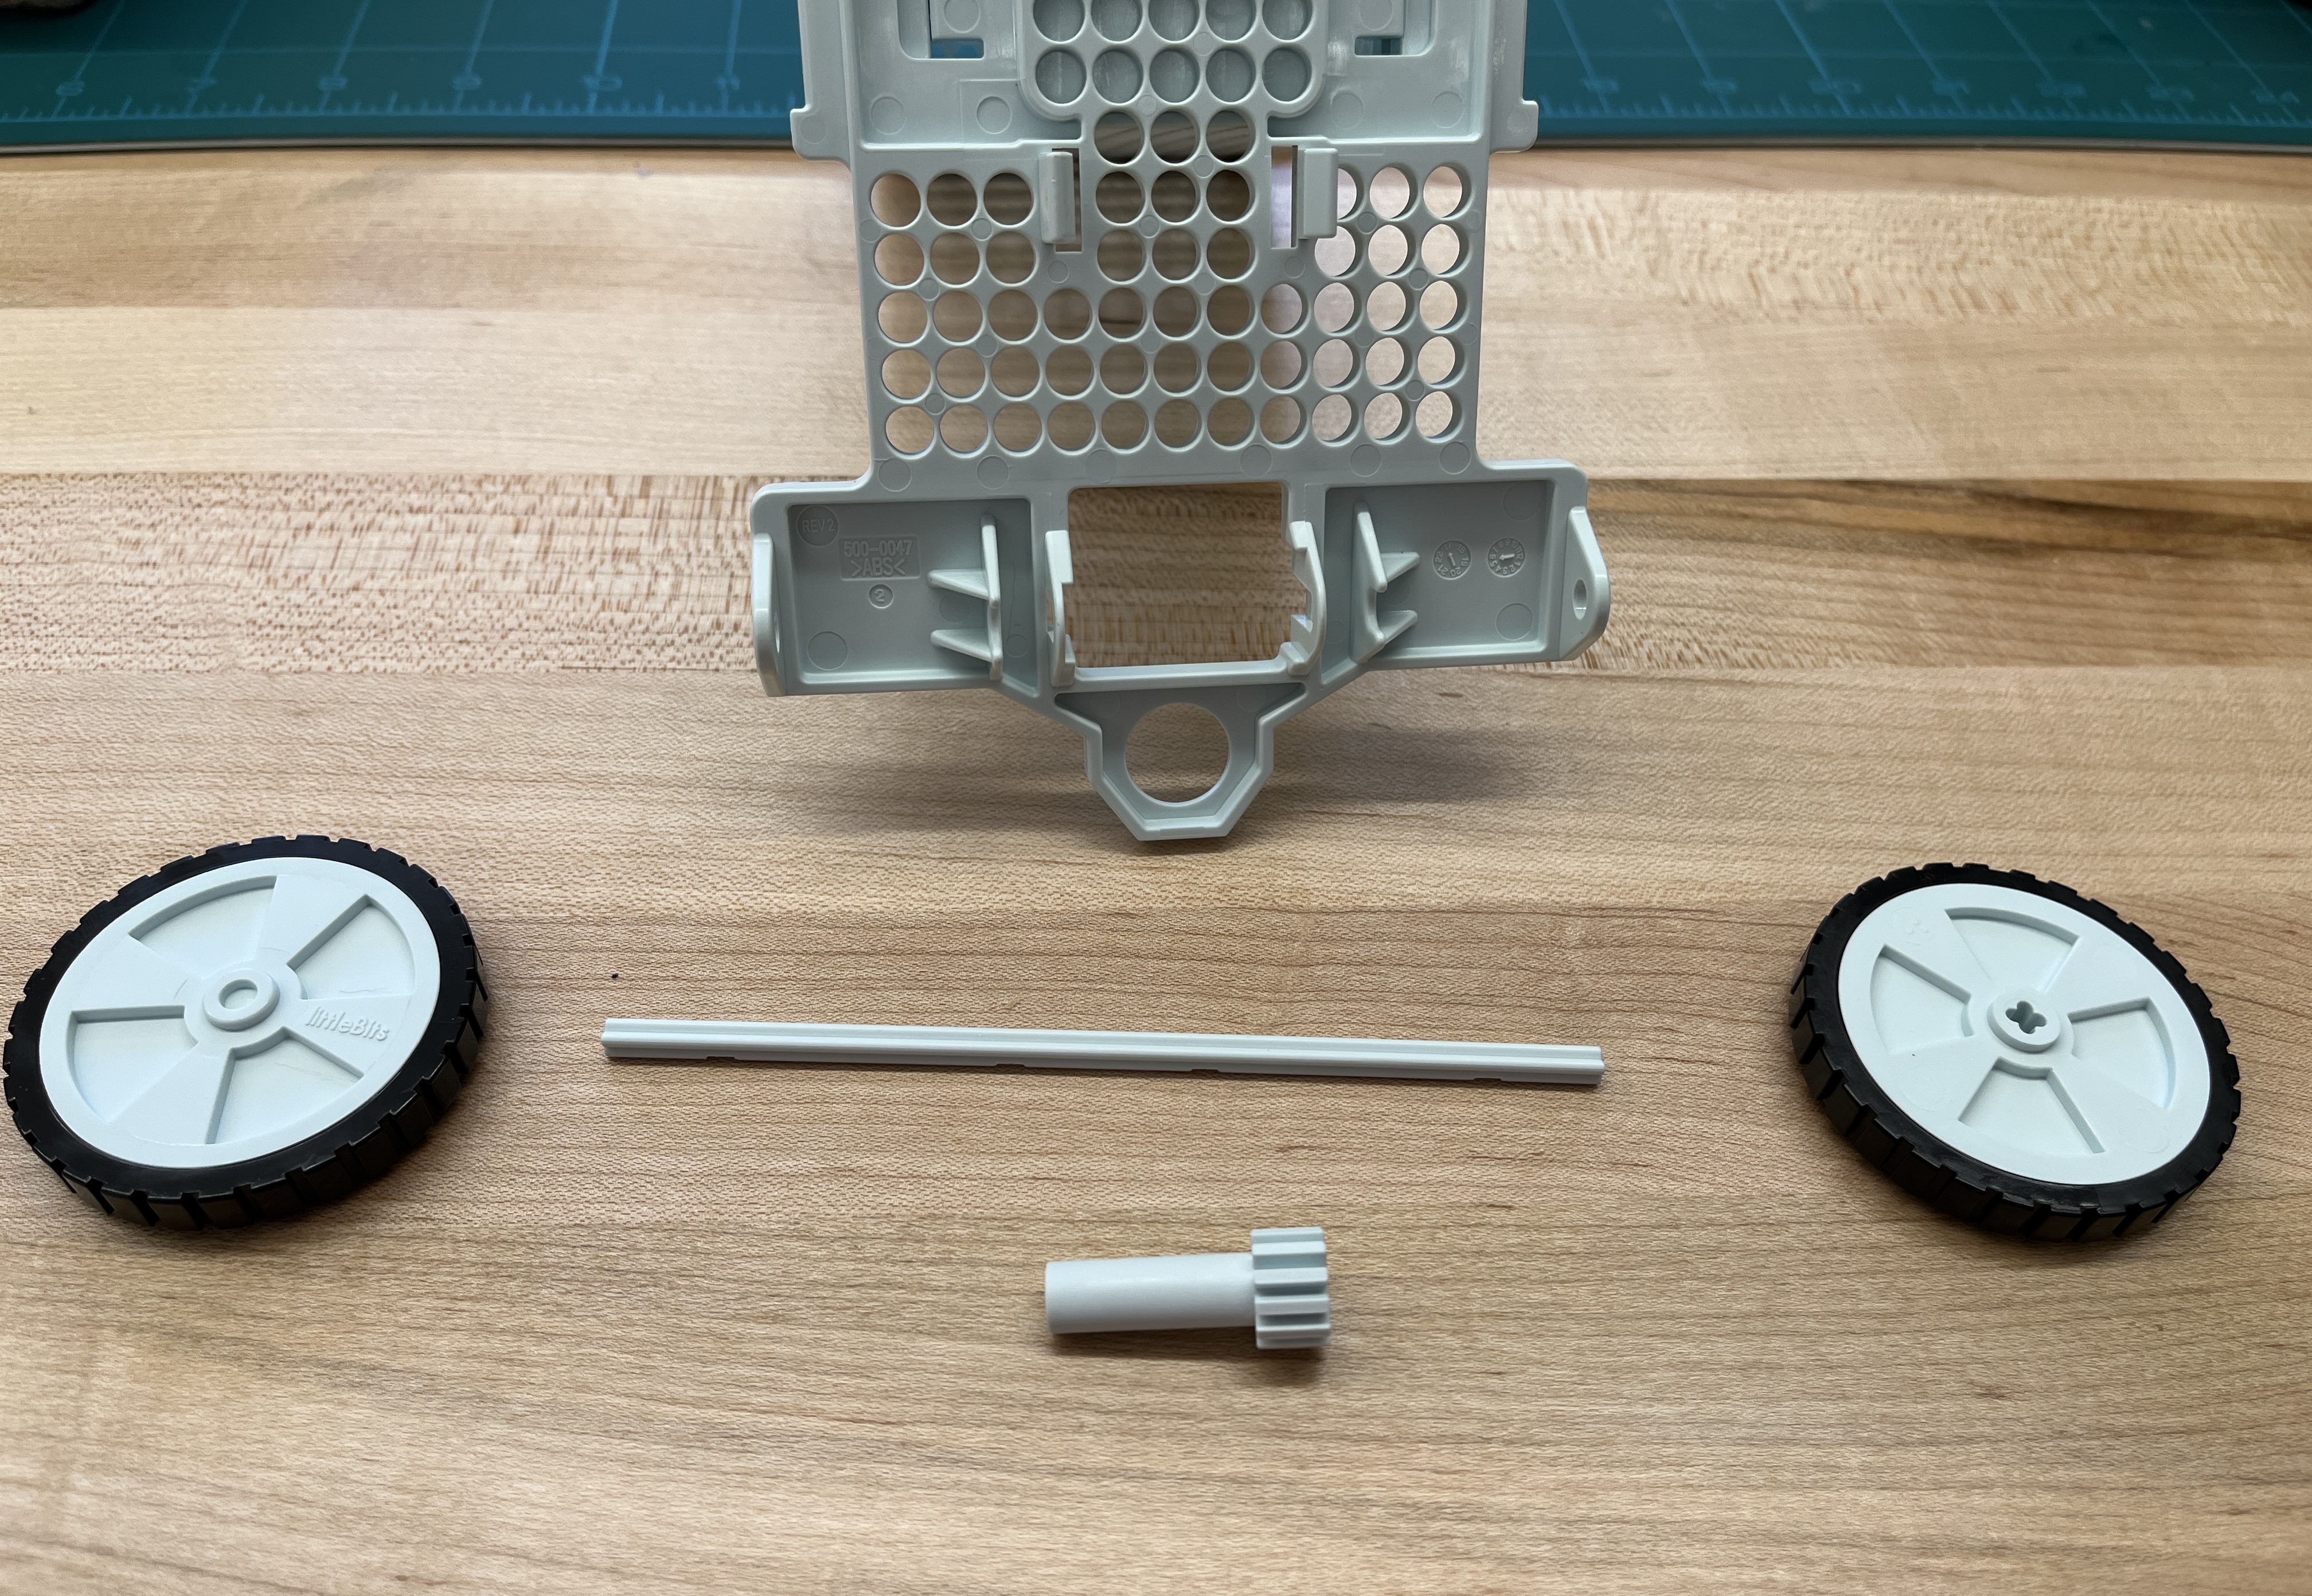
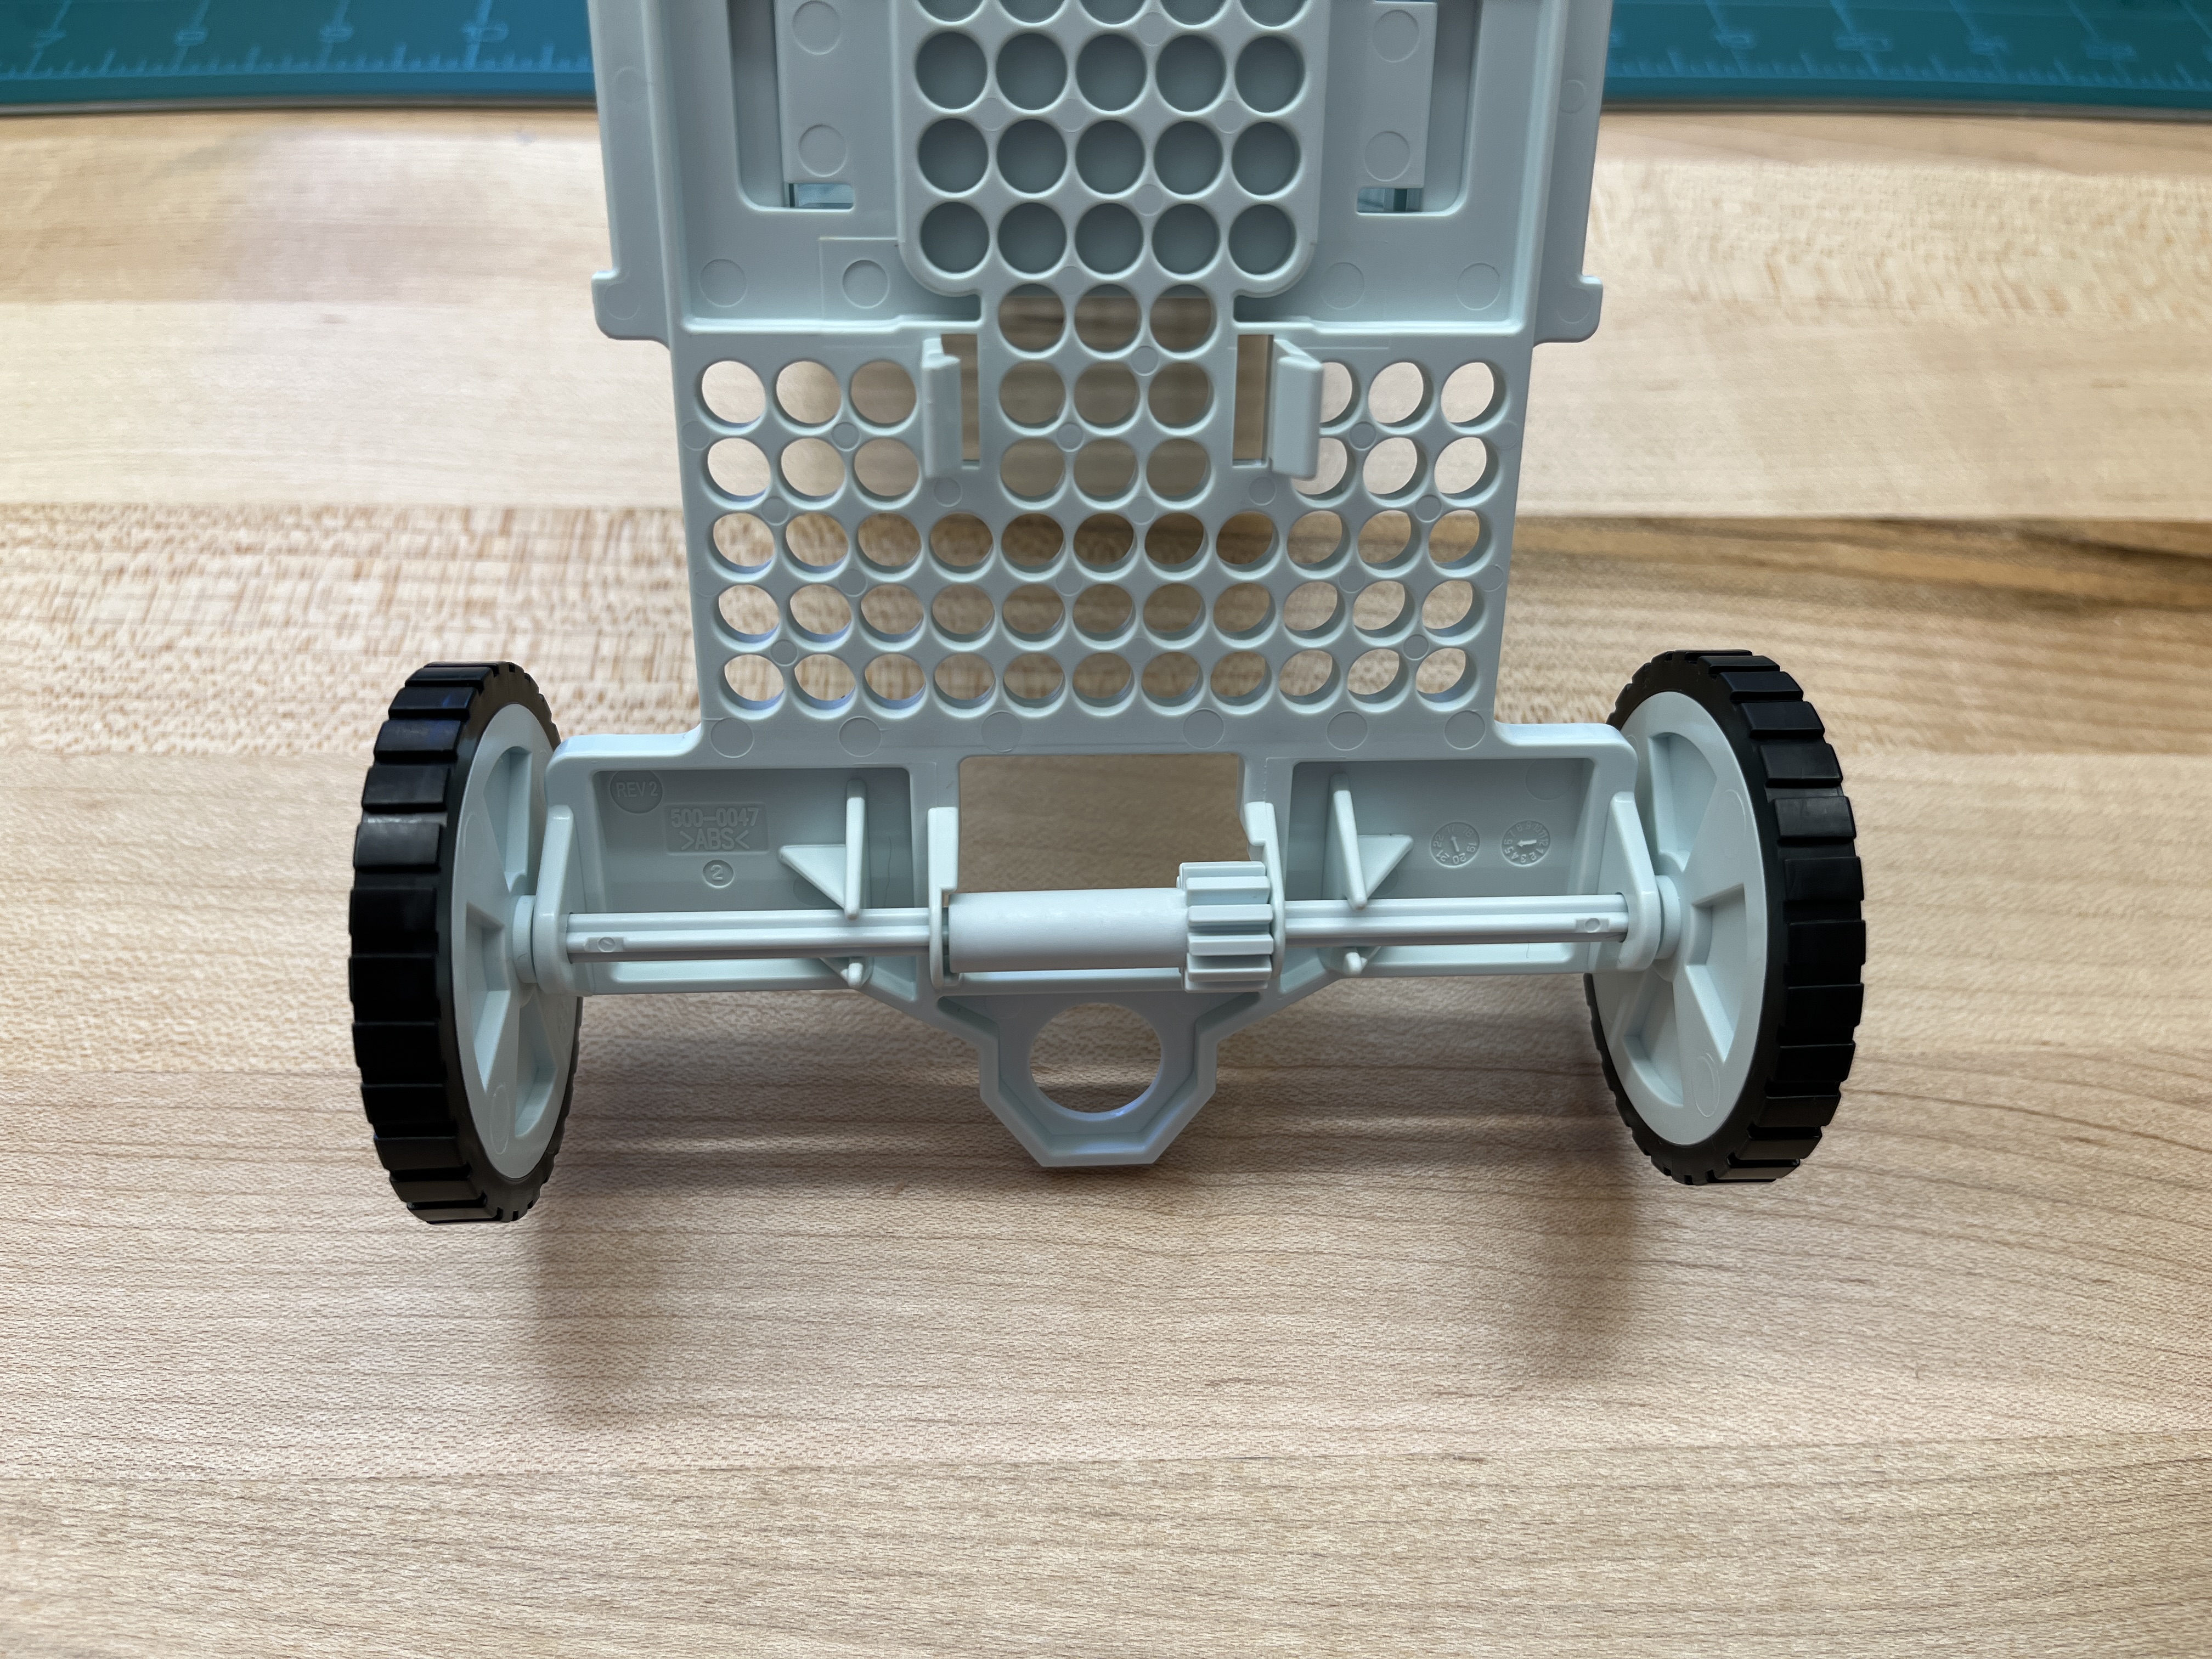
- The gear has a larger side and a smaller side that corresponds with the openings on the chassis. Secure the gear with the axle, then secure the wheels on the ends of the axle.
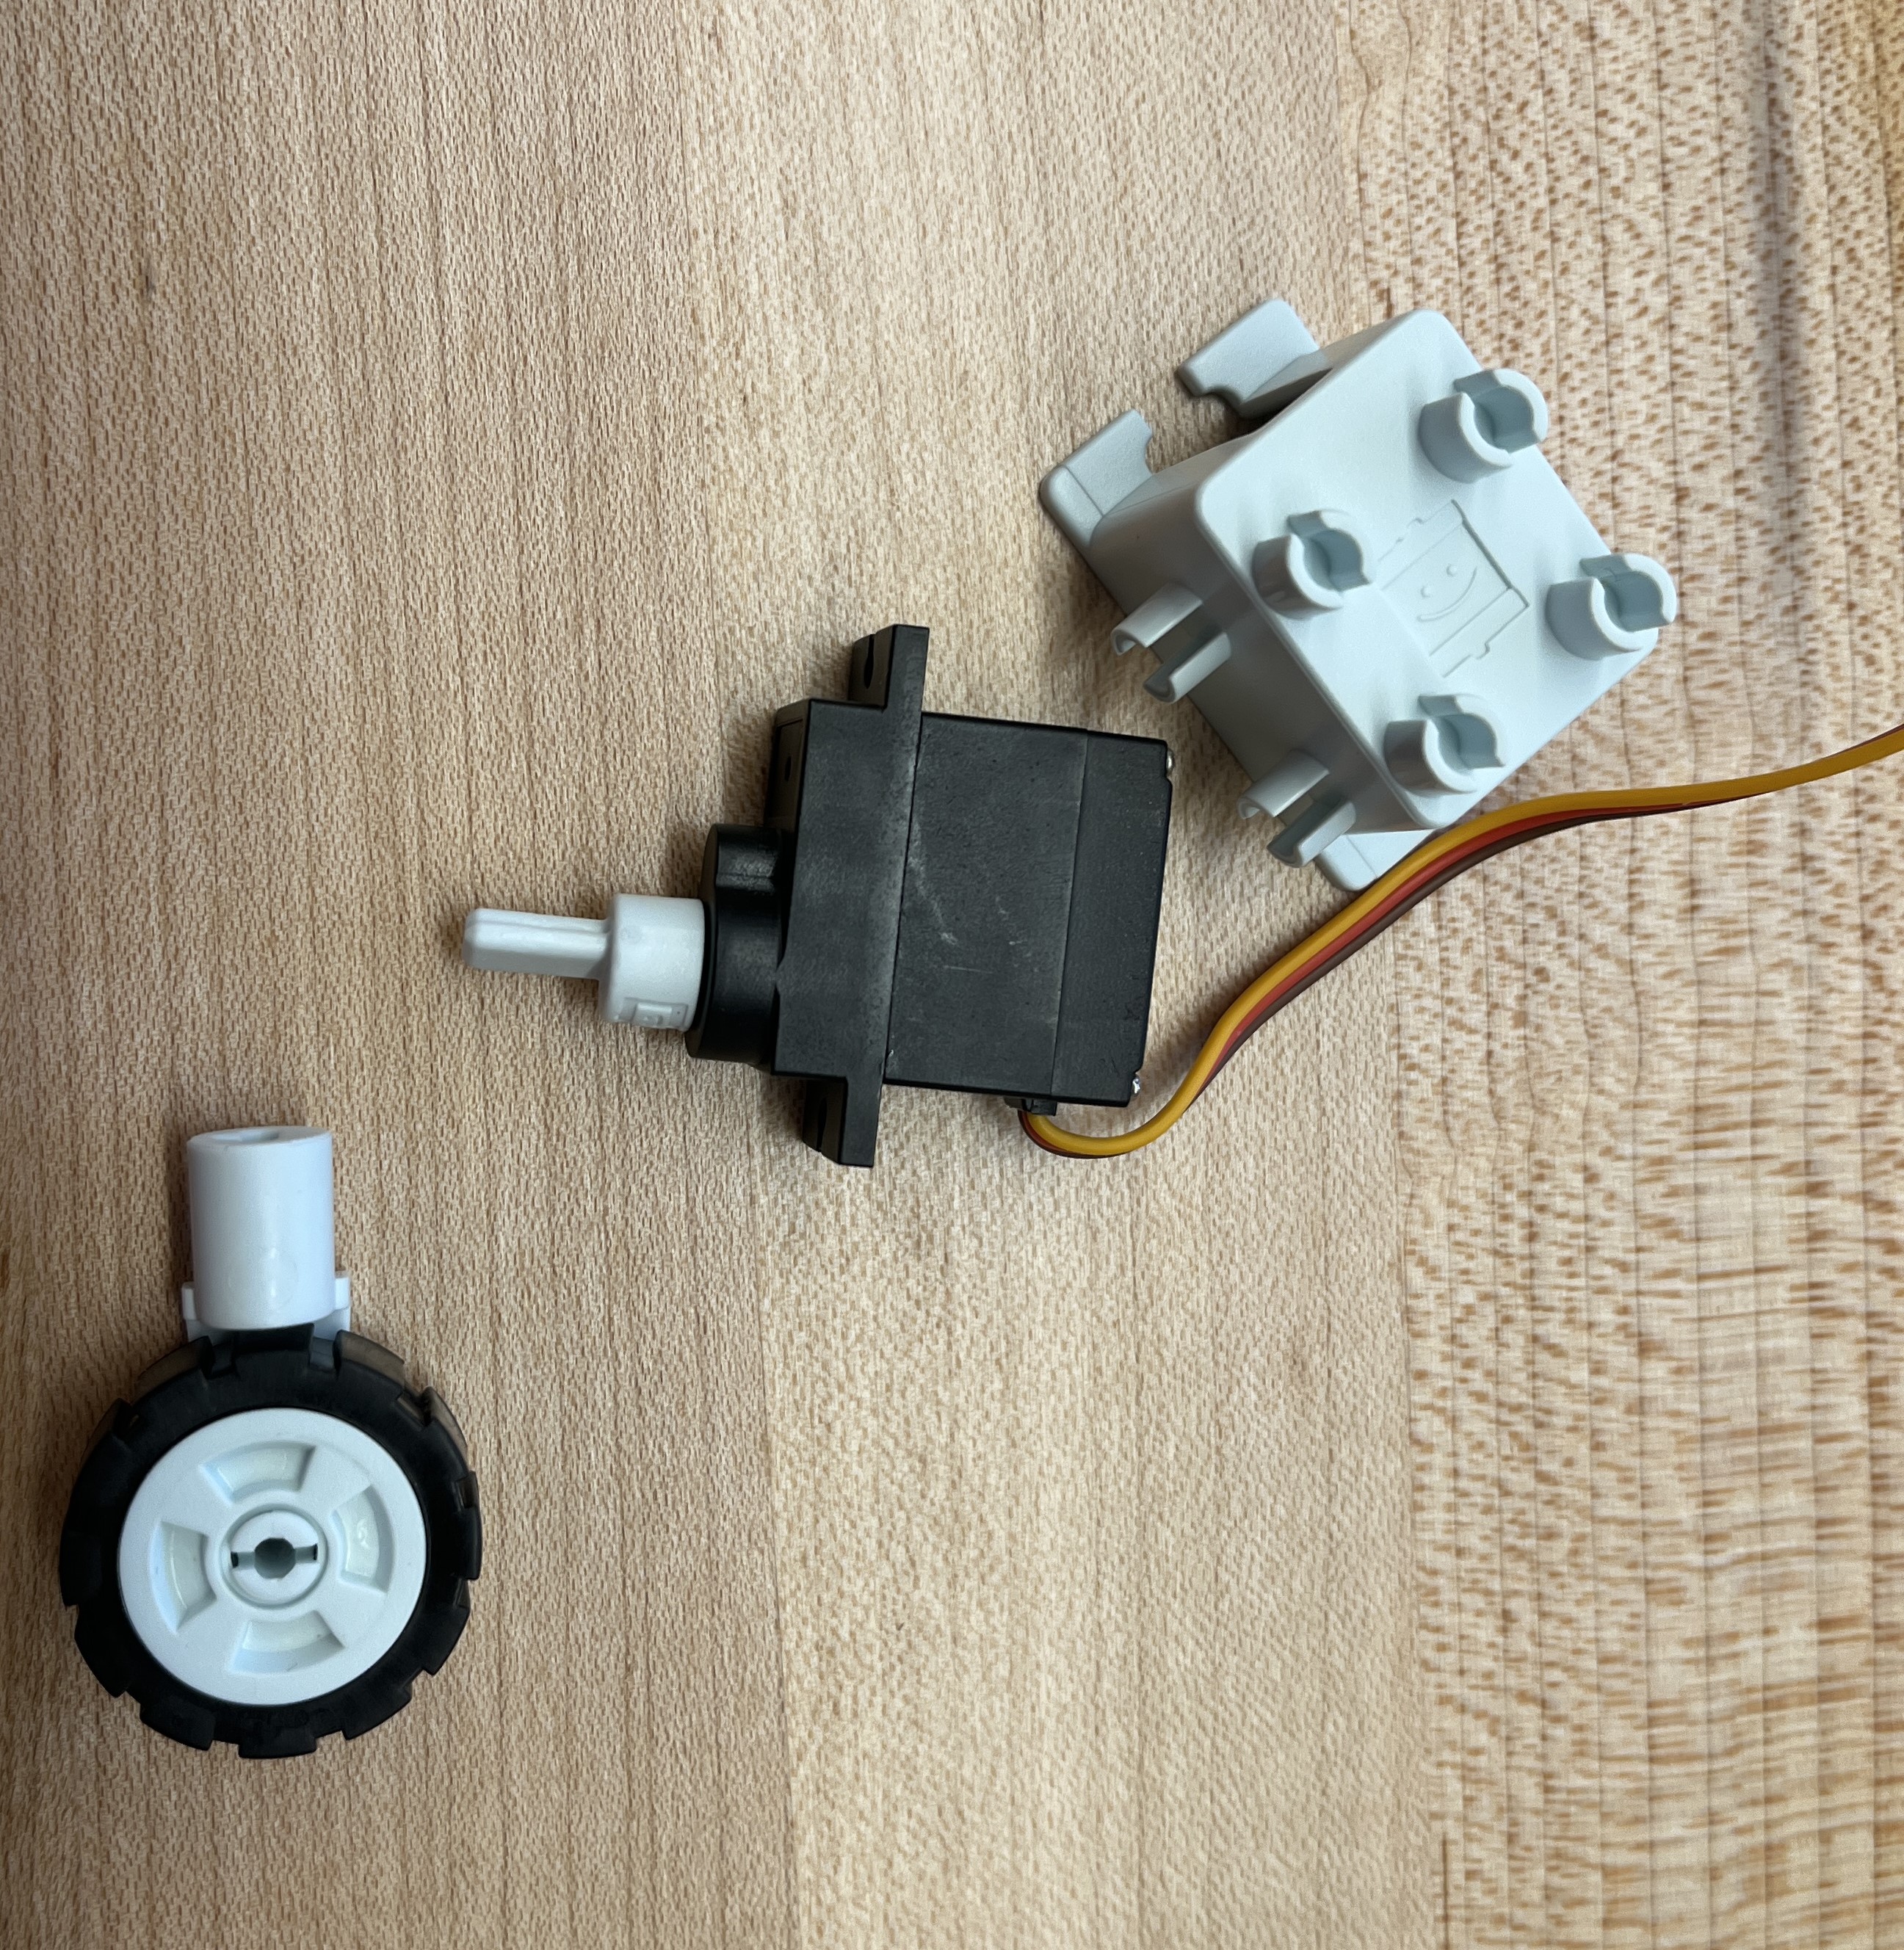
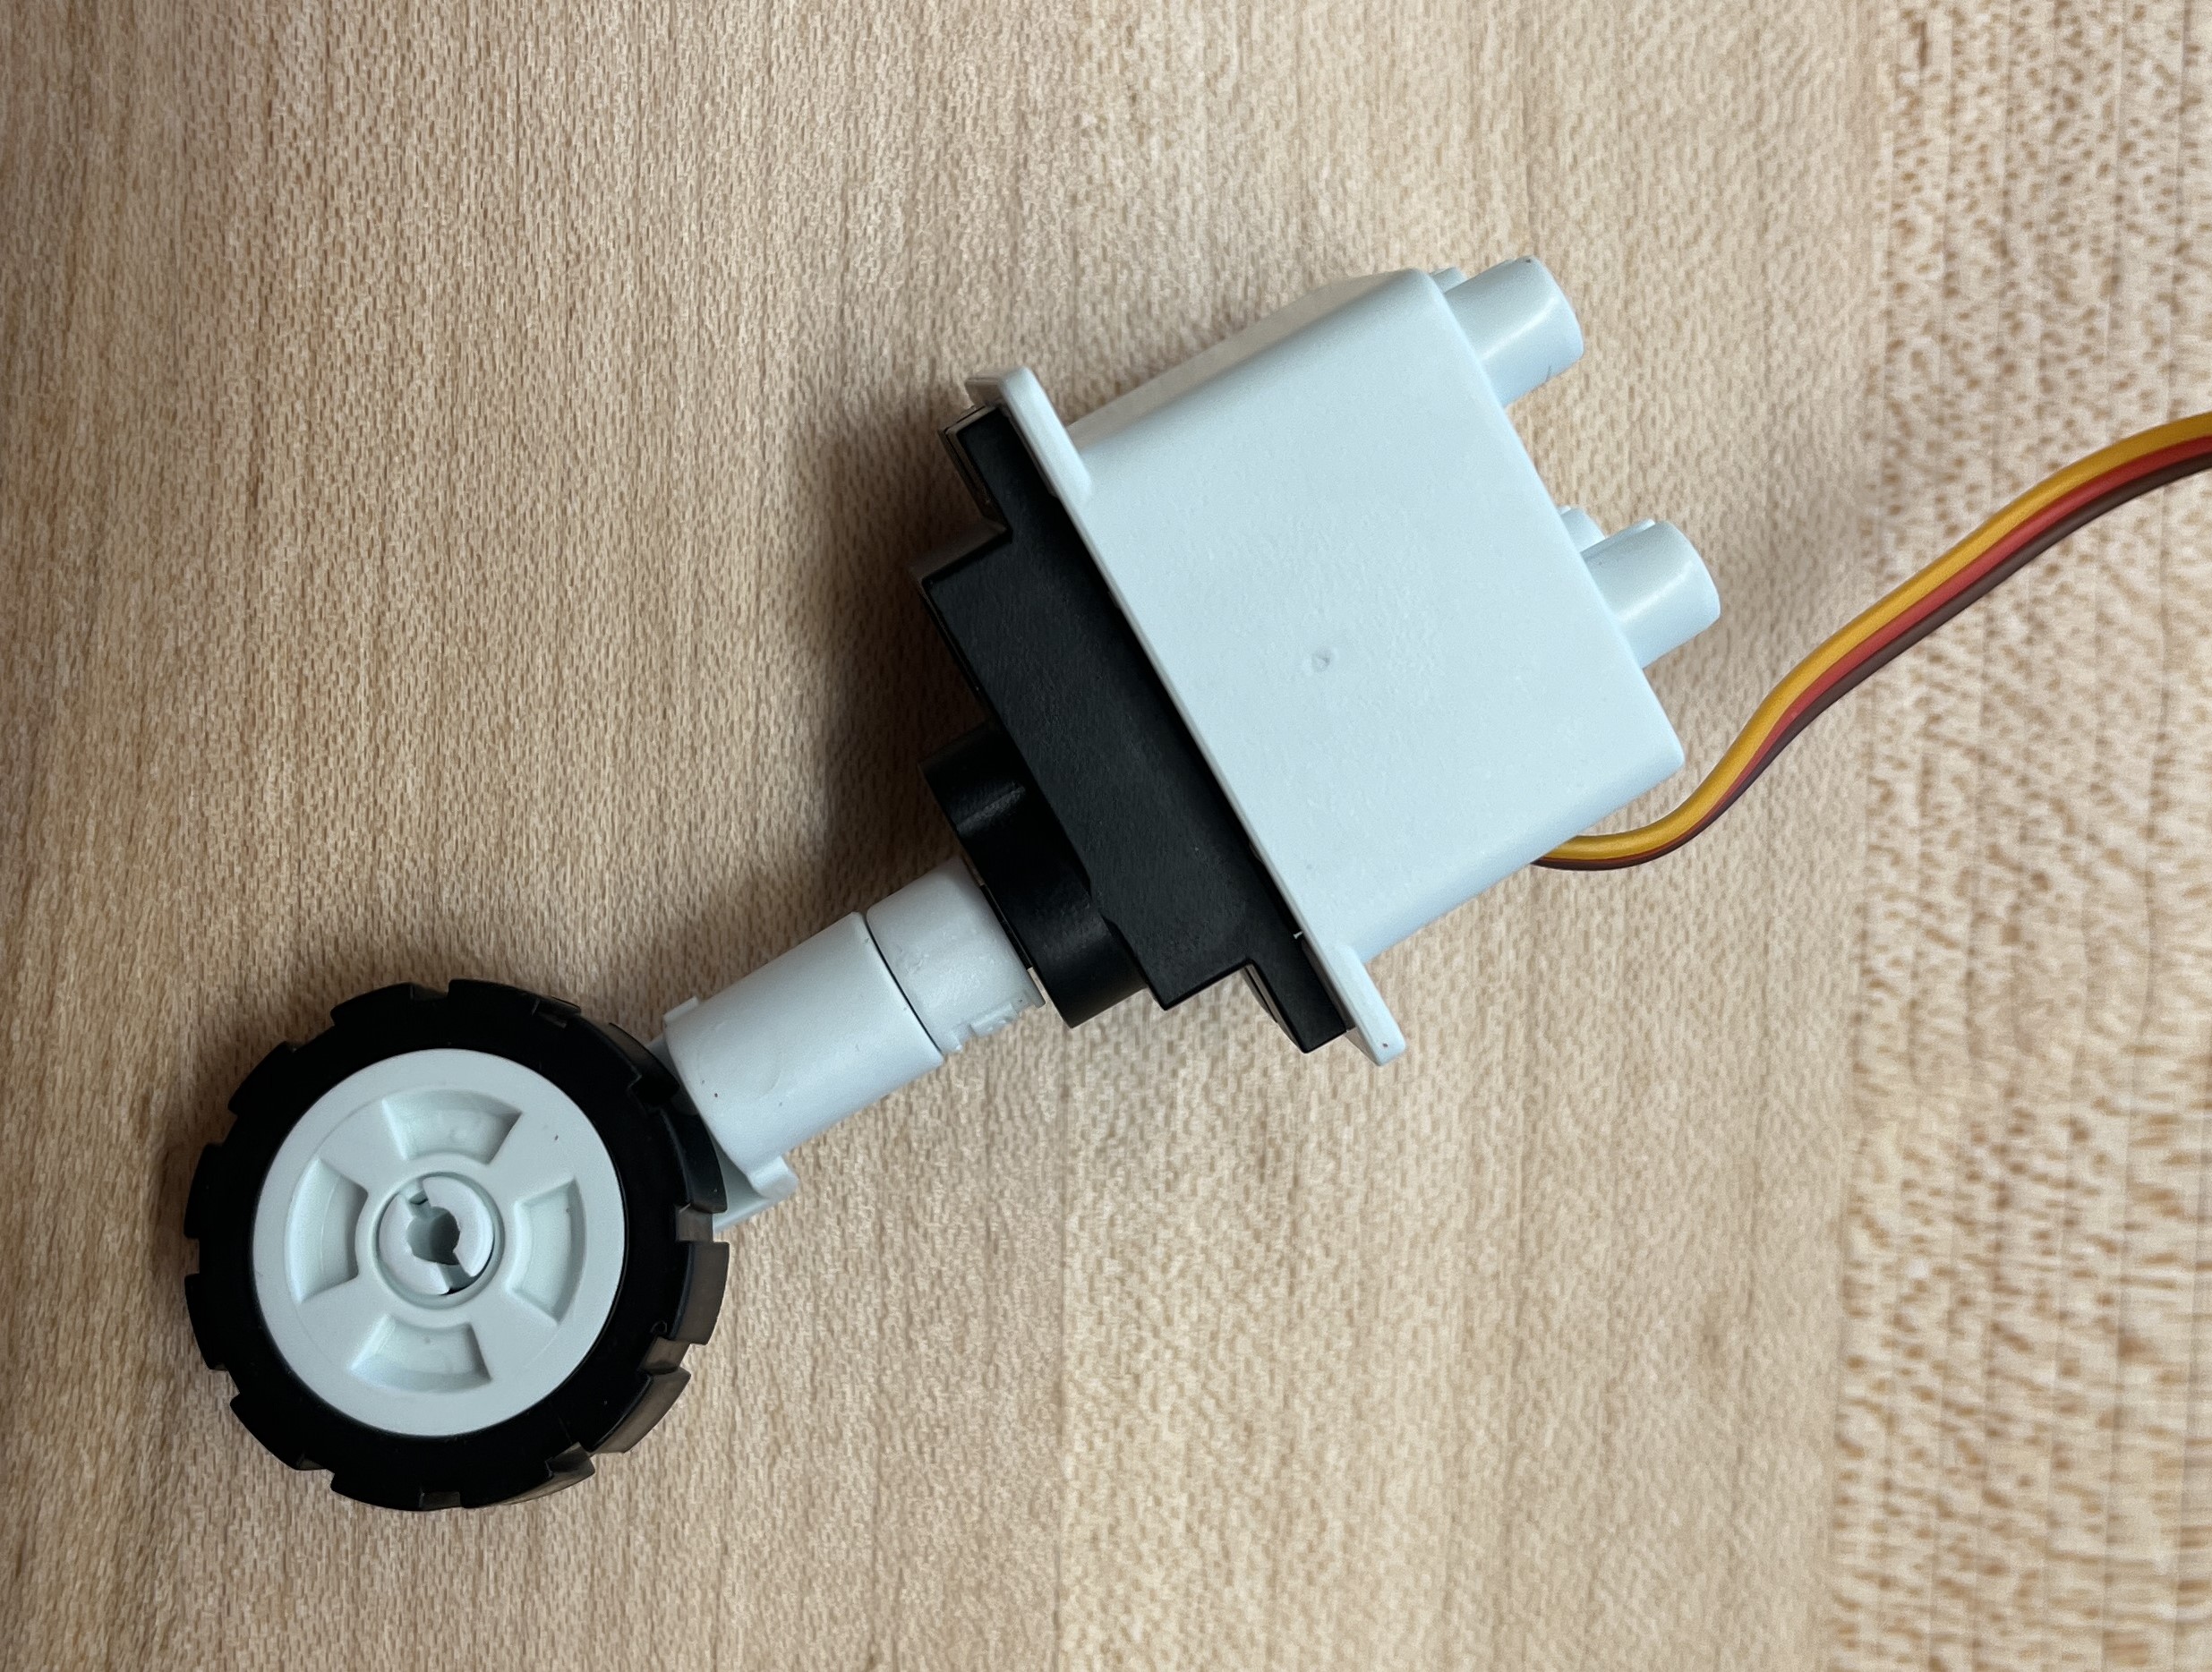
- Attach the small wheel to the peg on the servo and connect the cover shown below to the top of the servo, this is how it will mount to the rest of the chassis.
- Attach the battery holder to the battery, this is how the battery will mount to the chassis.
- Attach the dc motor to the bottom of the chassis, make sure the gears on the motor mesh with the gears on the chassis, this will power the wheels. Attach the servo to the front of the chassis, there will be a section with four holes for the servo mount to attach to, this will allow the droid to turn.
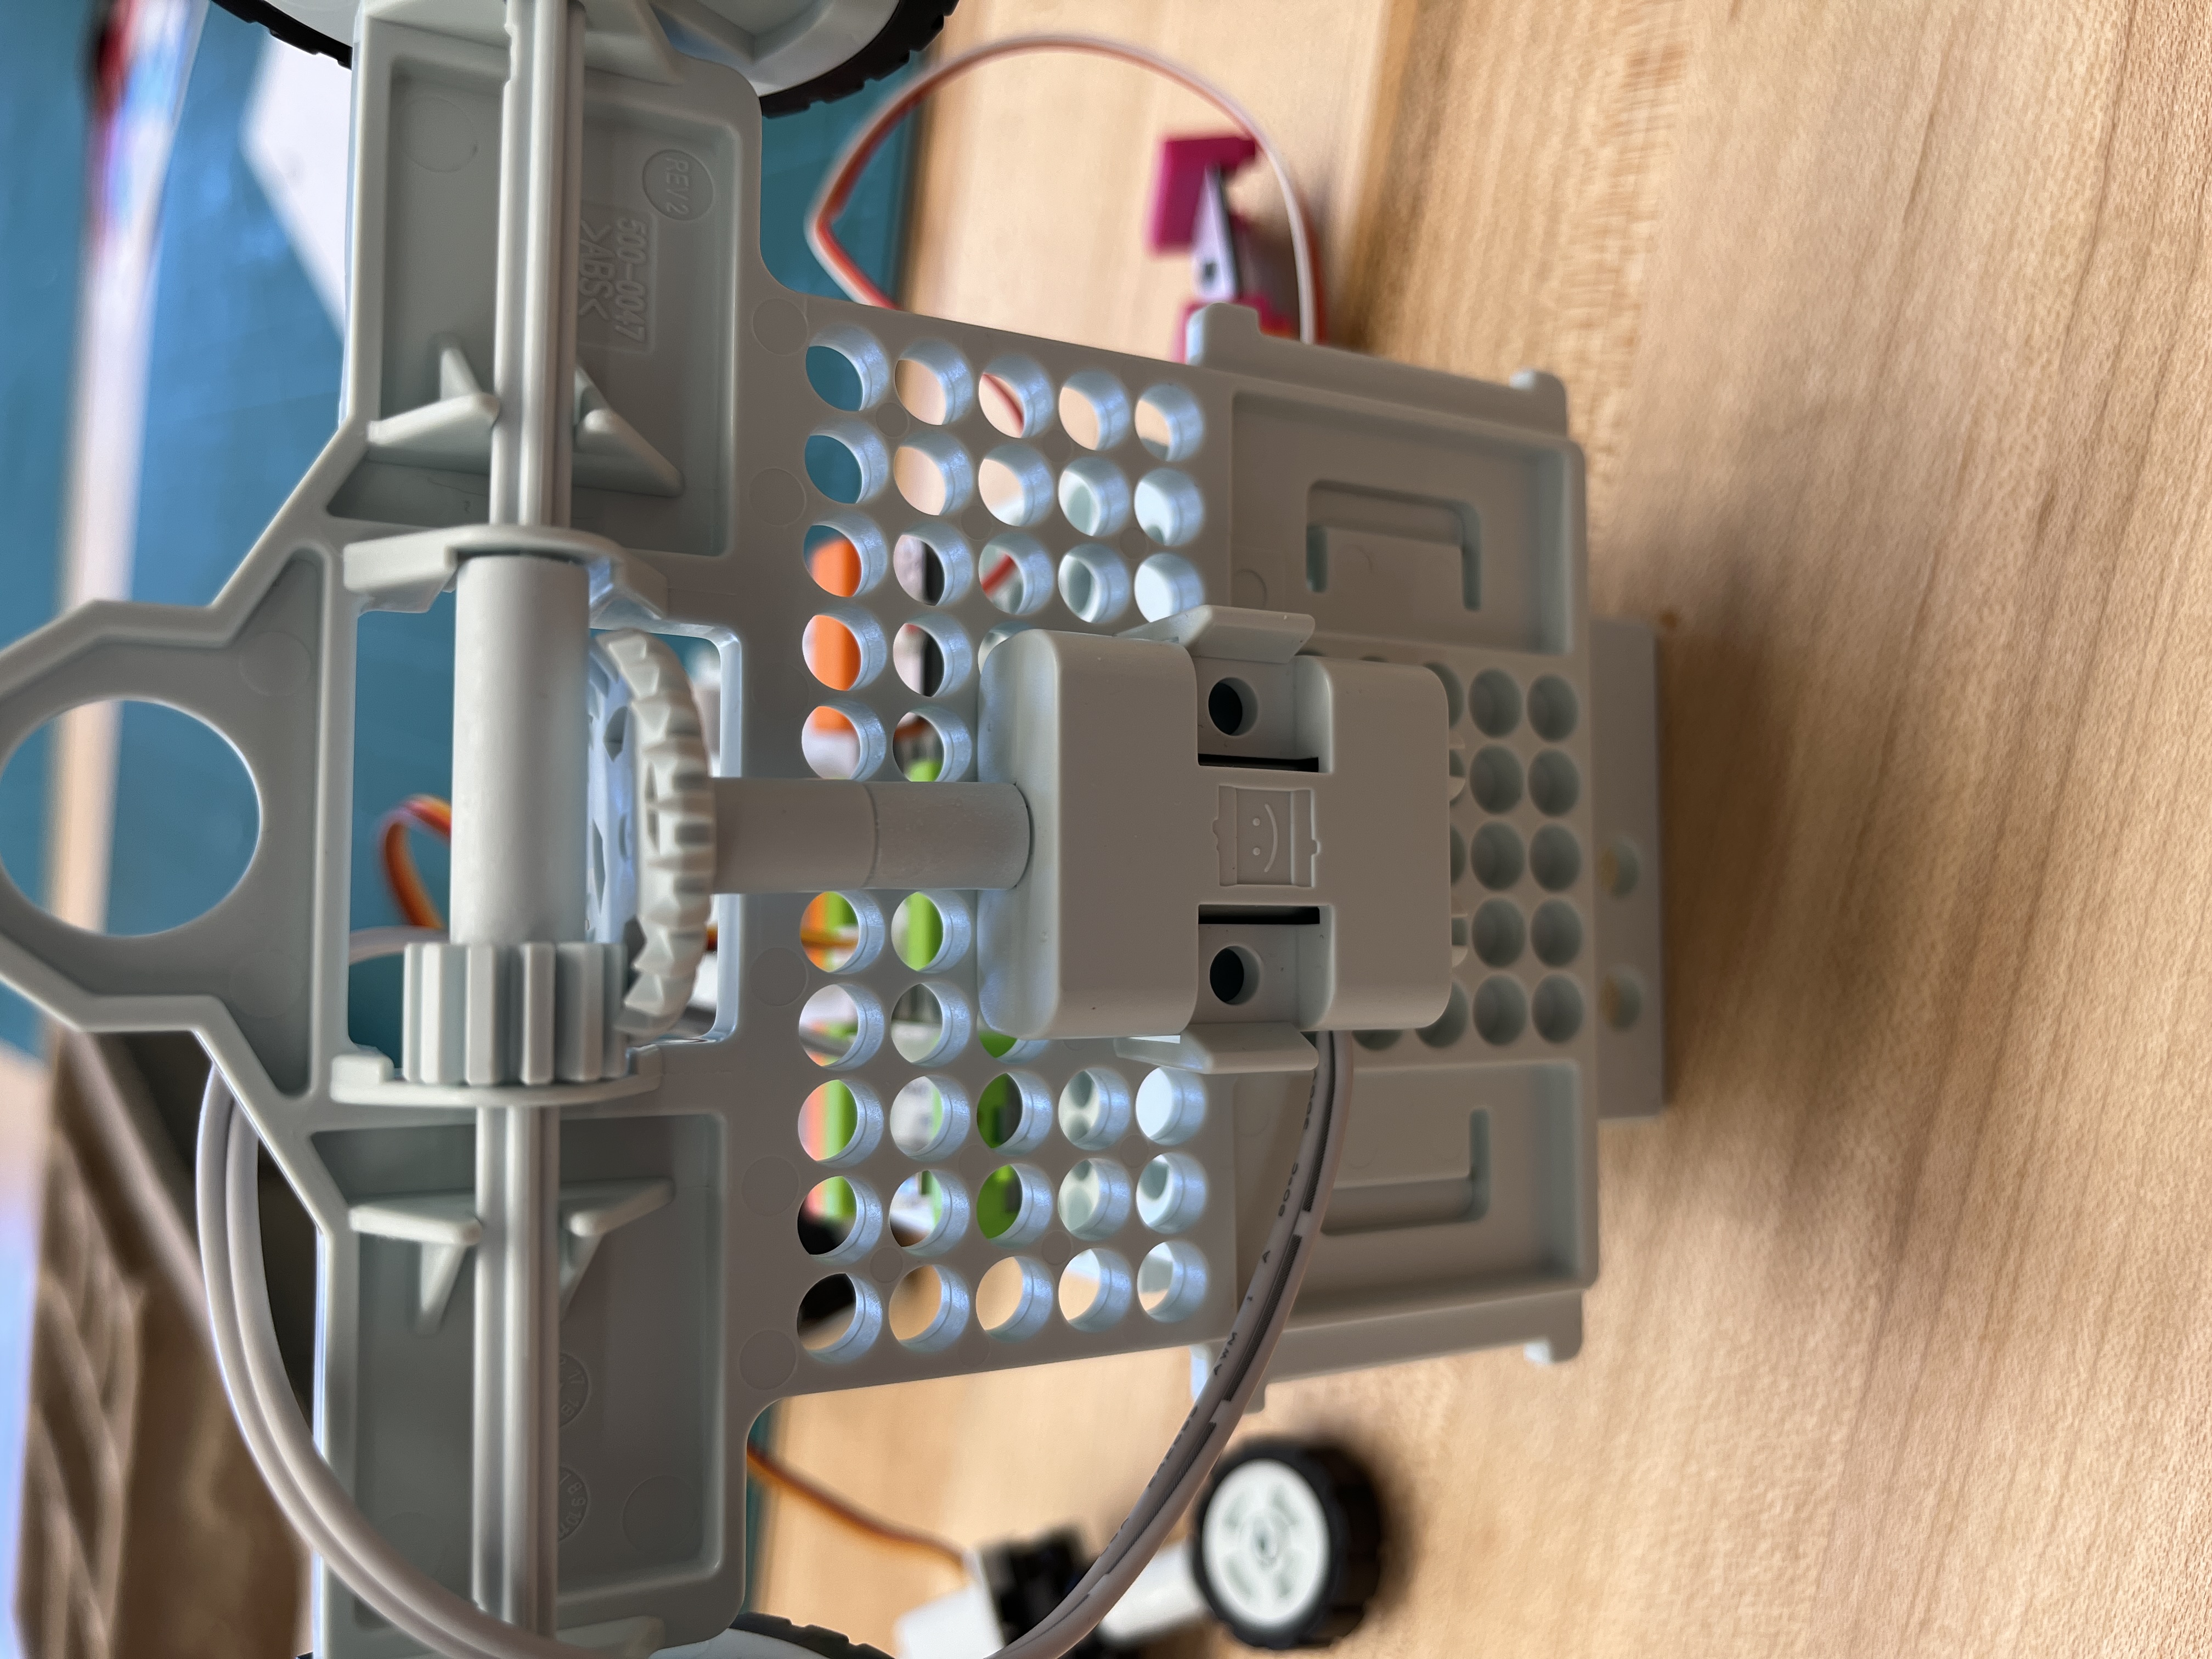
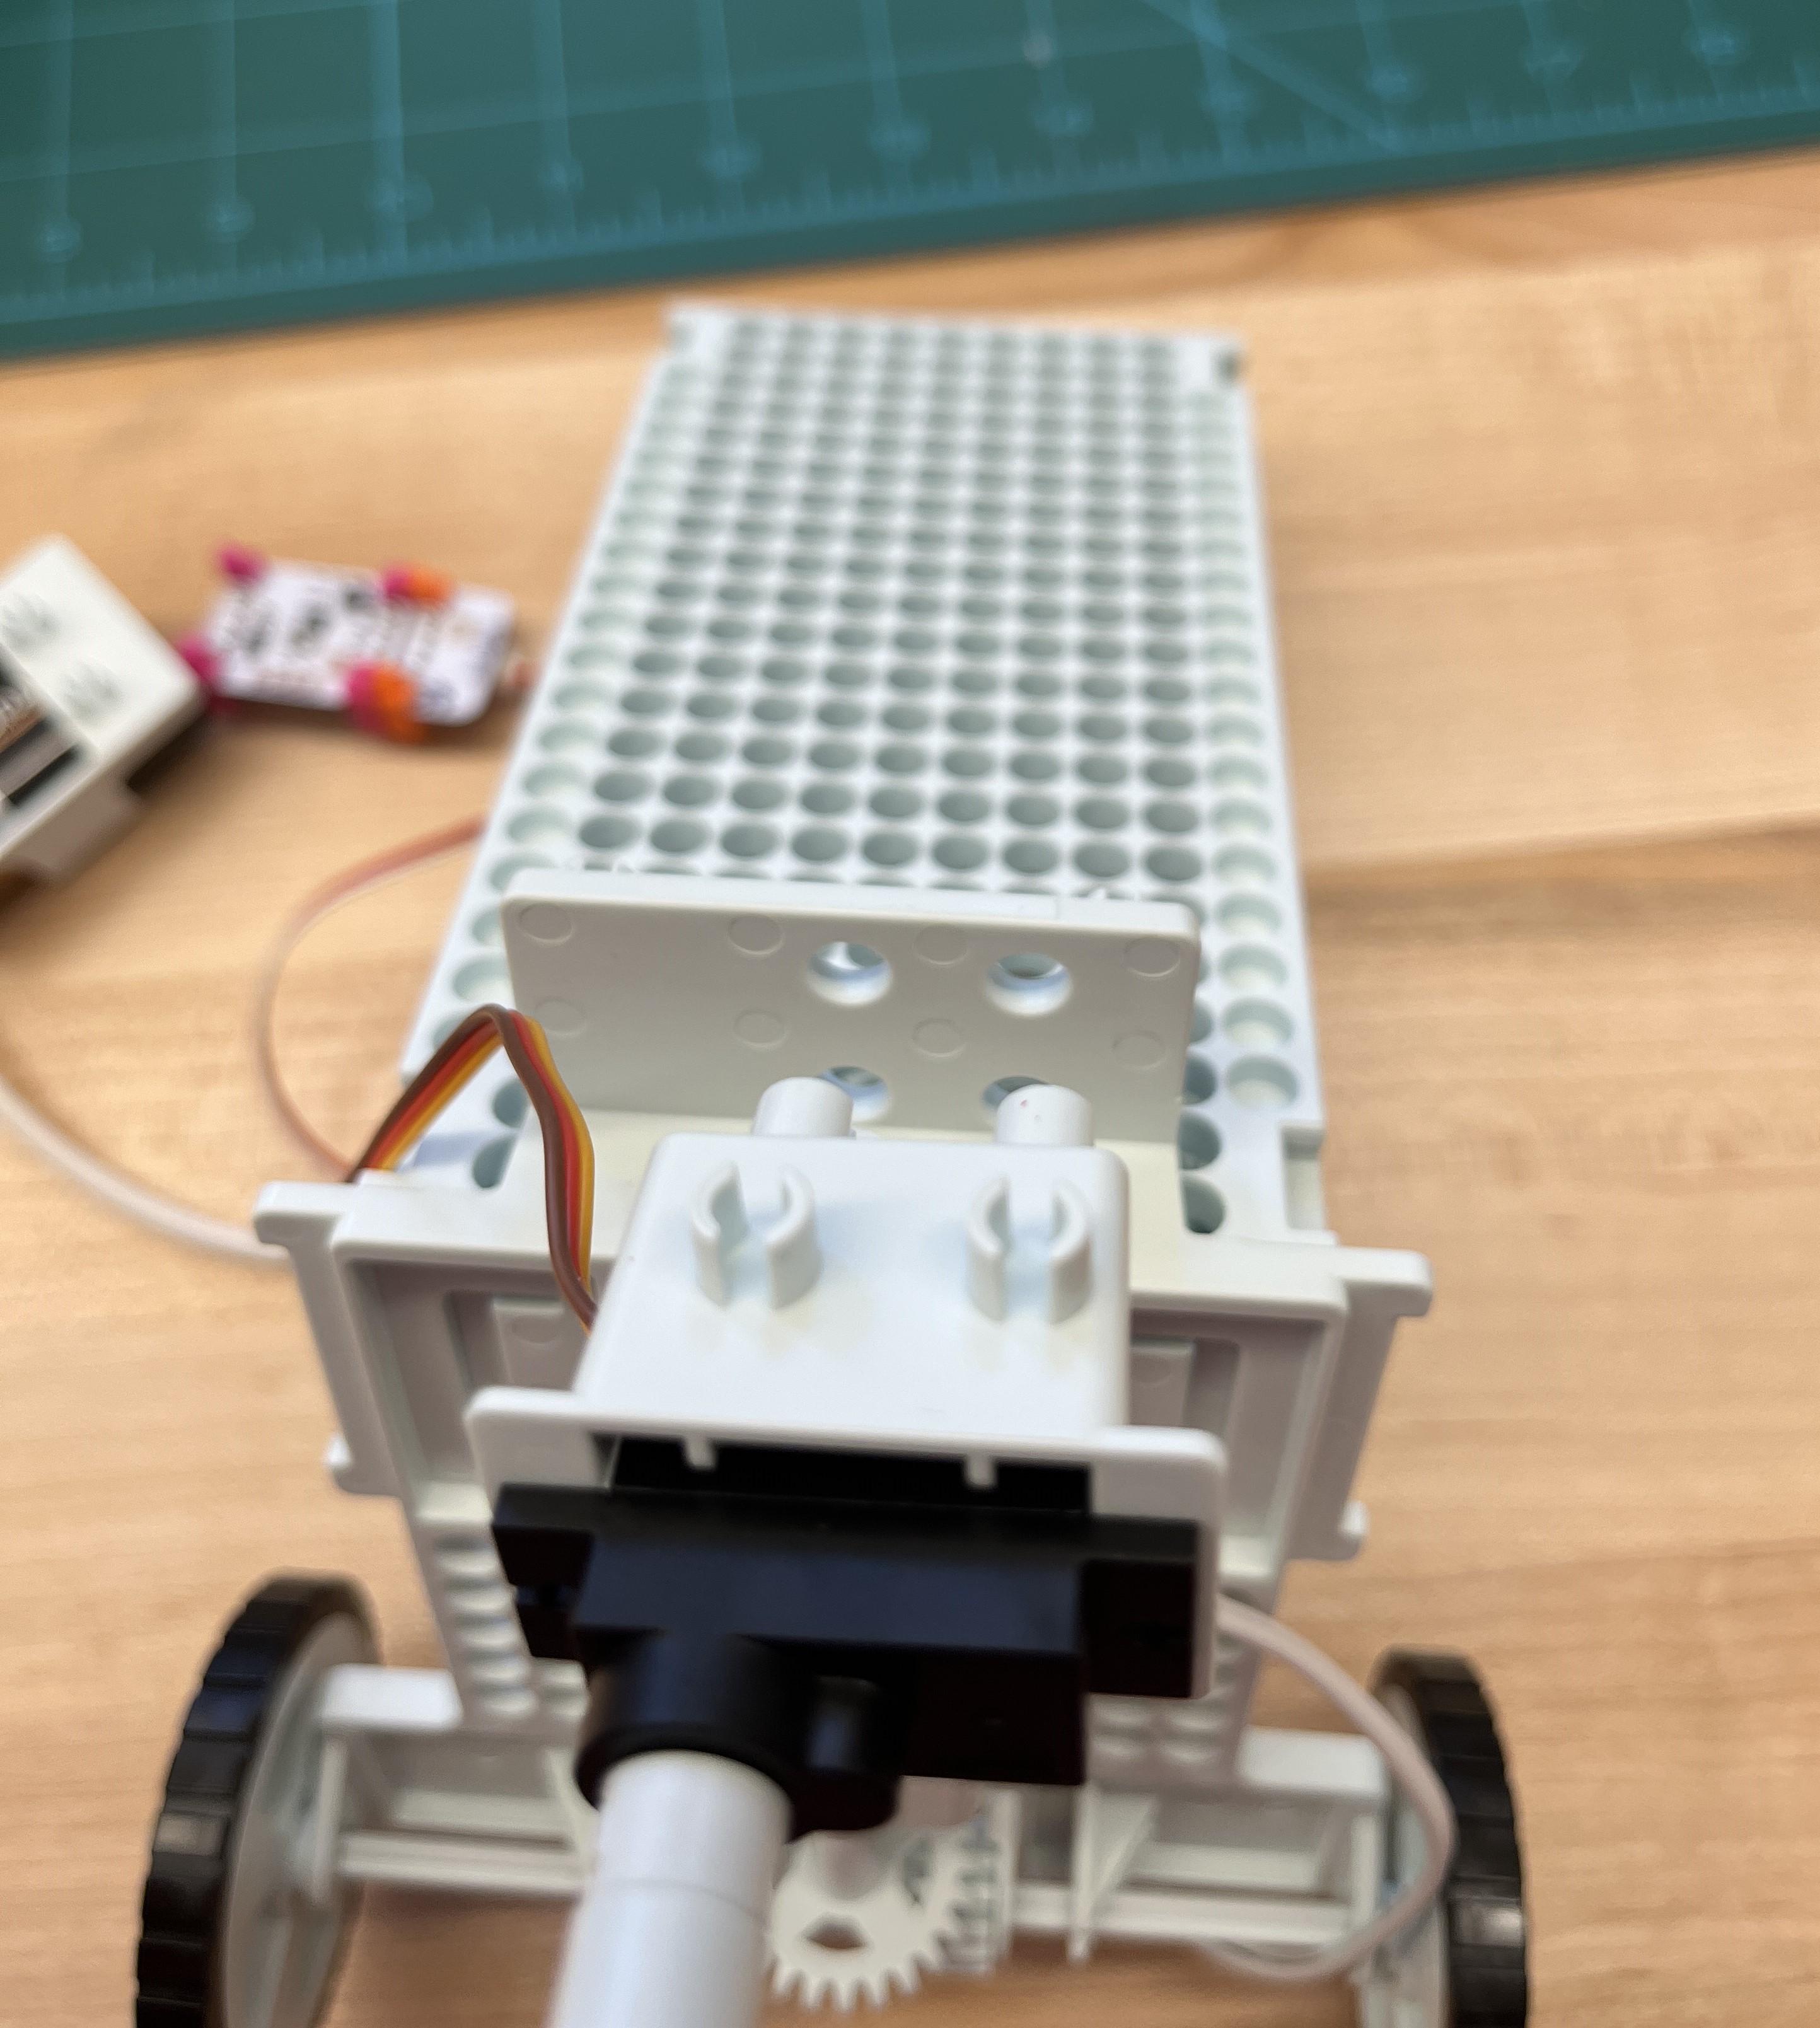
- Mount the battery to the back of the chassis and the rest of the electronics to the front, this will allow the lights to shine through the front like a real astromech droid. It also just looks cooler with the electronics visible in the front
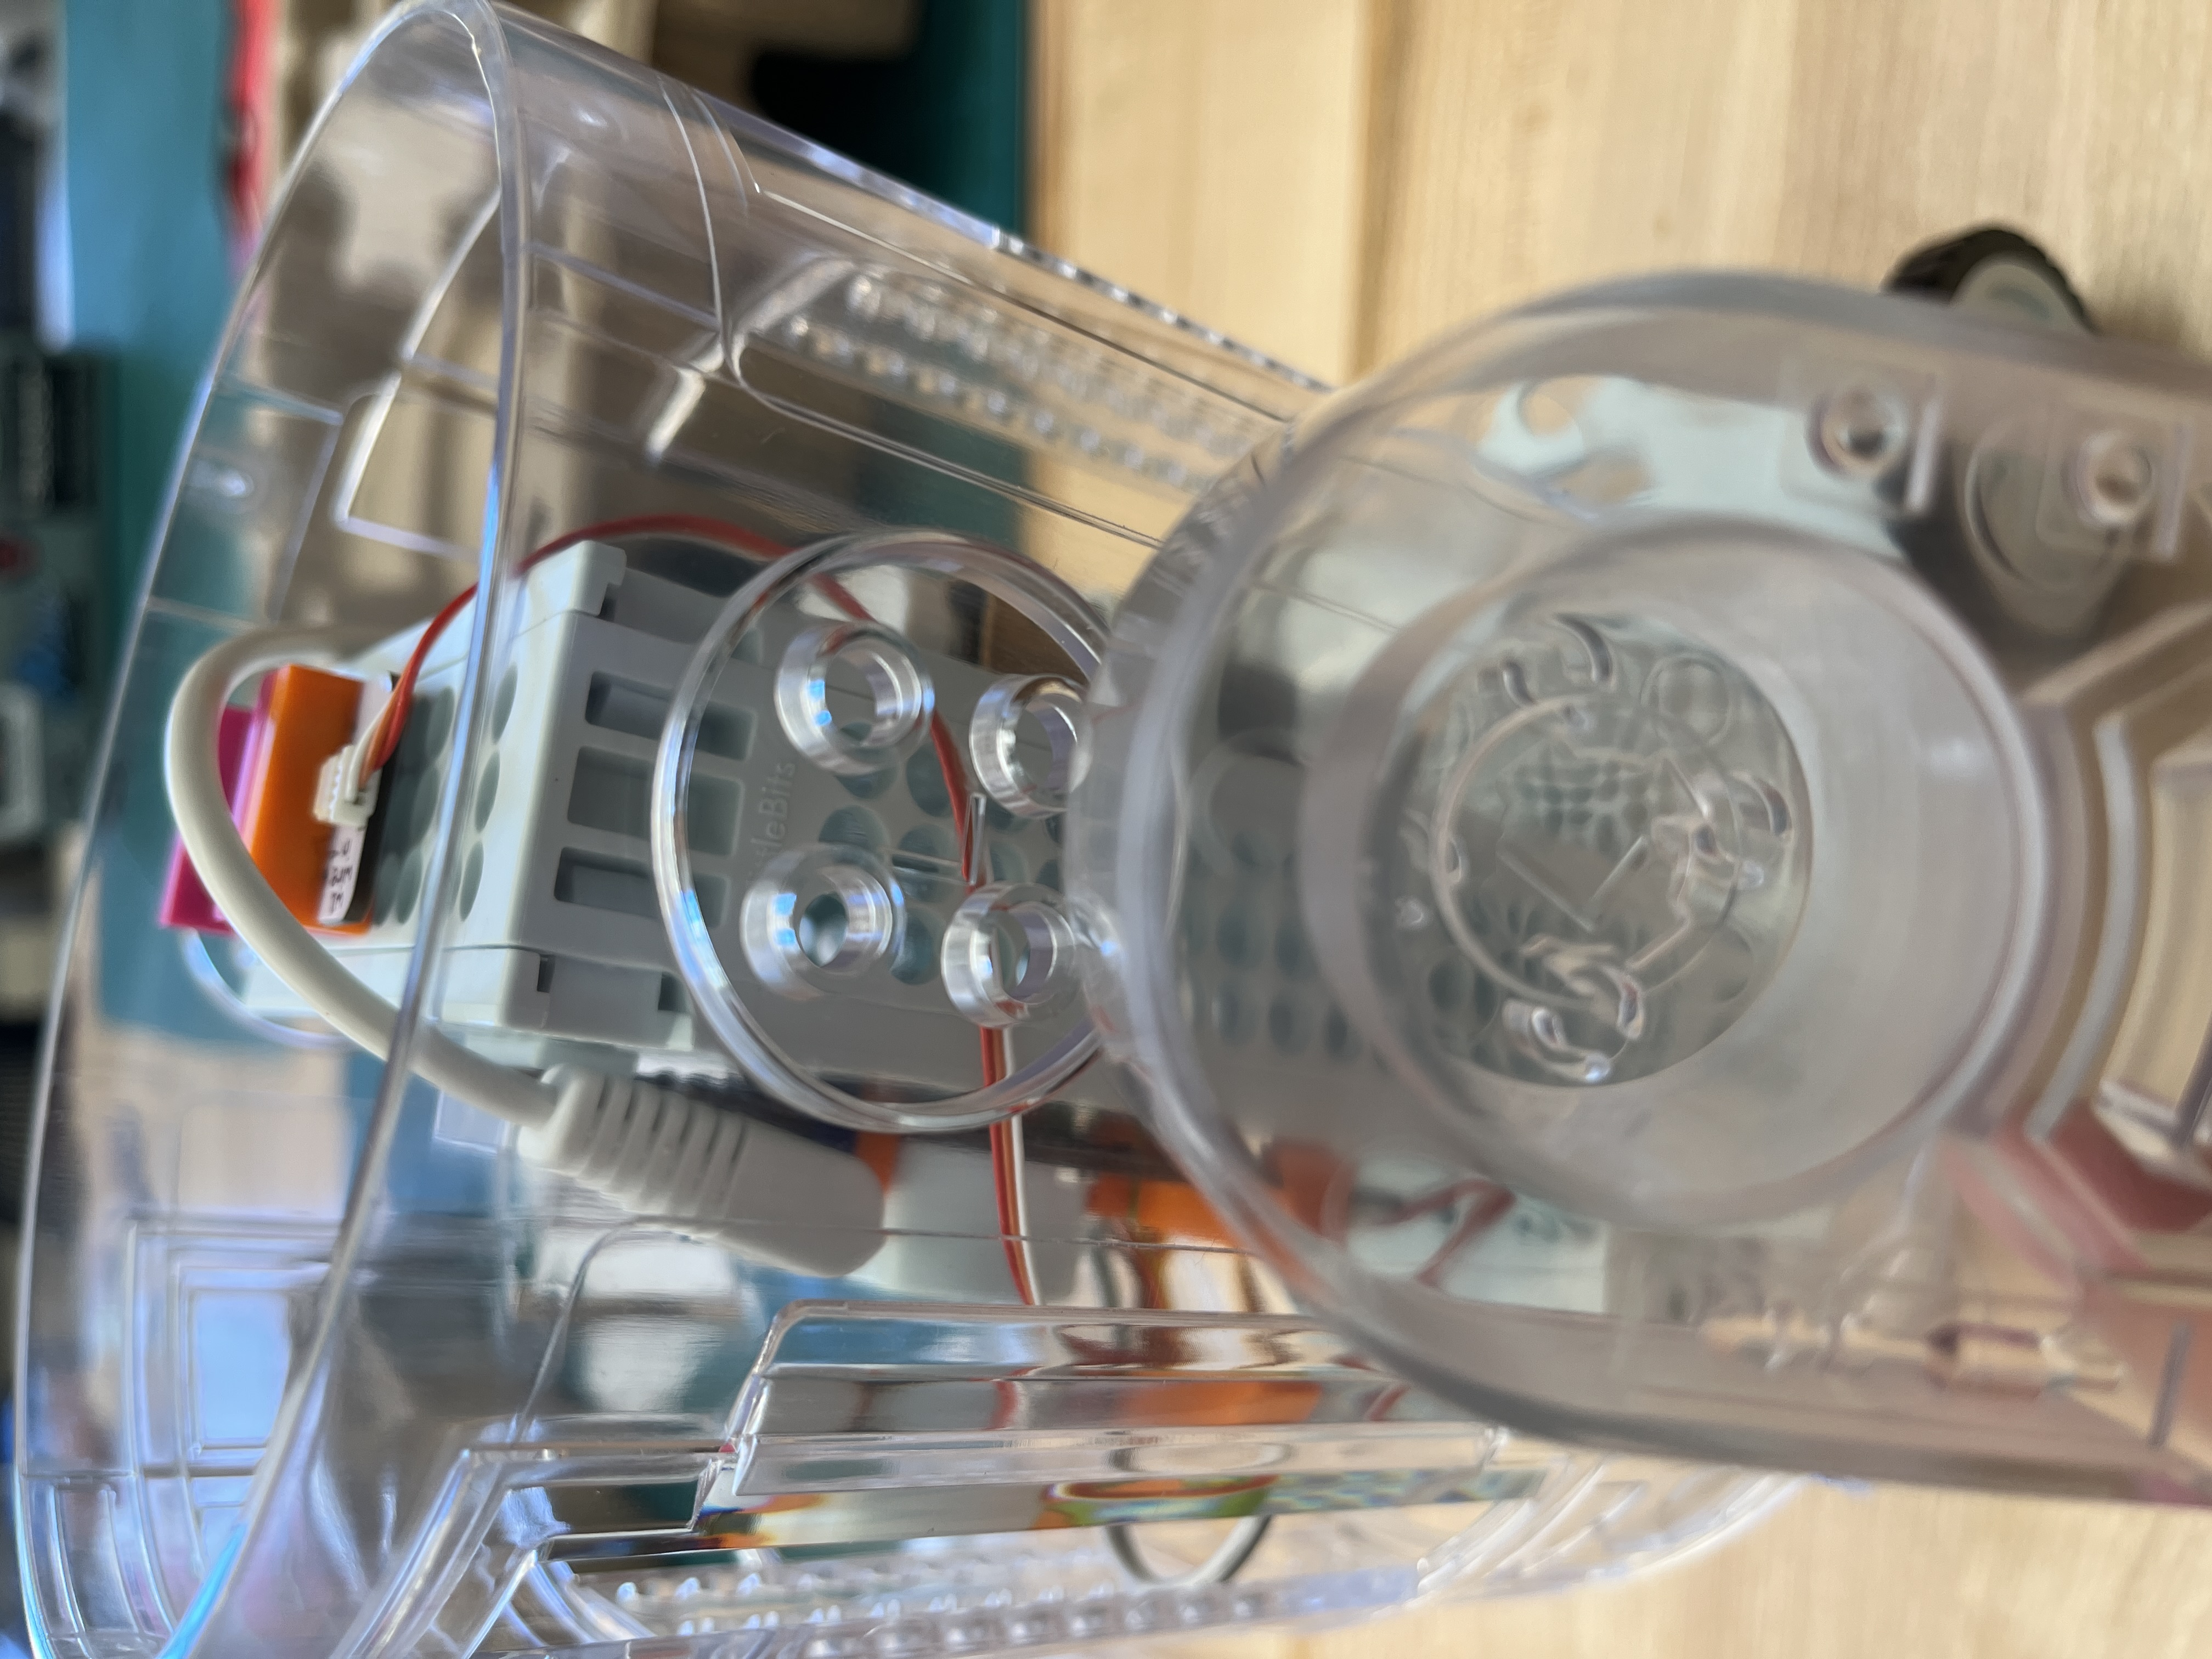
Frame
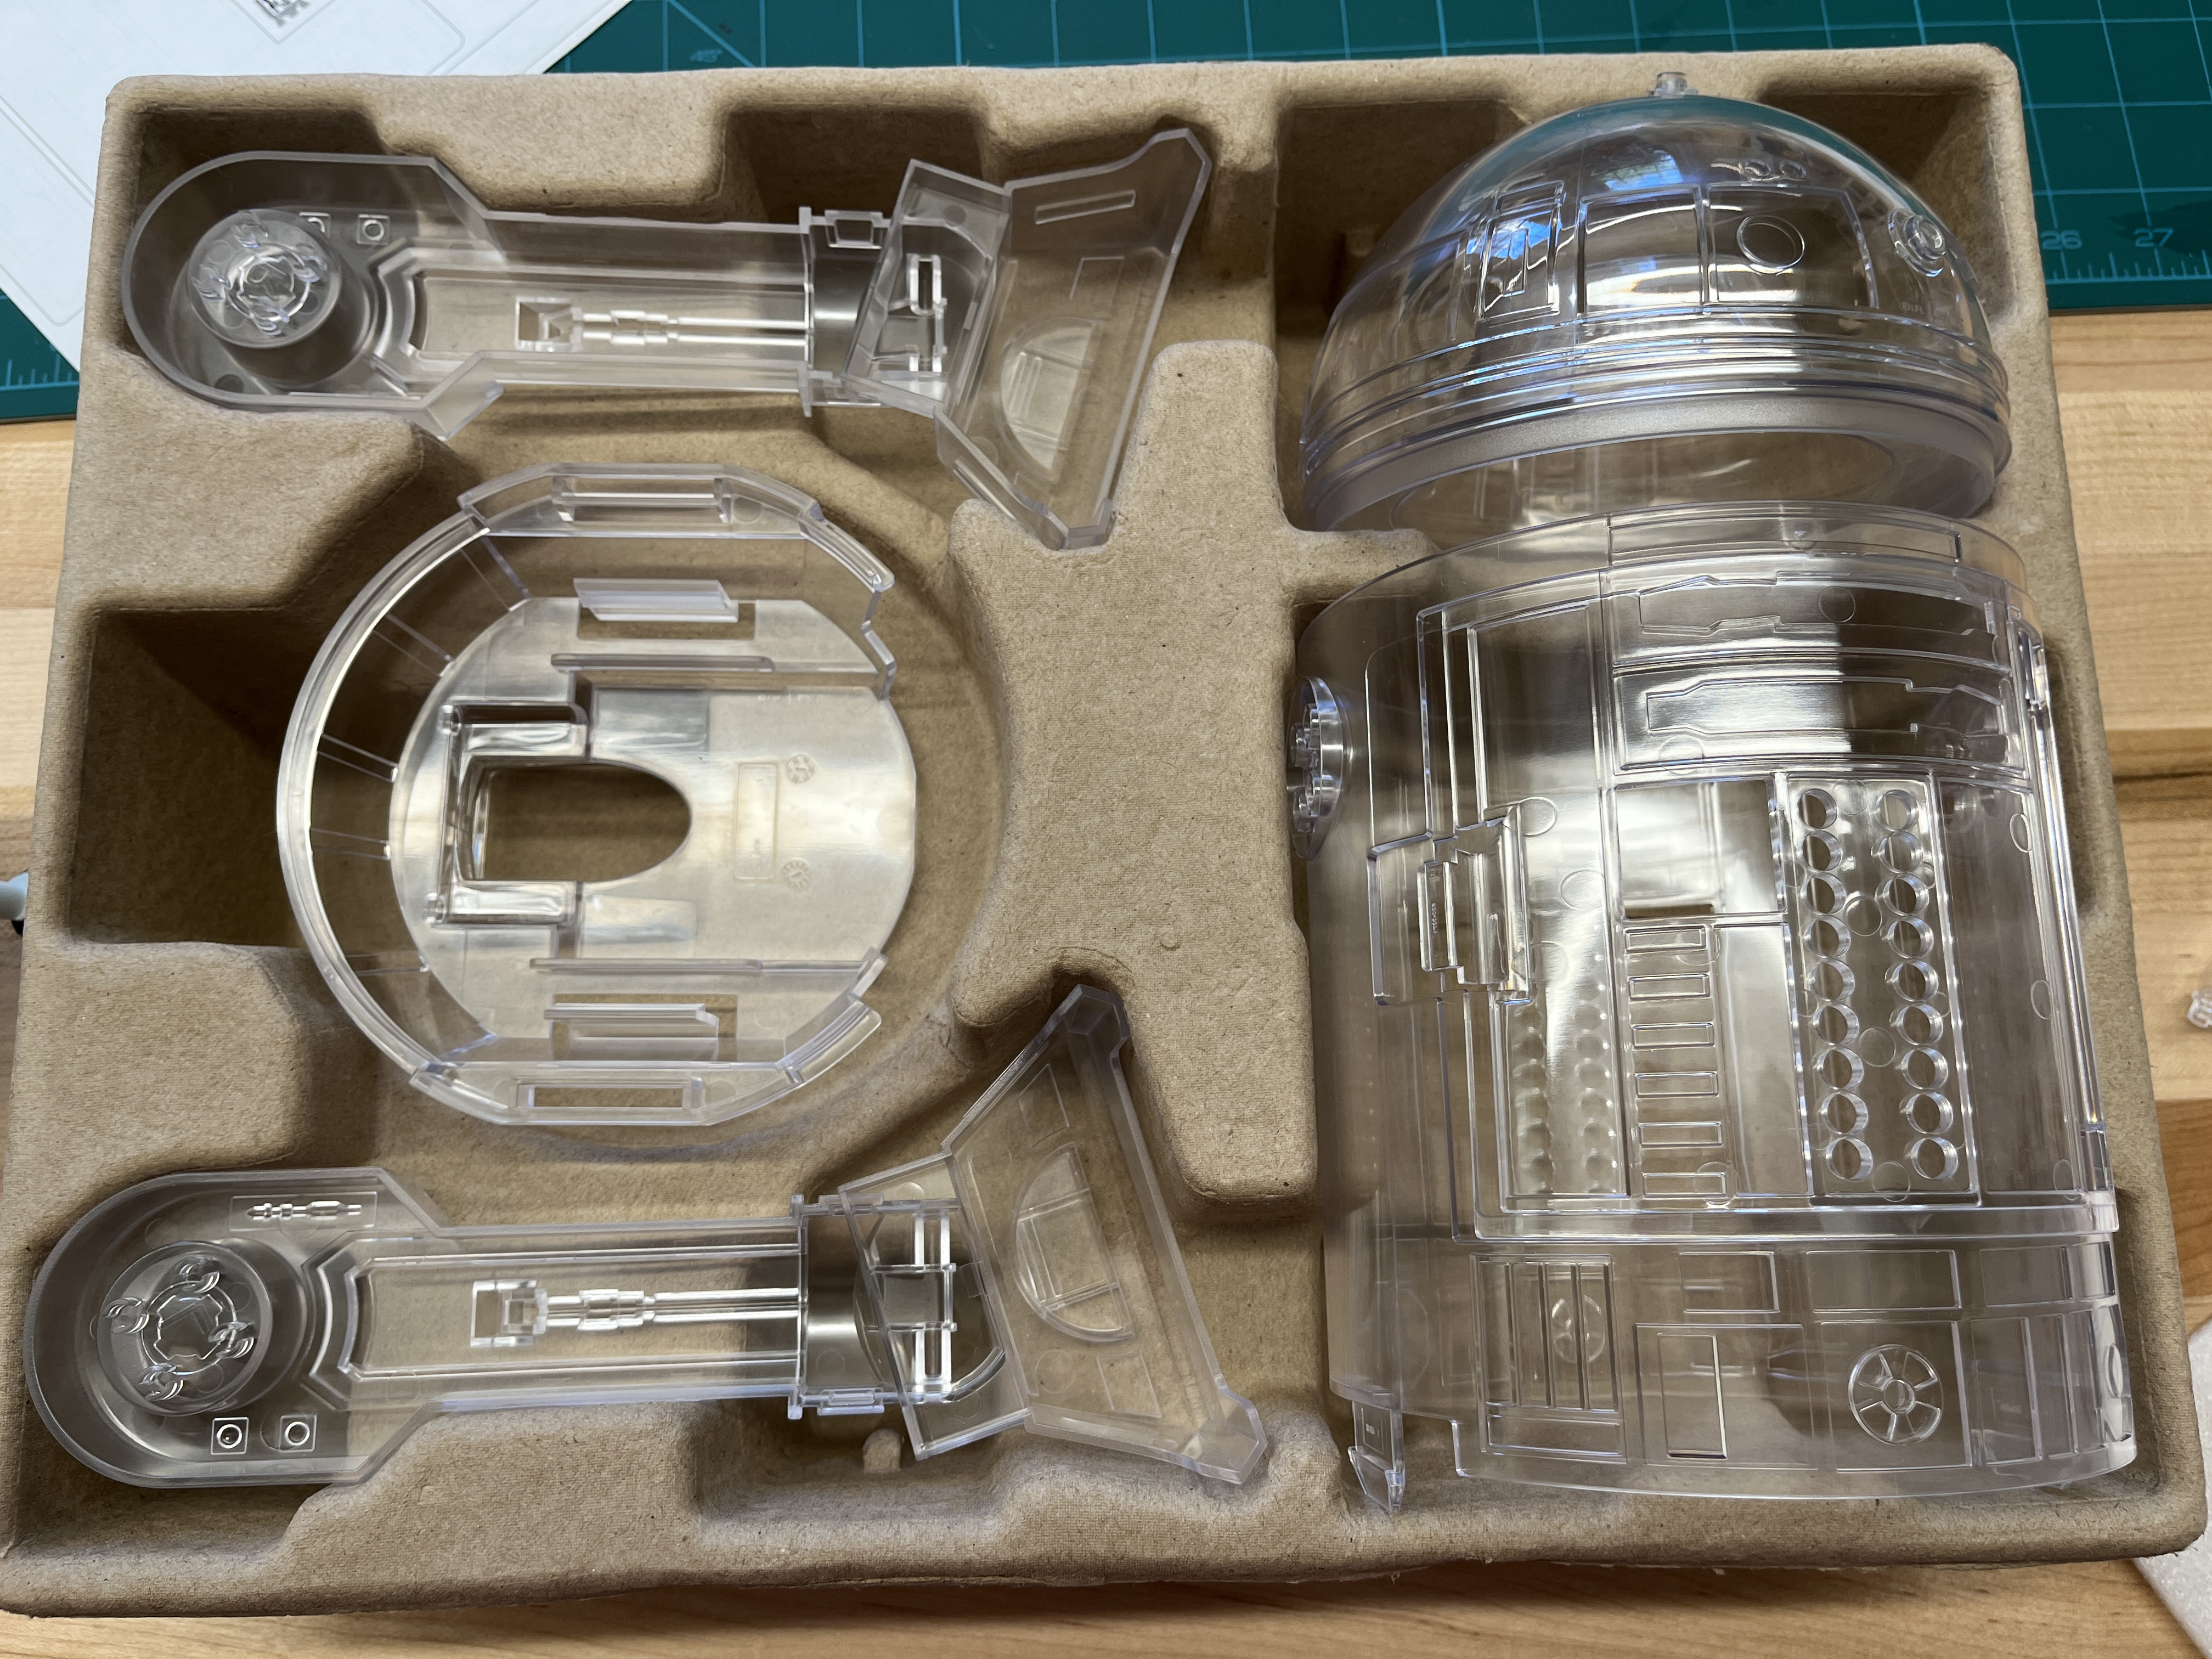
- Carefully attach the bottom of the frame to the bottom of the chassis. There is a locking mechanism that will secure it. Make sure to avoid clamping any cables when attaching the frame.
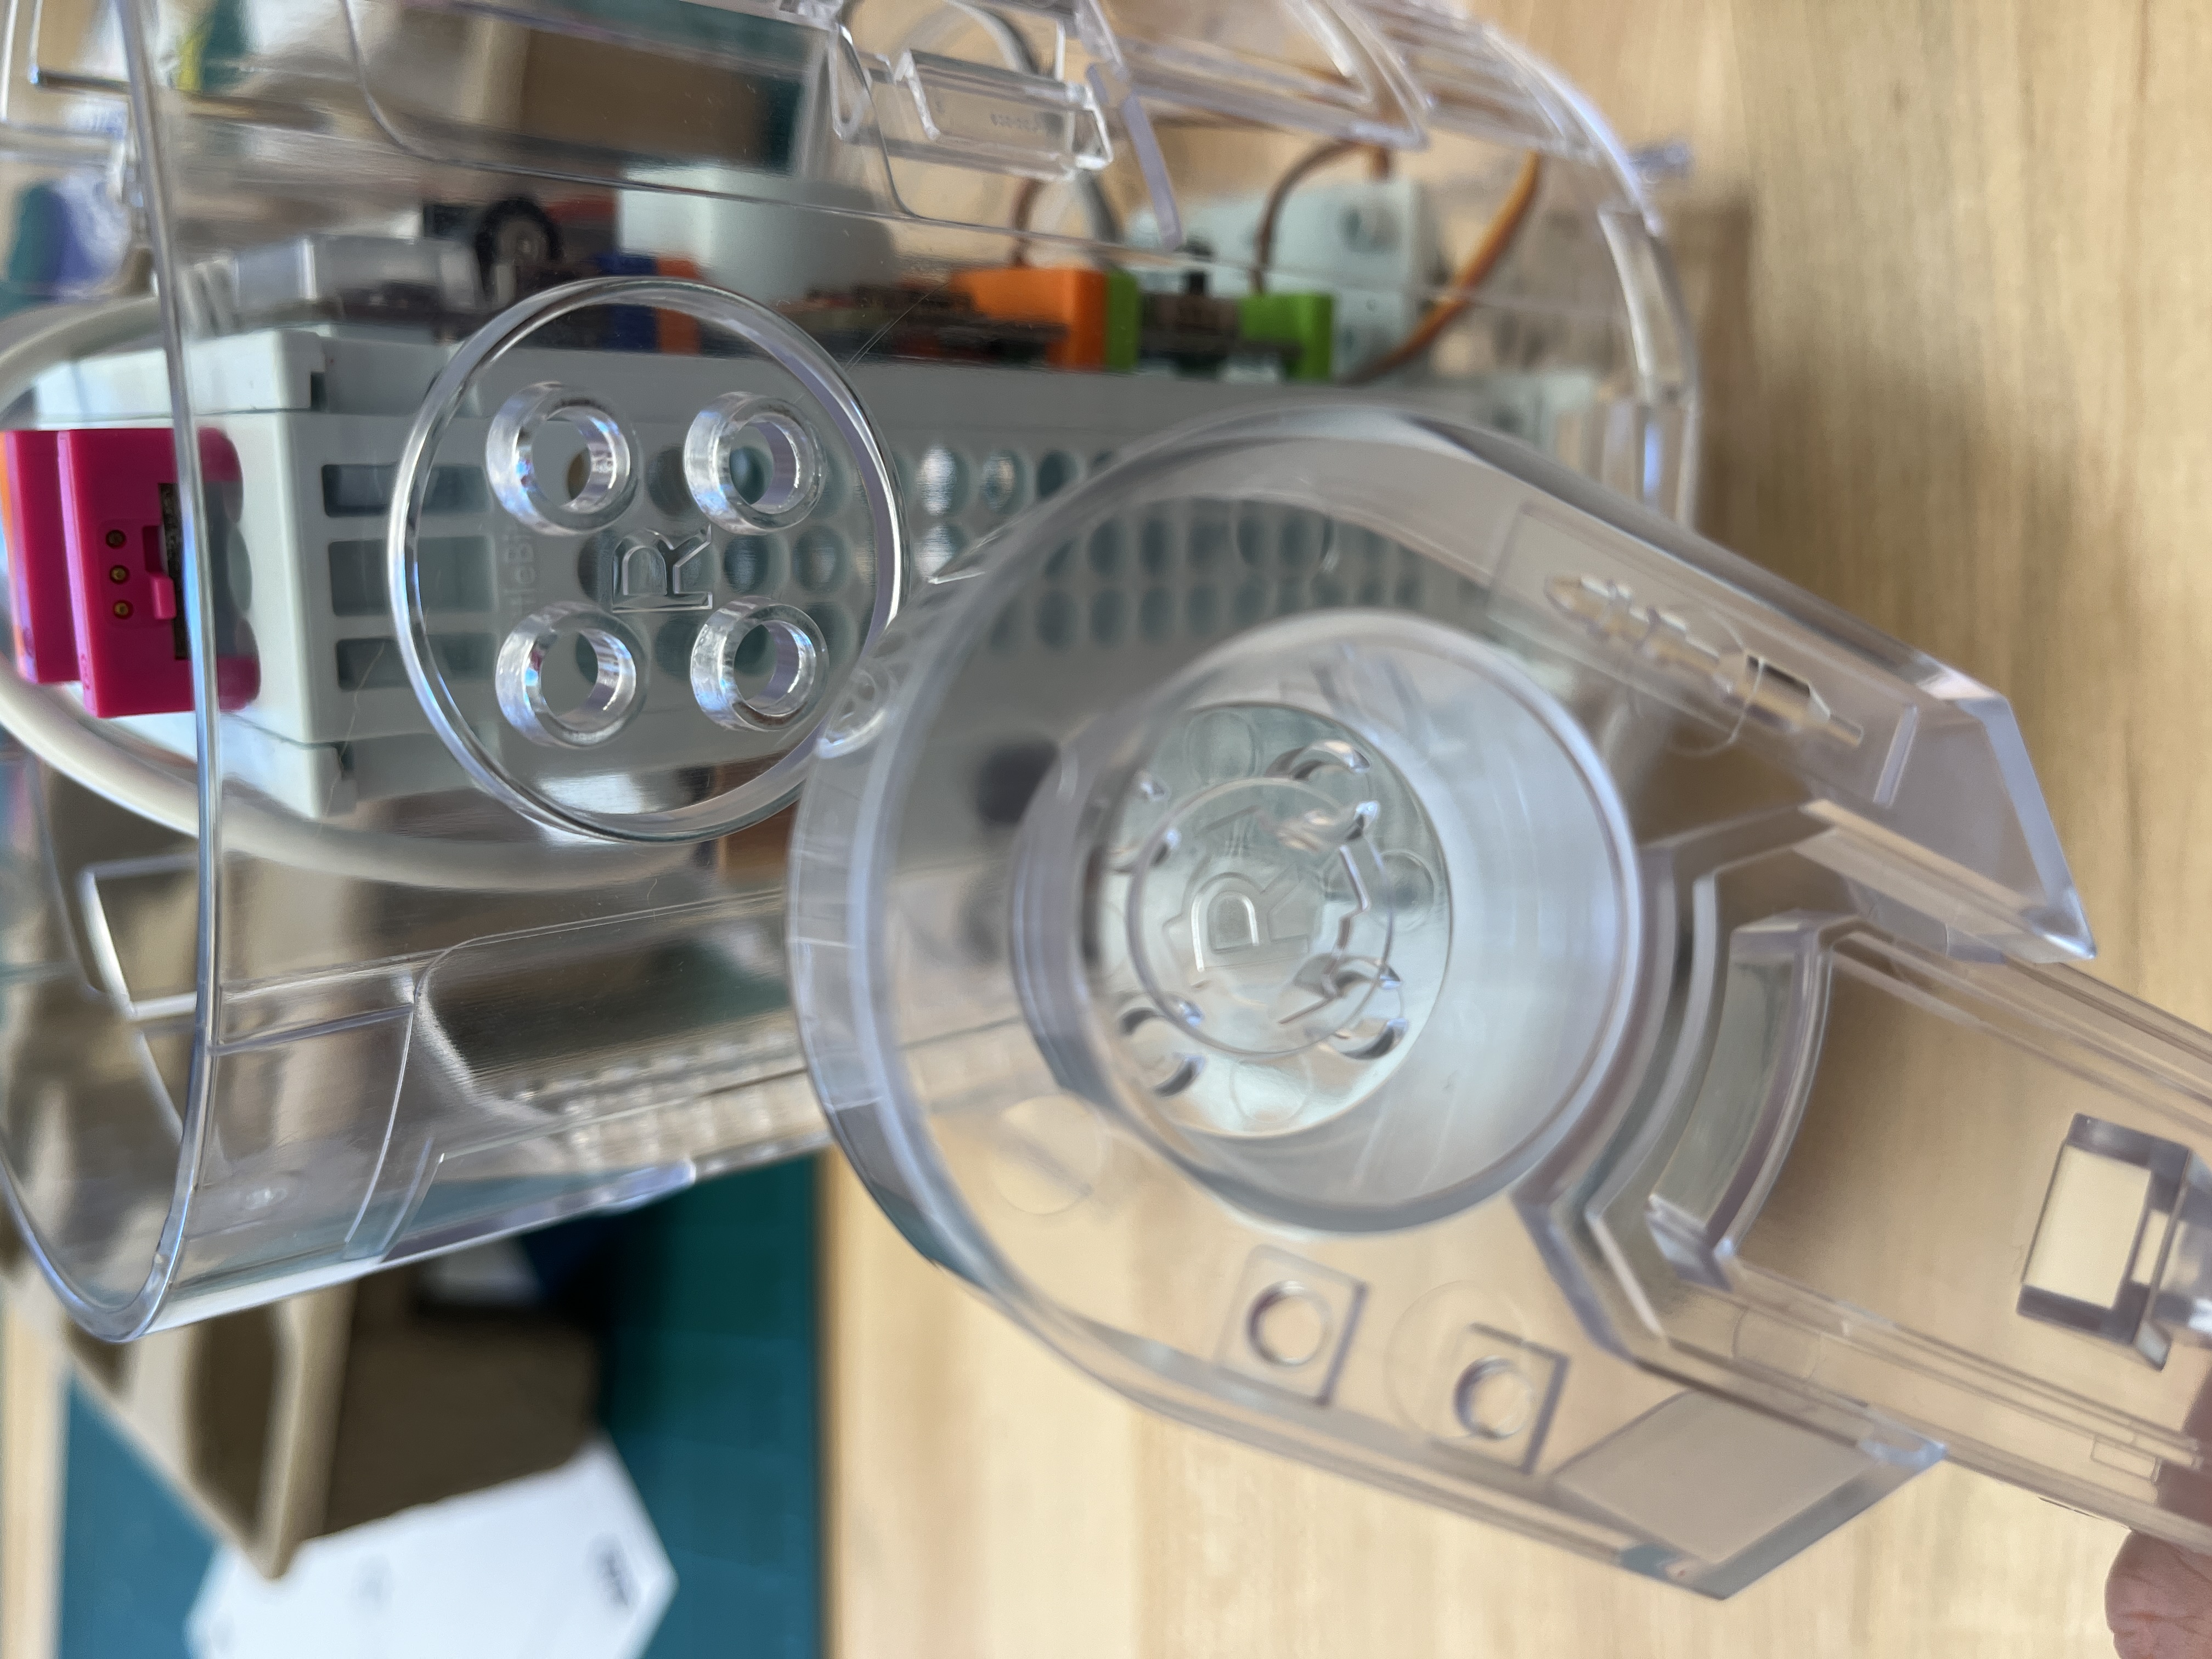
- Slot the main section of the frame over the chassis, connect it to the bottom section of the frame
- Attach the arms to the frame. They will be labeled with L and R. L goes into L and R goes into R. Make sure there is clearance between the bottom sections of the arms and the wheels, so the wheels can spin unimpeded.
- Once you put the head on, you will have completed the astromech droid. You can put stickers on it now to give it more character. It comes with red, white and blue stickers. I ended up using straight blue because R2D2 is canonically blue.
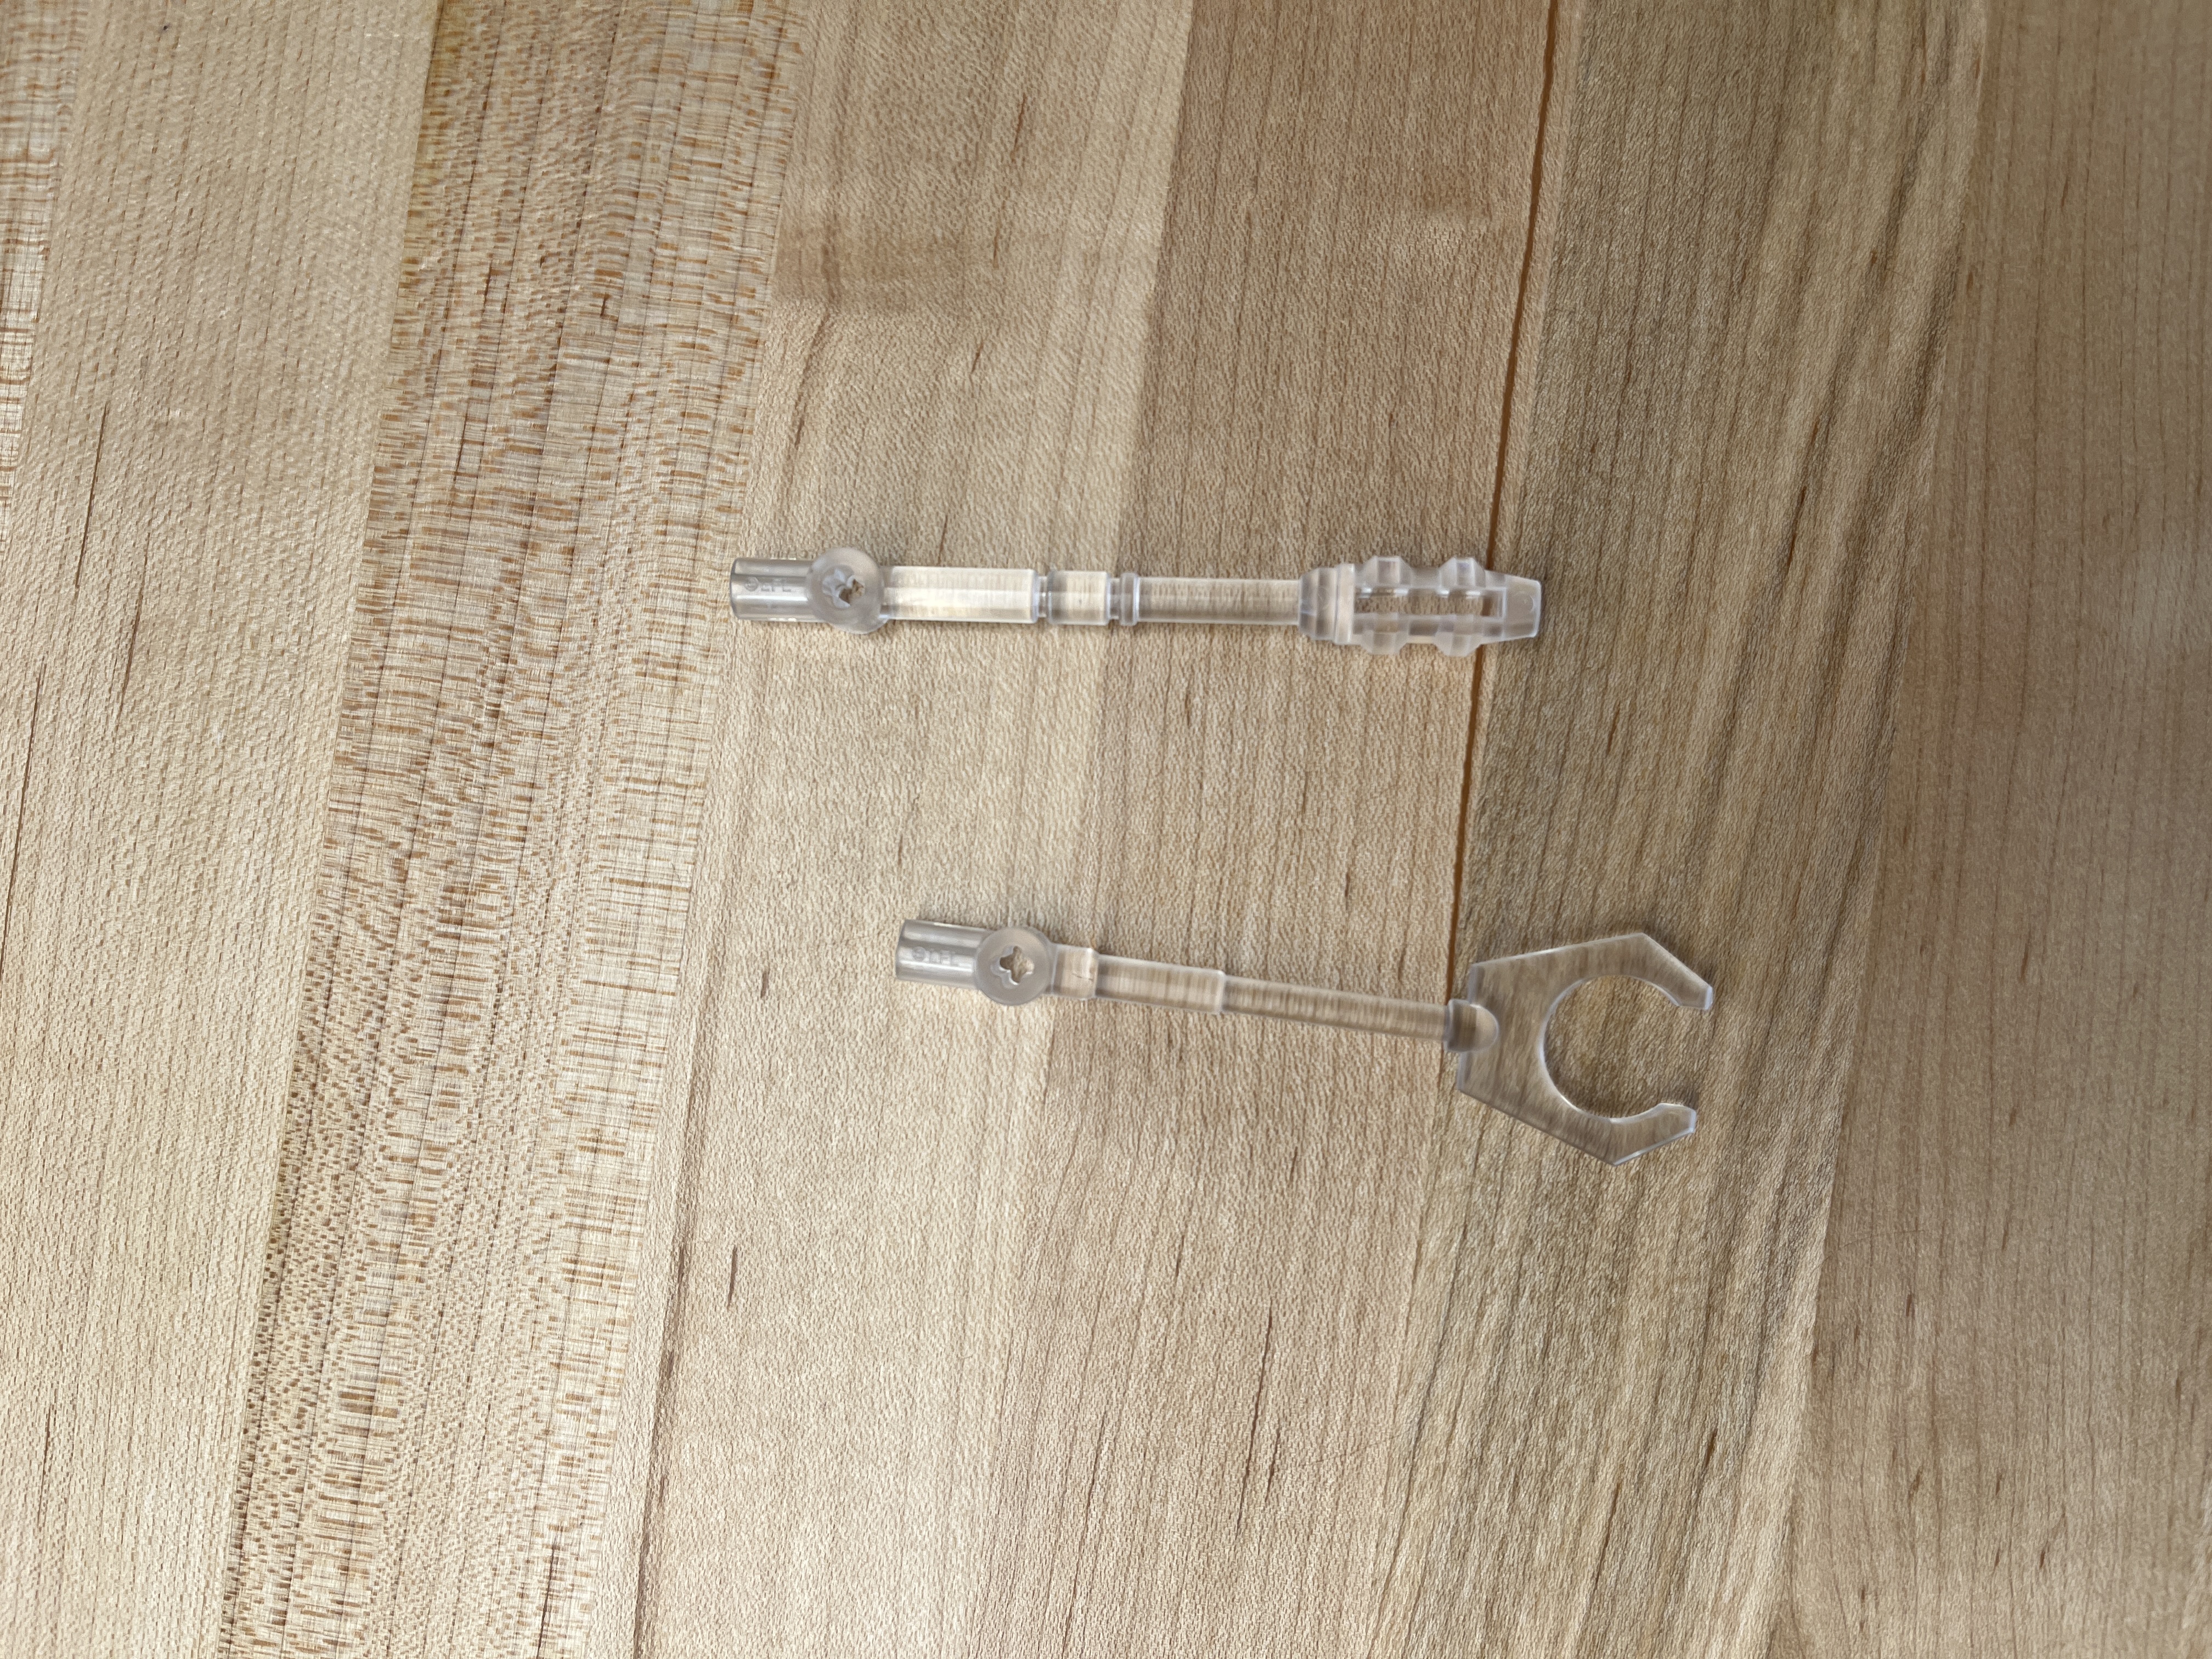
Note: I have no idea where to put these parts, the box came with no mounting mechanism for them.
Driving
Now that it’s built, all that’s left is to drive it. Again, the app that was meant to control the astromech droid no longer exists. Luckily, I was able to find a program that deals with this issue, to an extent. Meetar on github has created an open source program to drive the droid. Once the files are downloaded, run the bluetoothtest.html file to see if your device can sync to the droid (I used my laptop). If successful, begin testing the different interface versions to see which one works best for you, personally I found interface6 to be the most reliable. Some of the other iterations would not let me drive backwards.
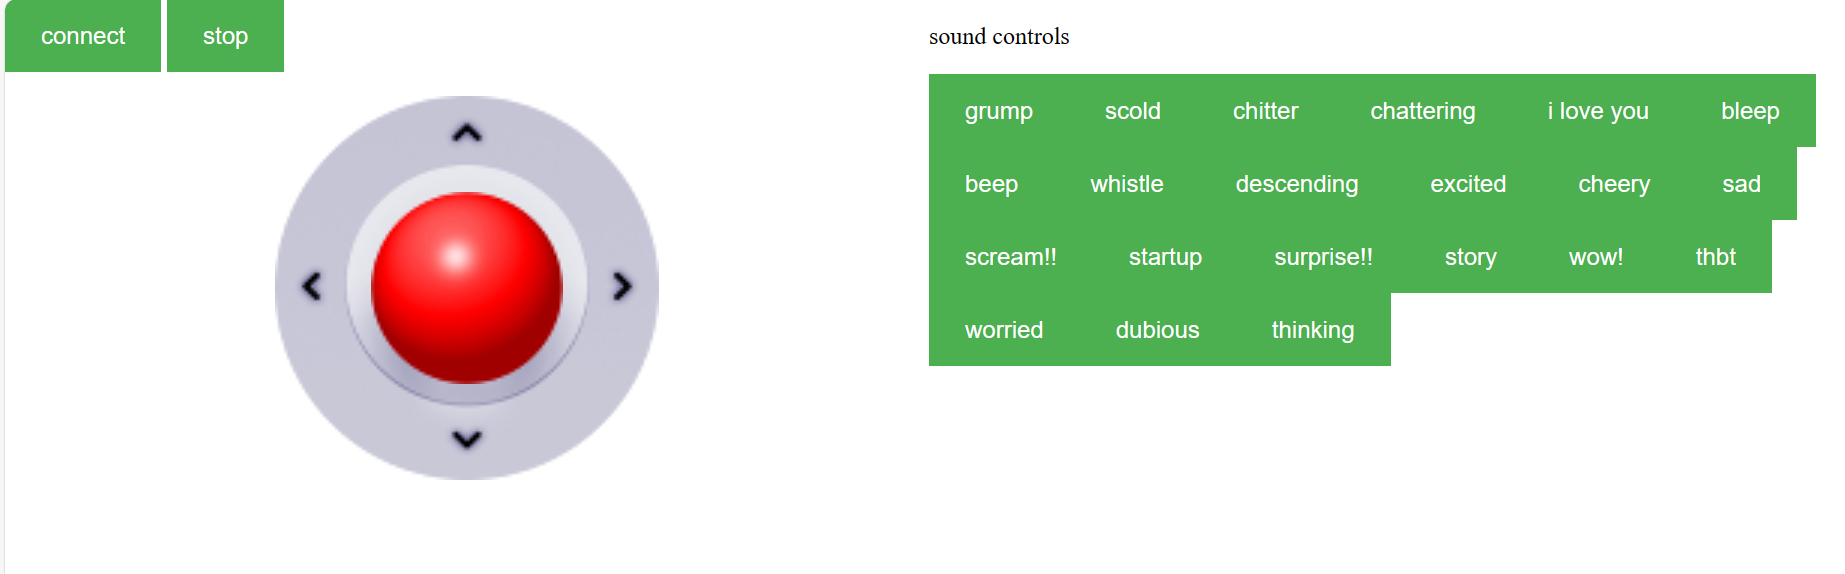
This will allow you to drive the droid around and have it make various sounds. However, it seems without the official app a lot of functionality is no longer available. I was unable to get the proximity sensor to work, so the ability of the droid to learn and navigate a room on its own has been lost with the app.